
Best Chalk Paint for Kitchen Cabinets: A Complete Buying Guide
Disclosure: We may earn a commission when you buy through links on this page, at no extra cost to you. As an Amazon Associate we earn from qualifying purchases. Learn more

Kitchen cabinets take more abuse than almost any other painted surface in your home. Grease splatters, water drips near the sink, and hands touch the doors dozens of times a day. That is exactly why picking the best chalk paint for kitchen cabinets matters more than picking a pretty color chip. The wrong formula looks great for a few weeks, then chips at the corners or turns tacky under grease. In this guide, you will learn what actually makes chalk paint cabinet ready, how to prep without hours of sanding, how many coats to plan for, and which topcoat keeps the finish looking clean instead of grimy.
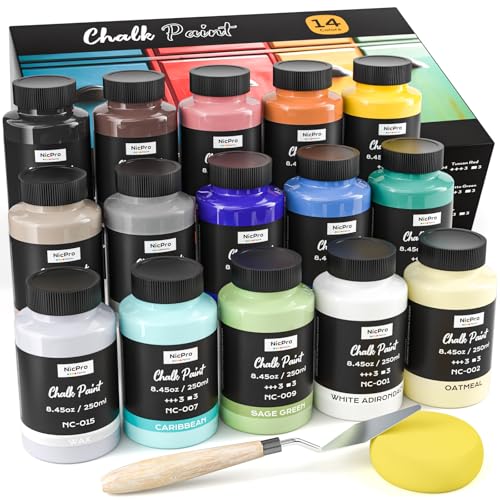
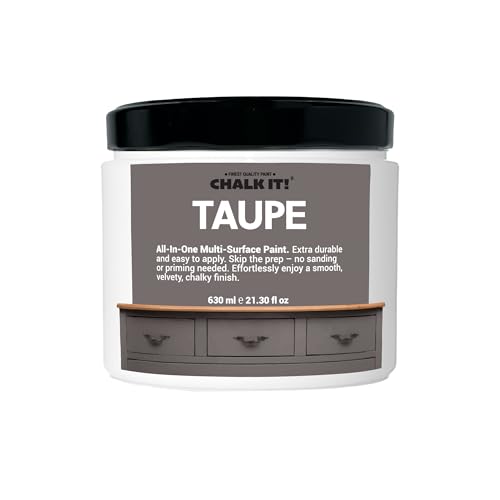

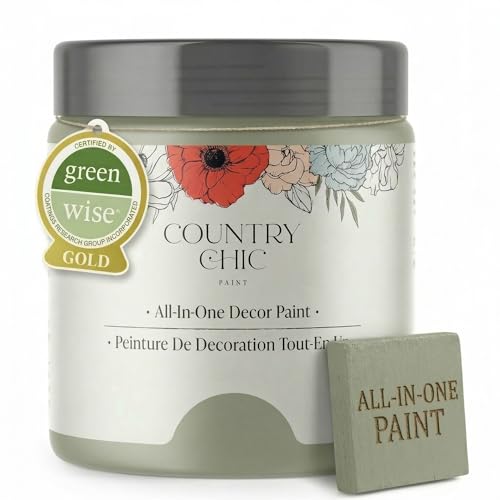
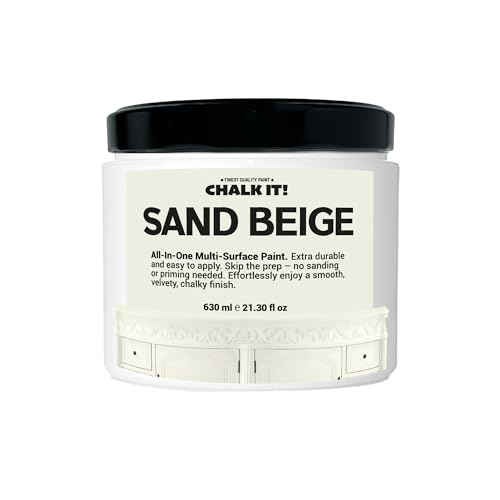

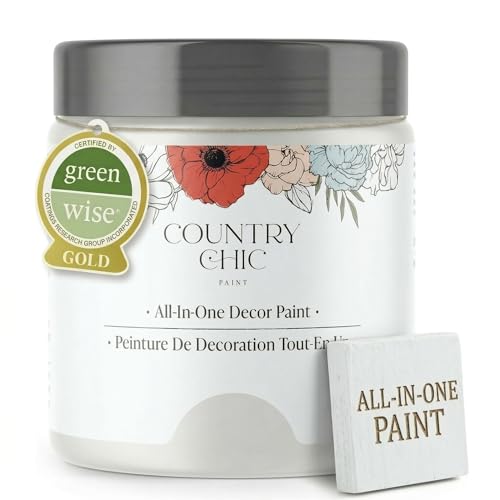
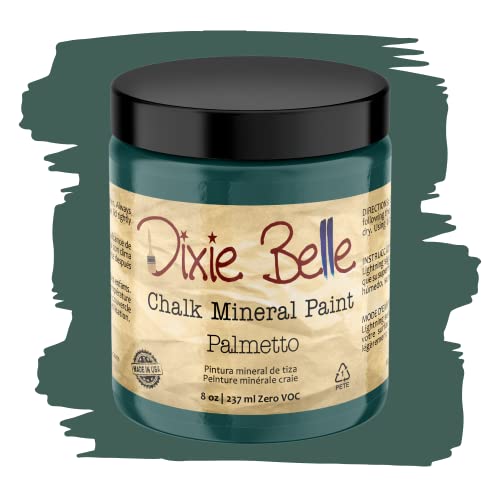
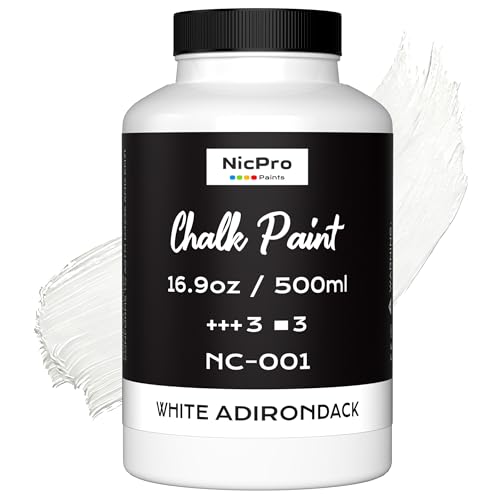
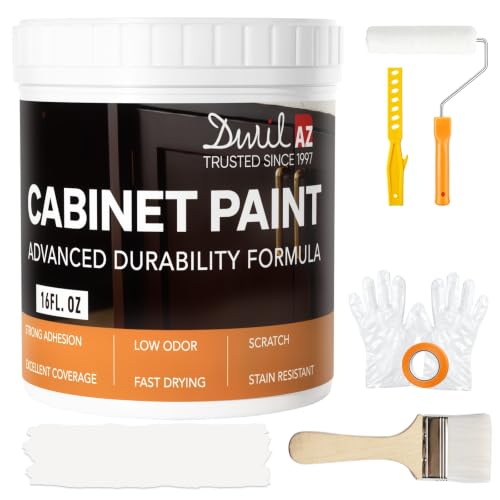
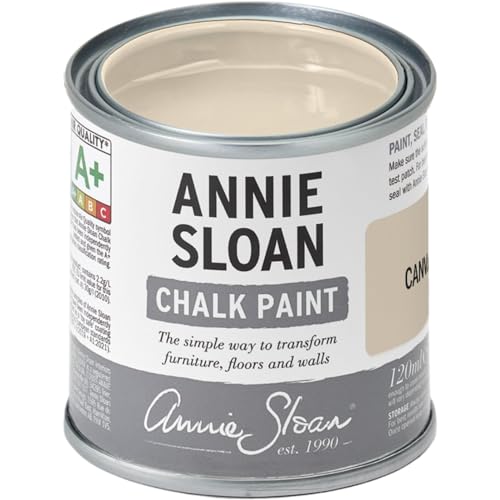

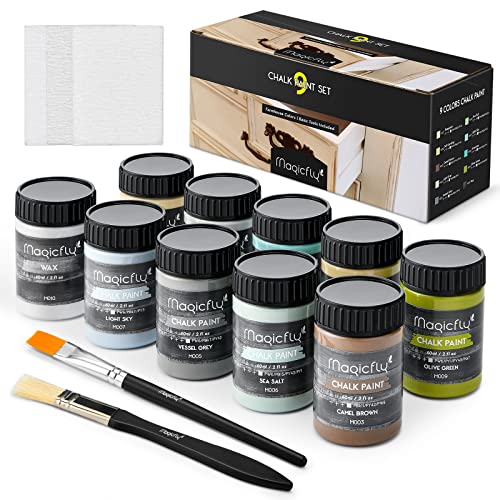
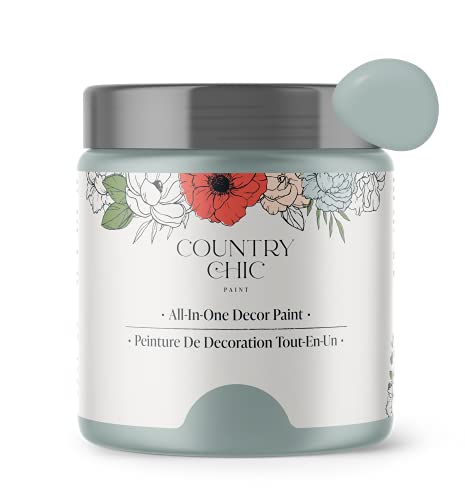
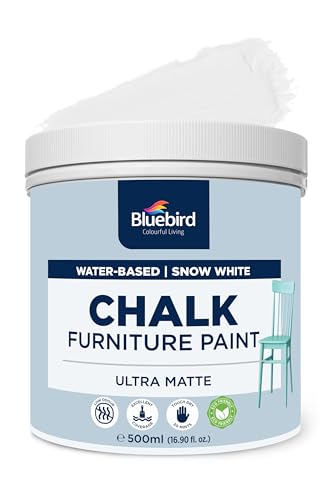
What to Look for in a Chalk Paint That Can Handle Kitchen Cabinets
Not every chalk paint formula was designed with cabinets in mind. Most were made for weekend furniture projects, where a light scuff or two does not matter much. Cabinets get grease, steam, and hands on them daily, so a chalk paint for kitchen cabinets needs to do more than look chalky and matte. Before you buy, check the formula against four qualities that actually matter once the paint is on your doors.
Adhesion and Self-Priming Claims
Chalk paint is popular because it is marketed as sticking to almost any surface, including varnished or laminate cabinets, without sanding or priming first. That claim holds up reasonably well on raw or lightly worn wood. On glossy factory finishes or laminate, though, adhesion gets shakier, and a coat of bonding primer still gives you better odds against peeling months later.
Cured Hardness and Chip Resistance
Look for a formula described as mineral based or clay based rather than a soft, chalky finish spray paint marketed mainly for crafts. Mineral and clay formulas tend to cure harder and resist chipping at the corners and edges of doors, which is where cabinet paint fails first.
Coverage and Opacity
Cabinets often need to cover dark stain or a previous paint color, so opacity matters more here than on a light dresser. A paint that needs three or four coats to hide the old color will cost you more time and more product than the label's advertised coverage suggests.
Low-Odor, Low-VOC Formulas
Most chalk paint is water based and genuinely low odor compared to oil based cabinet paint, which is one reason it is popular for kitchens people still need to cook in during the project. Even so, tinted formulas can carry more odor than the base color, so keep the kitchen ventilated and run your range hood while coats are drying.
Prepping Your Cabinets Before You Pick Up a Brush
The no-prep reputation is the biggest reason people choose chalk paint for cabinets, and it is only partly true. Grease is the real enemy here, not old paint or bare wood. Every cabinet door within a few feet of the stove has a thin, invisible layer of cooking grease that stops paint from bonding no matter how good the formula is.
Wipe every door and drawer front with a degreasing cleaner before you touch a brush, then rinse and let the wood dry fully. If your cabinets have a glossy factory finish, a light scuff sand with fine grit sandpaper gives the paint something to grip, even though the label says you can skip it. Pull doors off their hinges and label them so you are not guessing which door goes where later, and lay down drop cloths since chalk paint splatters more than people expect once it is loaded on a roller. Keep a rag and some soap and water nearby, because painted skin and clothes clean up far easier before the paint sets than after. It also helps to know how to get paint off clothing before you start, since a spatter or two is nearly guaranteed.
How Many Coats You'll Actually Need and How Long to Wait Between Them
Plan on two coats for a color similar to what is already on your cabinets, and three coats if you are going from a dark stain to white or a pale color. Chalk paint dries to the touch surprisingly fast, often within an hour, but rushing the second coat before the first has fully set can trap moisture and lead to a soft, easily marked finish.
Give each coat at least two to four hours before recoating, and longer if your kitchen is humid or poorly ventilated. Drying and curing are not the same thing. The paint may feel dry to the touch the same day, but it can take three to four weeks to cure to its full hardness. That curing window matters more for cabinets than for almost any other chalk paint project, since doors get opened, closed, and bumped constantly. Go easy on your cabinets during that first month. Skip heavy scrubbing, and try not to stack pots or pans directly against freshly painted surfaces.
Wax or a Poly Topcoat: Which Sealer Actually Holds Up in a Kitchen
Traditional clear wax is the classic chalk paint topcoat, and it is genuinely good at deepening color and adding a soft sheen. It is also the finish most people end up unhappy with on cabinets, because wax stays somewhat soft and traps grease, dust, and grime in a way that is hard to wipe clean, especially in a kitchen. No chalk paint for kitchen cabinets project is really finished until you have decided how you are sealing it, and for a working kitchen, that decision matters as much as the paint color.
A water-based polyurethane or polycrylic topcoat is the more practical choice for cabinets that see daily use. It cures harder than wax, wipes clean with a damp cloth, and holds up better around the sink where water splashes are constant. Look for a formula labeled non-yellowing, since some clear topcoats amber slightly over time, which shows more on white or light colored cabinets than on darker ones. Whichever you choose, apply it in thin, even coats. A thick, rushed topcoat is more likely to show brush marks or take on a cloudy look than two or three thin ones.
Living With Chalk-Painted Cabinets: Cleaning and Touch-Ups
Once your cabinets are painted and sealed, day-to-day cleaning should stay simple. Wipe spills and grease with a soft cloth and a mild soap and water solution, and avoid abrasive scrub pads or strong degreasers, which can dull the topcoat or wear through it at the edges over time. Cabinets near the stove and sink will need more frequent wiping than the rest of the kitchen, since that is where grease and water exposure concentrate.
Touch-ups are part of the deal with any painted cabinet, chalk paint included. Keep a small amount of your mixed color and topcoat on hand so you can dab over a chip or scratch instead of repainting a whole door. Since a cabinet refresh often turns into a bigger kitchen update, it is also a natural time to swap outdated hardware for a new kitchen faucet or finally add under-cabinet lighting that makes the new paint color look even better.
Frequently Asked Questions
Is chalk paint durable enough for kitchen cabinets?
Yes, as long as it is sealed properly and given time to cure. Chalk paint on its own is relatively soft, which is fine for furniture that is not touched constantly, but cabinets need a hard topcoat and a full curing period to hold up to daily use.
Do you need to prime cabinets before using chalk paint?
Not always, but it helps in specific situations. Raw or lightly worn wood usually does not need it, while glossy factory finishes, laminate, and cabinets with stains or dark colors bleeding through benefit from a bonding primer first.
How many coats of chalk paint does a kitchen cabinet need?
Most cabinets need two coats for a similar color and three for a big color change, such as going from a dark stain to white. Thin, even coats give better coverage than one thick one, and they dry more evenly too.
Do you need to seal chalk paint on kitchen cabinets?
Yes. Unsealed chalk paint chips and stains quickly on a surface that gets touched, wiped, and bumped as often as cabinets do. A water-based poly topcoat generally holds up better than wax in a working kitchen.
How long does chalk paint take to dry and cure on cabinets?
It usually dries to the touch within an hour and is ready for a second coat within a few hours. Full curing, when the finish reaches its hardest state, takes closer to three to four weeks, so it is worth being gentle with the doors during that stretch.
Does chalk paint smell while you're painting cabinets?
Chalk paint is water based and generally low odor compared to oil based cabinet paint, so most people can keep using the kitchen during the project. Still, open a window or run a fan while coats and topcoat are drying, since tinted formulas and topcoats can carry more smell than the base paint.
Making Your Decision
Chalk paint can genuinely transform tired kitchen cabinets without the sanding and priming marathon that other cabinet paints demand, but the details still matter. Choose a formula built for hard use rather than light furniture touch-ups, degrease before you paint even if the label says you do not have to, and give the paint real time to cure before you treat the cabinets like they always looked this way. Seal it with something tougher than wax if the cabinets sit anywhere near the stove or sink. Get those pieces right, and a chalk paint finish can hold up in a kitchen for years, not just for the first few photos.