
Best Cameras for Birding Photos: Matching the Right Model to Your Routine in 2026
Disclosure: We may earn a commission when you buy through links on this page, at no extra cost to you. As an Amazon Associate I earn from qualifying purchases. Learn more
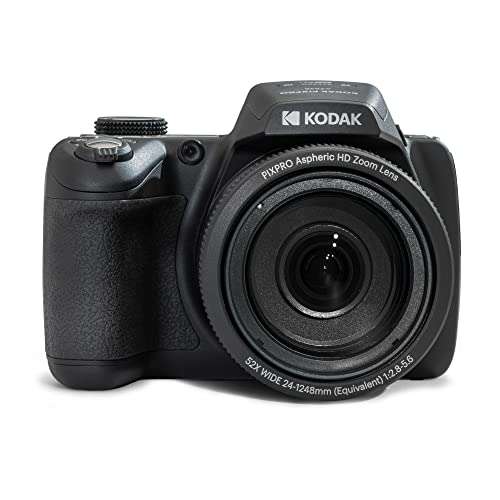
Compare cameras for birding photos by reach, focus speed, burst rate and weight, with clear guidance on camera types, field settings and daily care.
Birds rarely wait, rarely sit close and rarely stay in good light. A camera that feels perfect at a feeder can feel far too short at a marsh, so the best cameras for birding photos are the ones that match your distance, your pace and your light. Use the comparison table below to check reach, focus and weight side by side before you choose.
Start with where you watch birds most often. Backyard time rewards simple controls and modest reach, while open water and flight shots reward longer lenses and faster tracking. This guide sorts those needs first, so you pay for reach and speed only when your birds demand them.
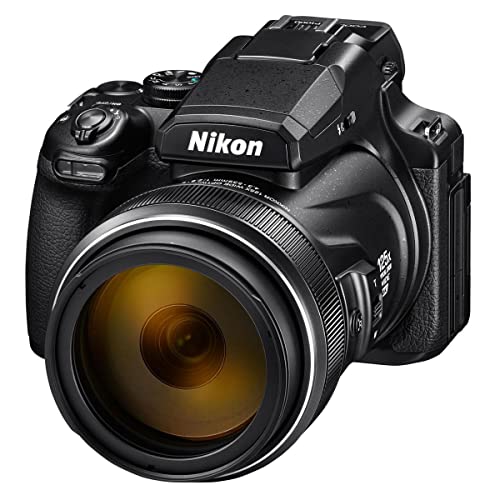


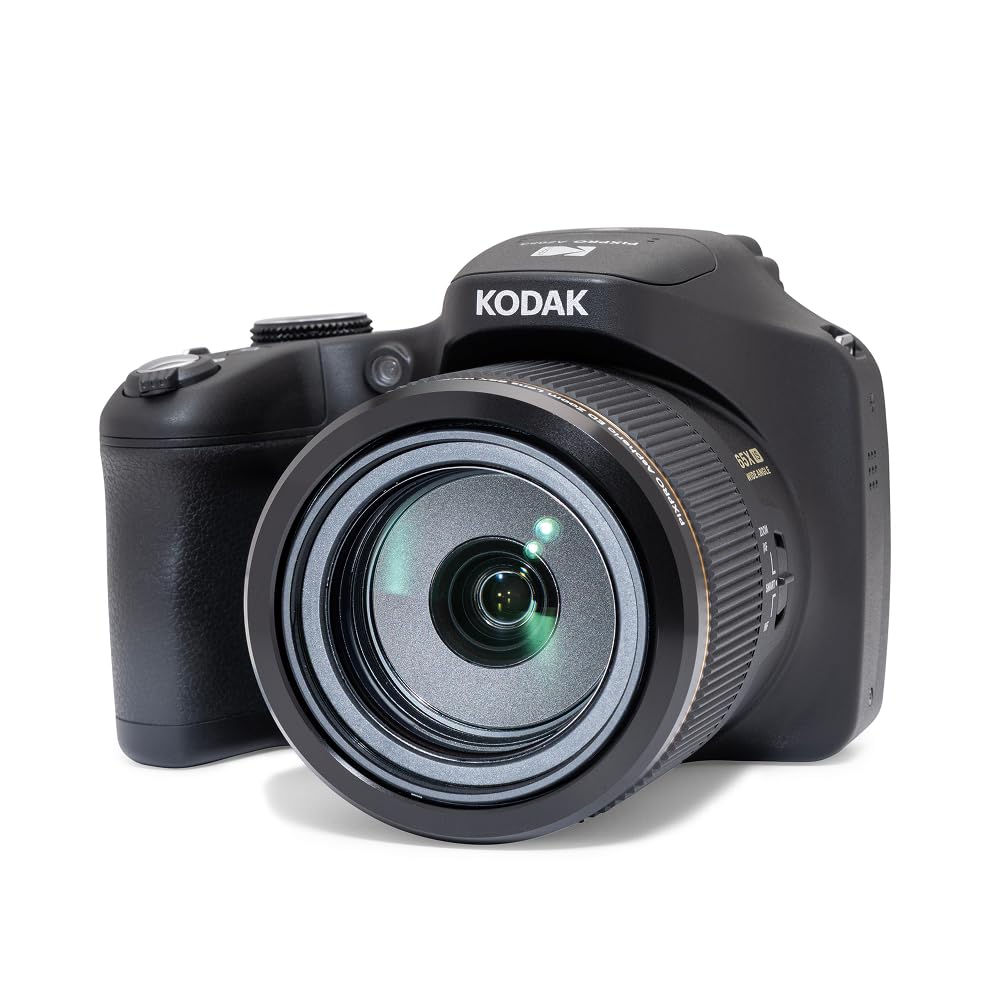


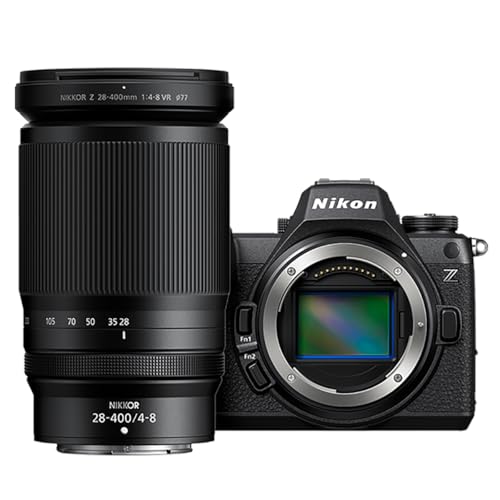


Who Should Buy Which Camera for Birding?
Pick by the outing you repeat most, not by the rarest trip you hope to take. Distance to the bird and how long you carry the camera change the right choice most.
Backyard and Garden Bird Watchers
You watch feeders, baths and nearby branches, often from a porch or window. You need modest reach, quiet operation and simple auto modes more than maximum zoom. A compact camera with optical zoom or a small mirrorless body with a mid range telephoto lens suits this routine well. Choose a clear screen you can tilt, because you will lift the camera often for short bursts.
Trail Hikers Who Photograph Birds While Walking
You find birds along paths, in woods and at pond edges, and you carry everything on your back. Prioritize low total weight, strong image stabilization and a lens you can hold steady while standing. Weather sealing matters on damp trails, and a harness that keeps the camera close stops it swinging as you walk. A smaller sensor system often wins here, because it gives useful reach without a heavy lens.
Wetland and Shore Photographers Who Need Long Reach
You shoot herons, ducks and shore birds across open water, where birds stay far away and light changes fast. You need the longest practical reach, fast autofocus that holds a moving bird and a burst rate that captures a takeoff. Expect a larger lens and a tripod or monopod for long waits. If you also shoot mammals at distance, see our guide to the best cameras for wildlife photos.
Key Features to Compare
Compare these factors in the order your birds demand them. Reach comes first, then focus, then speed, because a sharp photo needs all three at once.
Reach and Optical Zoom for Distant Birds
Reach decides whether a small bird fills enough of the frame to show feather detail. Look at optical zoom and at focal length in full frame terms, where about 400 to 600 mm suits most distant birds and about 300 mm can work at feeders. Digital zoom only crops and enlarges pixels, so it adds no new detail. Weigh reach against the weight you will carry all morning, because a longer lens helps only if you can hold it steady.
Autofocus Speed and Bird Eye Tracking
Autofocus must find a small moving subject against branches, reeds or sky and then hold it as the bird turns. Bird eye and animal subject detection help the camera stay on the head rather than a nearer twig, which improves sharpness where it matters most. Simple point selection suits perched birds, while wide tracking suits flight. Choose controls you can adjust without lowering the camera.
Burst Rate and Buffer for Birds in Flight
A fast burst gives you several wing positions during a takeoff or landing, so you can choose the clearest frame later. Rates of about 10 to 20 frames per second in electronic shutter mode suit many flight shots, but the buffer matters too, because a camera that slows after a short burst can miss the peak moment. A fast memory card helps the camera clear its buffer sooner.
Sensors for Dawn Light and Shaded Perches
Birds are most active at dawn and in shade, where light is low and shutter speeds must stay fast. A larger sensor, such as a full frame or APS C sensor, usually holds detail better at high sensitivity settings than a very small sensor. A 1 inch sensor in a compact can still work well at feeders in daylight. Megapixels alone do not guarantee quality.
Image Stabilization and Weather Sealing for Field Use
Image stabilization steadies the view and the photo when you shoot handheld, which matters most at long focal lengths where small hand movements look large. Stabilization in the lens, in the body or in both together can help you use a slower shutter speed on a perched bird. Weather sealing and a weatherproof build help in drizzle, dust and cold, but sealing is not waterproofing. Keep a simple rain cover in your bag.
Power for Long Waits and Sudden Action
Birding mixes long waits with sudden action, so battery life counts in hours in the field as well as shots per charge. A rating of about 300 to 500 shots can mean a full morning for a patient watcher or a short outing for a flight shooter who uses many bursts. USB C charging lets you top up from a power bank between spots. Clear menus and saved custom settings help new users miss fewer chances.
Choosing Between Camera Types for Birding
Point and shoot compacts with long optical zoom are the simplest route, because one fixed lens covers wide views and distant birds without lens changes. Mirrorless cameras pair a larger sensor with changeable telephoto lenses, giving better low light results and faster tracking at a higher total cost and weight. DSLR bodies remain usable if you already own a long lens.
If you need one camera for family, travel and birds, see our guide to the best digital cameras and our guide to the best photo cameras to compare general models first. Readers who aim for print sales can also see our guide to the best cameras for professional photos. For most readers, the best cameras for birding photos sit in the middle, with enough reach for birds and enough simplicity for daily use.
Common Mistakes to Avoid When Buying a Camera for Birding
These errors cost money or sharp photos, and each one is easy to spot before you buy.
- Judging a camera by megapixels alone leaves you with files that look large but show soft feather detail from a weak lens.
- Choosing digital zoom over optical zoom leaves distant birds as small enlarged shapes with no extra detail.
- Buying the longest lens without checking total weight leaves you leaving the camera at home on long walks.
- Ignoring battery life and charging options leaves you with a flat battery during the most active hour at dawn.
- Skipping weather sealing for regular wetland use leaves moisture and dust to shorten the life of the camera and lens.
How to Make Your Birding Camera Last Longer
Use a lens cloth, not your shirt, to clean the front glass, because grit on fabric can scratch coatings. Blow loose dust off first, then wipe in a slow circle from the center outward. Carry a spare battery and a spare card in a closed pocket, and keep the lens cap on while you walk between spots where branches can brush the glass.
Store the camera in a dry padded bag at home, away from damp and direct heat. After a wet outing, leave the bag open indoors until the body and lens feel fully dry. Check straps and caps often, because a worn strap drop can end a camera life faster than normal use.
Frequently Asked Questions
What features matter most in a camera for birding photos taken across open water?
Reach, autofocus tracking and burst rate matter most for birds across open water. Set exposure compensation ready on a dial, because pale herons against dark water often fool auto exposure and lose feather detail. A beanbag on a hide rail or car window can also steady a long lens without a full tripod setup.
What specs matter most for beginners buying a first camera for birding photos?
For a first birding camera, prioritize simple autofocus, helpful auto modes and reach of about 300 mm or more in full frame terms. Start in the mode that lets the camera set shutter speed, then learn one control at a time on feeder birds close to home. A tilting screen helps at low angles near ground feeding birds.
Is a smartphone enough for birding photos instead of a dedicated camera?
A smartphone is enough for tame birds at very close range, such as ducks at a park pond edge. Its small sensor and limited optical zoom mean distant songbirds stay tiny in the frame, and heavy cropping soon shows noise and soft edges. Many birders use a phone for a quick record shot and location notes, then rely on a dedicated camera for detail.
How much should I spend on a first camera for birding photos?
Plan about $300 to $700 for a long zoom compact, or about $1,200 to $2,500 for a mirrorless body with a telephoto lens. Set aside part of the budget for a spare battery, a fast card and a padded bag. Spending more mainly buys reach, tracking and low light quality, so match the tier to the distance you shoot most.
What focal length do I need for birding photos of small songbirds?
Small songbirds usually need about 500 to 600 mm in full frame terms when they sit across a garden or along a trail. At a close feeder setup of about 10 to 15 feet, about 300 to 400 mm can fill the frame well. Place feeders and a natural perch at a planned distance from your seat, because thoughtful placement shortens the reach you need to buy.
Final Thoughts
Match reach to your usual distance first, then check tracking, burst rate and total weight in that order. Use the product table above to confirm focal length, sensor and battery details for the type that fits your routine.
When you judge the best cameras for birding photos by use rather than by spec lists alone, the right choice becomes clearer and lasts longer. Pick the simplest setup you will carry often, learn its focus settings at home and let patient field time do the rest.


