Best Brush for Cut Crease for 2026: What Actually Matters Before You Buy
Disclosure: We may earn a commission when you buy through links on this page, at no extra cost to you. As an Amazon Associate I earn from qualifying purchases. Learn more
Learn how to choose the best brush for cut crease with this buying guide covering brush shape, density, size, bristles, and care for clean, sharp eye looks.
Choosing the best brush for cut crease work starts with precision, not with a large collection. A cut crease is a sharp line of eye shadow placed just above the natural crease of the eyelid, and the brush must place color exactly where you want it without dragging pigment across the lid. The right brush gives you control at the edge of the line, blends only where you choose to blend, and keeps the shape clean from the inner corner to the outer corner.
This guide compares brush shapes, sizes, bristle types, and handle designs so you can match a brush to your eye shape, your skill level, and your budget. Use the comparison table below, then work through the features that matter most before you buy.
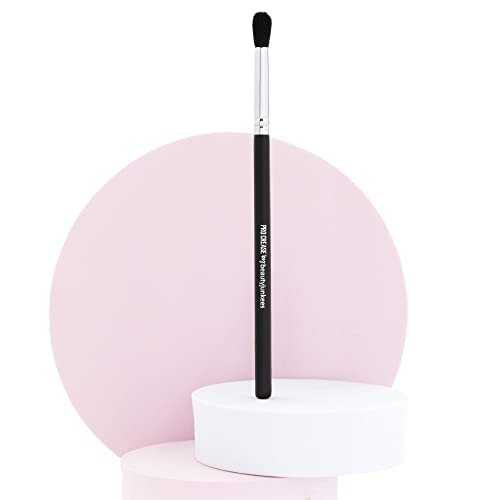


Key Features to Compare for a Cut Crease Brush
Small differences in shape change the result a lot, so compare each feature below against the line you want to create.
Shape and Edge Control
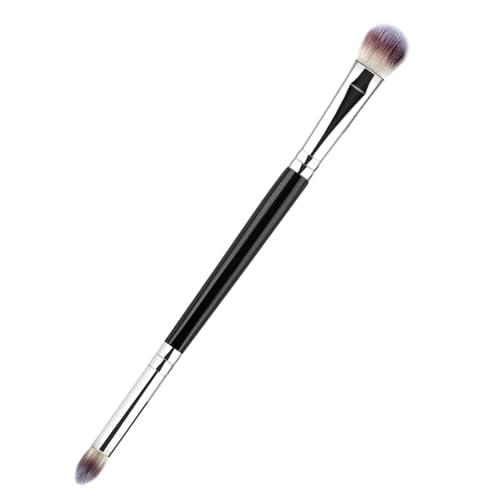
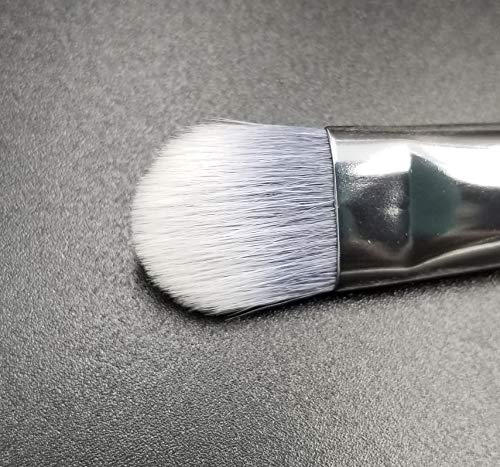
Shape is the first feature to compare, because it decides how sharp the line will be. A flat brush with a straight edge lays down a crisp line in one stroke, while a slightly tapered brush softens the edge a little and suits a more blended look. An angled brush helps you follow the curve of the crease, especially near the outer corner where the lid changes direction. Look for a head that holds its shape when pressed lightly against the skin, since a brush that splays out will blur the line you are trying to keep sharp.
Size and Eye Shape Fit
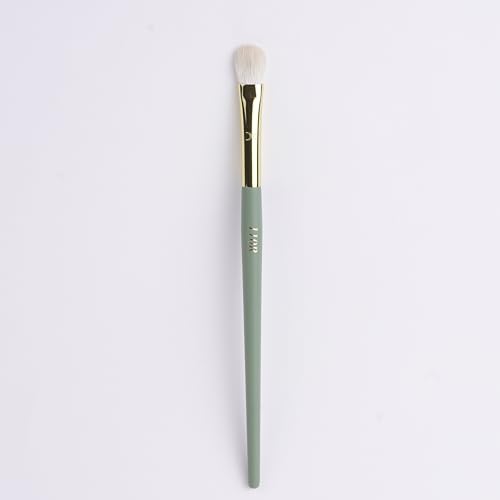
Size matters because eyelids vary a lot in width, depth, and visible space. A small head, roughly the width of a fingertip, gives more control on a small lid or a hooded lid, where space above the crease is limited. A larger head covers more area quickly but can place color too far above the crease on a smaller eye. If your lids are deep set, a slightly longer handle and a slim head help you reach the crease without your hand blocking your view.
Bristle Density and Firmness
Density decides how much color the brush picks up and how firmly it presses that color onto the skin. A dense, firm head deposits strong color in one pass, which suits a bold cut crease with a sharp edge. A softer, less dense head picks up less color and gives a lighter wash, which suits a subtle crease or a first attempt at the technique. Very soft brushes can feel pleasant but may bend and lose the edge, so check that the bristles spring back after a gentle press.
Bristle Material and Finish
Synthetic bristles are a practical choice for cream and liquid eye products, since they do not absorb as much product and they clean up easily. Natural bristles often pick up and lay down powder more evenly, which can help when you work with powder eye shadow. Either type can work well, so match the material to the products you use most often. Also check the finish of the bristle tips, since smooth, tapered tips feel gentler on the lid and give a cleaner edge than blunt, rough cut tips.
Ease of Use and Handle Design
Handle design affects control more than many buyers expect. A short, light handle gives fine control for detailed work close to the mirror, while a longer handle can feel steadier if you hold the brush farther back. A handle that is too thick can tire your fingers during a careful application, and a handle that is too thin can feel unstable. Look for a balanced brush that does not feel heavy at the head, since a head heavy brush can press too hard and drag color.
Cleaning, Durability, and Value
A cut crease brush needs regular cleaning, because built up eye shadow dulls color and blurs edges over time. Check that the bristles stay in shape after washing and drying, and that the ferrule, the metal band that holds the head, stays tight and does not wobble. Keep the maker care guide for washing and drying advice, and replace a brush when the edge no longer holds a clean line. For general safety, follow the maker guidance on cleaning and storage, and keep small parts and loose bristles away from children.
Spending Levels: What Changes With Price
At a low spending level, about $5 to $15, you can find a simple, firm brush that draws a clean line, though the handle may feel plain and the bristles may wear sooner. A mid range brush, about $15 to $30, usually offers a better shaped head, smoother bristle tips, and a more balanced handle, which makes careful work easier. At a higher level, about $30 to $50, you pay for finer shaping, more consistent bristle quality, and a finish that survives frequent washing. If you want several sizes for different looks, see our guide to best brushes sets and compare whether a set or a single brush gives you better value for the shapes you actually use.
Quick Buyer Checklist
Run through these questions before you order:
- Does the head hold a straight edge when pressed lightly?
- Is the head small enough for your lid and crease space?
- Is the brush firm enough to deposit color in one pass?
- Does the bristle type suit the cream or powder products you use most?
- Does the handle feel balanced and easy to control?
- Will the brush keep its shape after washing and drying?
Red Flags to Watch For
Watch for vague descriptions that never state the head shape, size, or bristle type, since those details decide the result. Be cautious about brushes that shed bristles, wobble at the ferrule, or arrive with a bent or splayed head. Very short warranties or no maker support can signal weak construction, and claims that one brush suits every eye shape and every technique should be treated with doubt. Look for a listing with a clear view of the brush head.
Setup and Care Tips
Read the maker guide before first use, and wash a new brush gently if the maker advises it. Clean the brush regularly with a gentle cleanser made for cosmetic brushes, reshape the head while it is damp, and let it dry flat or with the head pointing down so water does not sit in the ferrule. Store the brush in a dry place with the head protected, and inspect it often for loose bristles or a loose ferrule. Replace the brush when the edge no longer draws a clean line, even if the handle still looks new.
Brushes: Your Questions Answered
What features matter most in brushes for cut crease?
The head shape, size, and firmness matter most, because they decide how sharp and controlled the line will be. A small, firm, flat or tapered head places color exactly in the crease and keeps the edge clean, while a large or soft head blurs the line. Bristle material comes next, since it should suit the cream or powder products you use most often. Handle balance also helps, because a steady grip gives you finer control near the mirror.
How much should I spend on a brush?
Most buyers can find a good cut crease brush for about $10 to $30, which covers a well shaped head and a comfortable handle. A lower priced brush can work well if the head holds its edge and the bristles do not shed, so check those points before judging on price. Spending more usually buys finer shaping and longer lasting bristles rather than a different technique. If you are new to the look, start at a modest price and spend more only after you know which head size suits your lids.
Are expensive brushes worth it?
An expensive brush can be worth it when it holds a sharper edge, feels better balanced, and survives many washes without splaying. Those gains matter most if you create the look often or work with detailed, bold lines. For occasional use, a mid priced brush often gives nearly the same result, since the technique and the products matter as much as the tool. Value depends on how often you use the brush and how long it keeps its shape, not on the price tag alone.
How long does a brush last?
A well made cut crease brush can last about one to two years with regular cleaning and careful storage, though heavy daily use shortens that time. The first signs of wear are a splayed head, bristles that no longer spring back, or a loose ferrule. Replace the brush when the edge can no longer draw a clean line, because a worn head will blur the crease no matter how careful your technique is.
How do I maintain a brush?
Clean the brush often with a gentle cleanser, rinse until the water runs clear, and reshape the head before drying. Let it dry flat or with the head pointing down, and store it in a dry place away from heat and direct sunlight. Avoid soaking the handle for a long time, since water can loosen the ferrule and damage the glue inside. Inspect the brush after washing for shed bristles or wobble, and keep it out of reach of children when it is not in use.
Wrapping Up
The best choice comes down to three points: a head shape that draws a clean edge, a size that fits your lid, and bristles firm enough to deposit color without dragging. Match those points to the products you use most, check the handle balance, and choose a price level that reflects how often you will use the brush. For a final check, revisit the product table above and the checklist in this guide, then choose the best brush for cut crease work for your own eye shape and skill level.