Best Bike Tubes for Mountain Bikes: A First Time Buyer's Guide for 2026
Disclosure: We may earn a commission when you buy through links on this page, at no extra cost to you. As an Amazon Associate I earn from qualifying purchases. Learn more

Shopping for the best bike tubes for mountain bikes for the first time? Learn the terms, compare options, and avoid rookie mistakes with this easy guide.
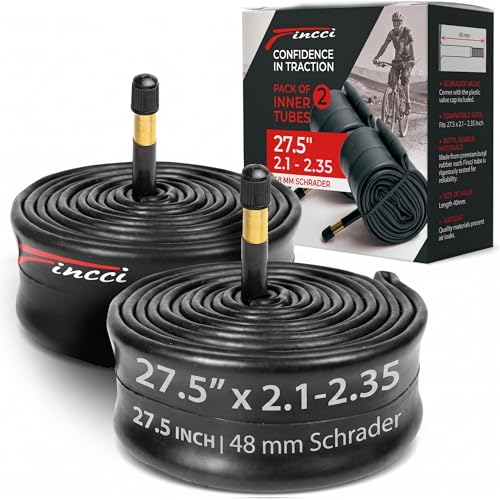
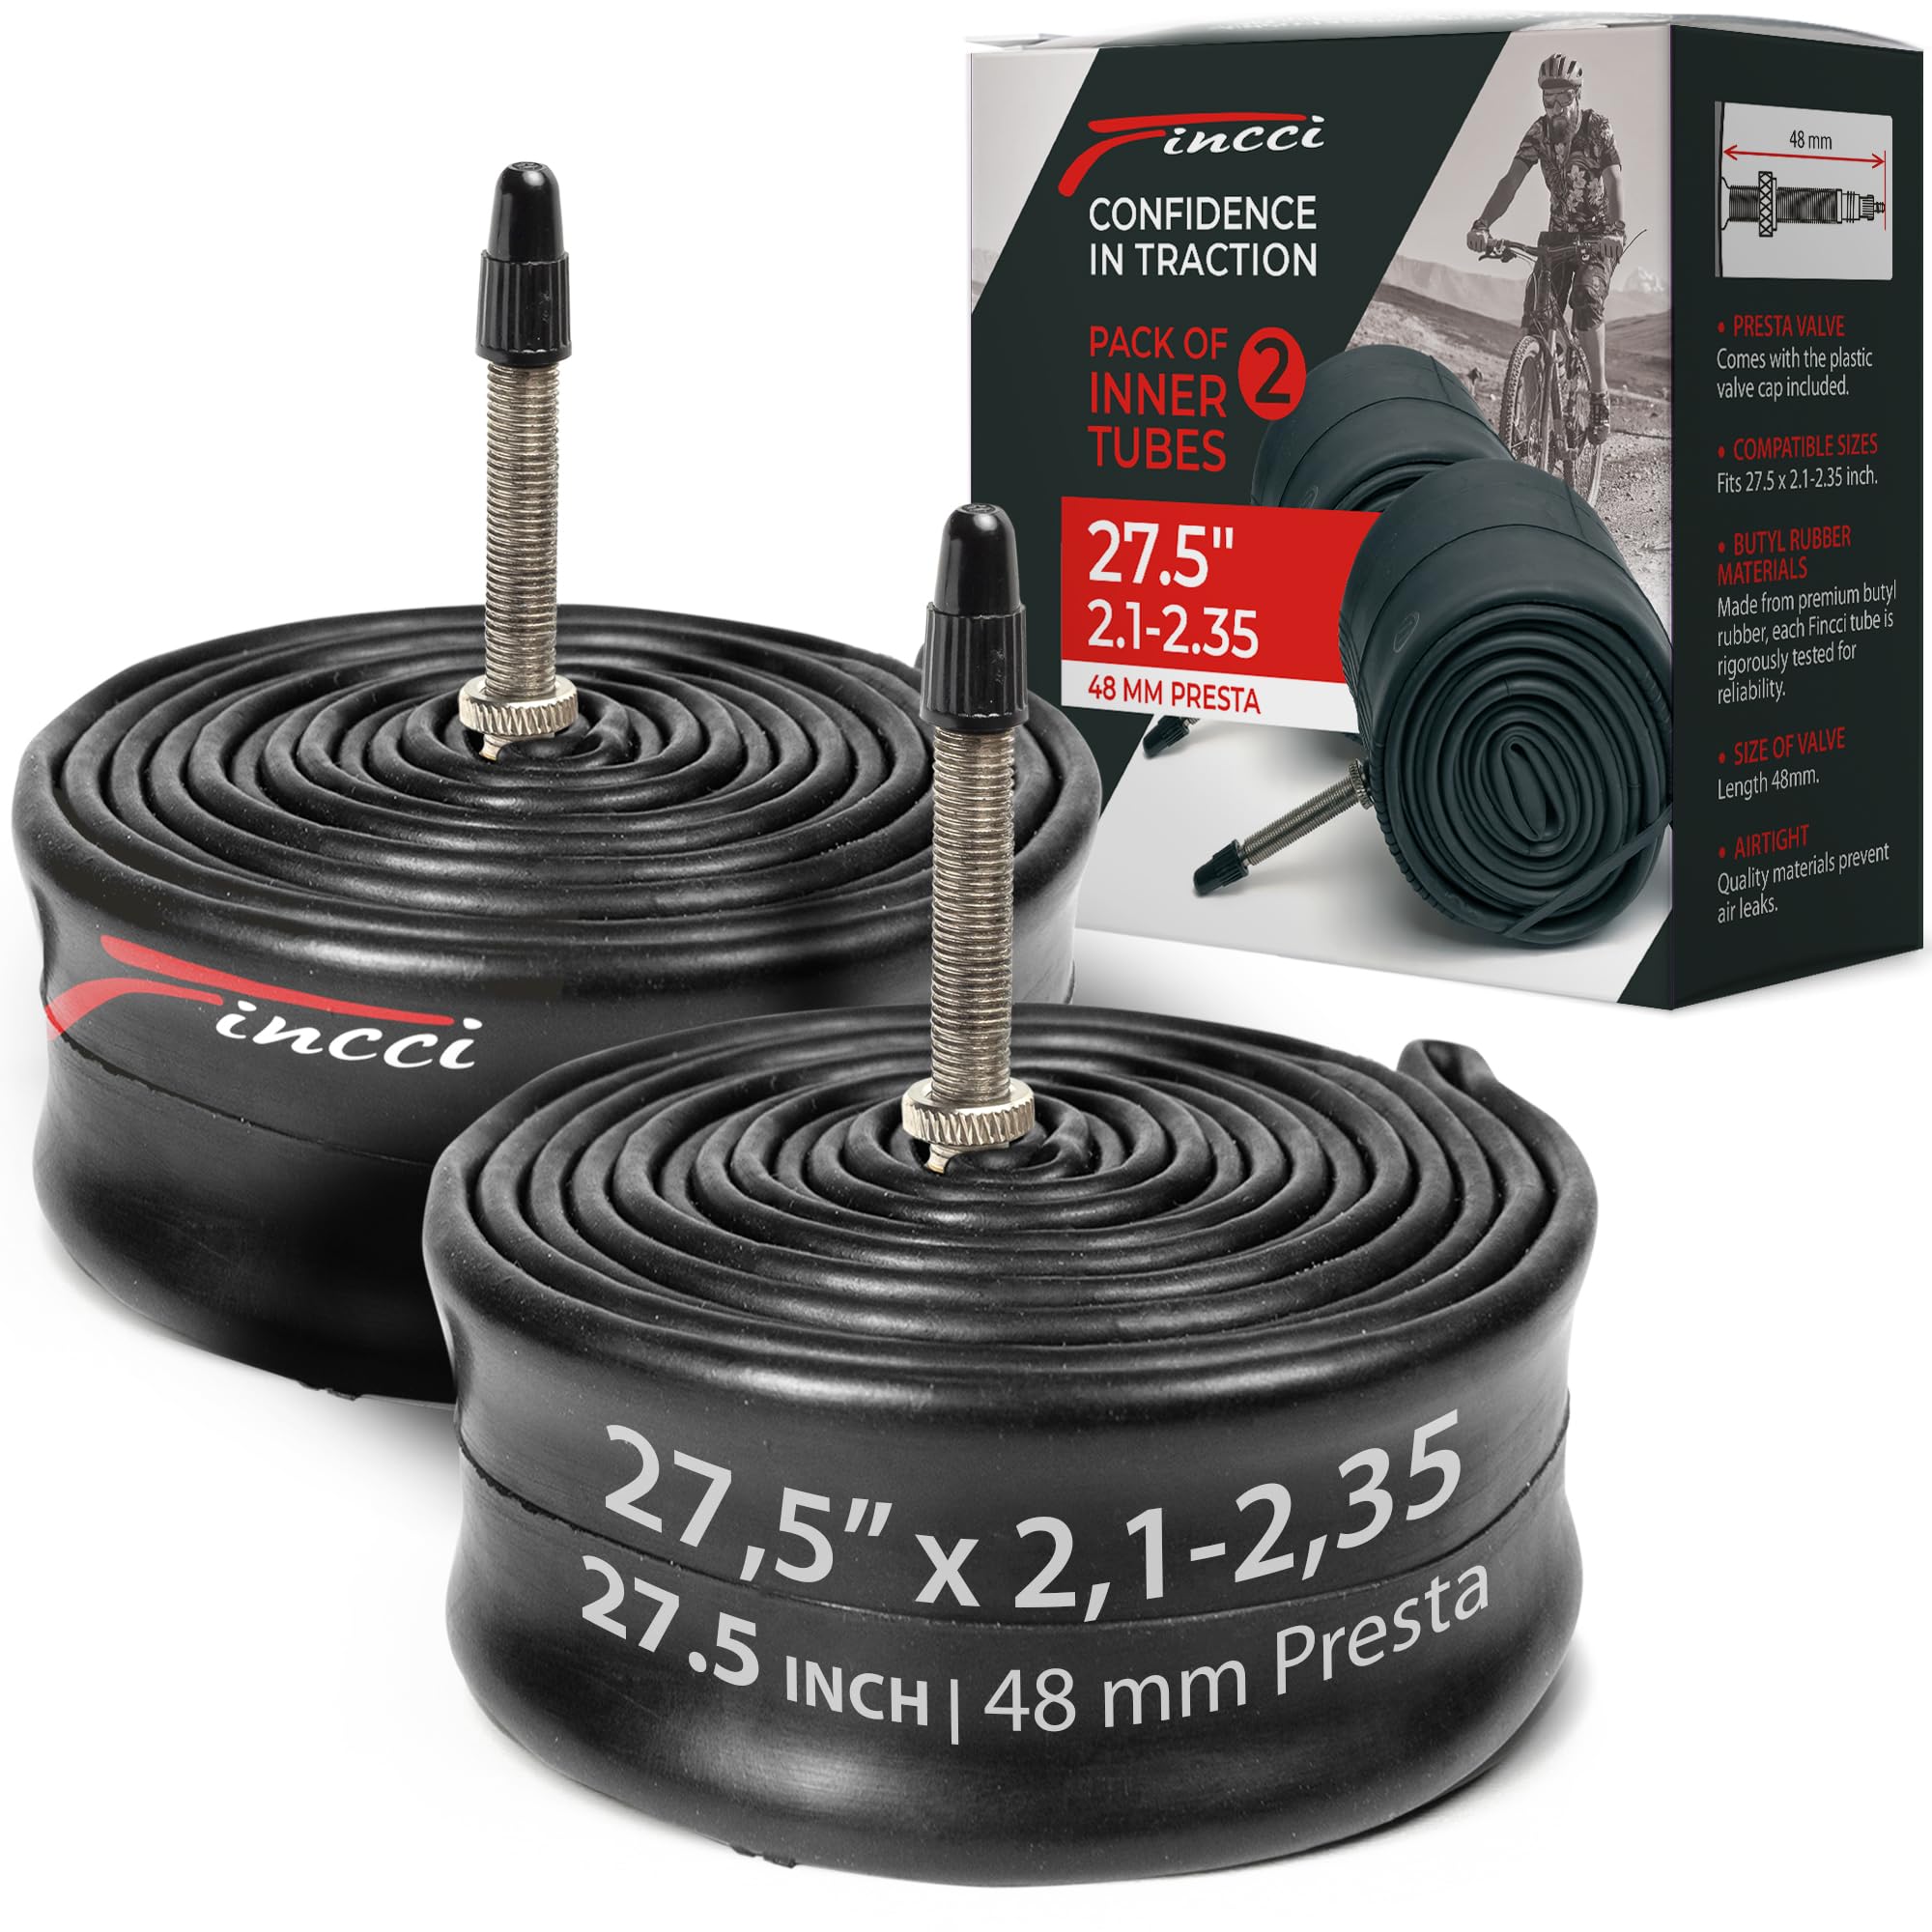
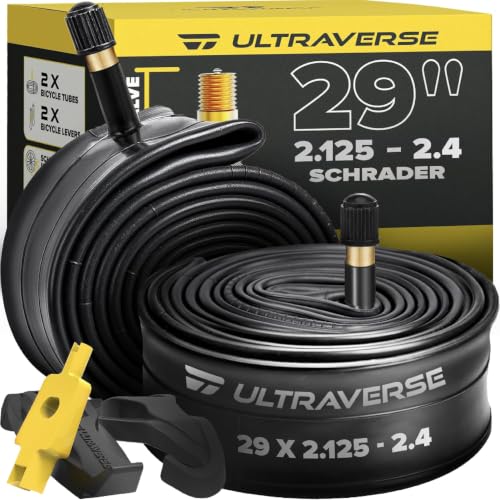
A flat tire is how most new riders first meet the humble inner tube, usually mid ride. Choosing the best bike tubes for mountain bikes is simpler than it looks, because a tube only has to match three things: your wheel size, your tire width, and your valve type. This guide explains each term in plain English. The comparison table below puts the main tube options side by side so you can see the tradeoffs at a glance.
You do not need to know anything about suspension, gears, or motors to buy the right tube. If you can read the numbers printed on your tire sidewall, you already hold the information that matters most.




Bike Tubes 101: The Basics
A bike tube is a ring of thin rubber that sits inside your tire and holds the air that cushions your ride. When you pump air through the valve stem, the tube expands until it fills the tire, while the tire itself provides the tread and most of the puncture protection. Shops also call it an inner tube, and our guide to the best inner tube for mountain bike shopping covers the same ground with extra sizing charts.
Tubes are a consumable, not a permanent part of the bike. Rubber ages and valves bend, so most riders keep at least one spare in a pack or saddle bag. A fresh tube costs little, and carrying one is the difference between a ten minute trailside fix and a long walk back to the car.
Key Specs Explained in Plain English
Four specs decide whether a tube works on your bike: size, valve type, thickness and weight, and material. Packaging often shortens mountain bike to MTB, and the same four specs appear in every guide to the best mtb mountain bike as appear here. The sections below take them in order, because getting the first one wrong makes the rest irrelevant.
Size Comes First: Match the Tube to Your Tire
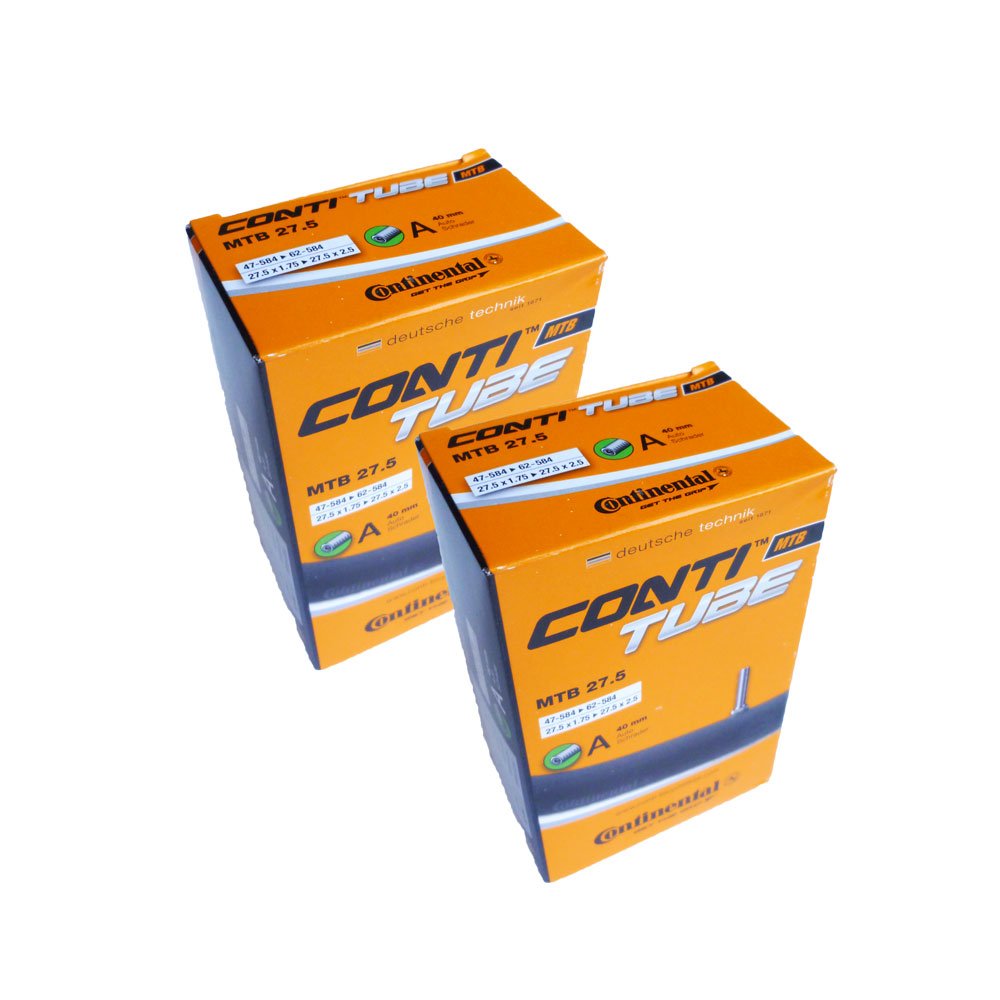
Size governs whether a tube fits at all, so read it before anything else. Every mountain bike tire has its size printed on the sidewall, written as a diameter and a width, such as 29 x 2.3, and the tube box shows the same numbers, often as a range. The diameter must match exactly: a 29 inch tube belongs in a 29 inch tire, and a 27.5 inch tube will not stretch safely into one.
Width is more forgiving, because tubes are sold in ranges such as 1.9 to 2.35 inches, and your tire width only needs to fall inside the range. Riders comparing the best tubes for mountain bike tires will notice that plus size tires, about 2.6 to 3.0 inches wide, need tubes from the wider ranges, since a narrow tube stretched too thin is far more likely to fail.
Valve Type: Presta or Schrader
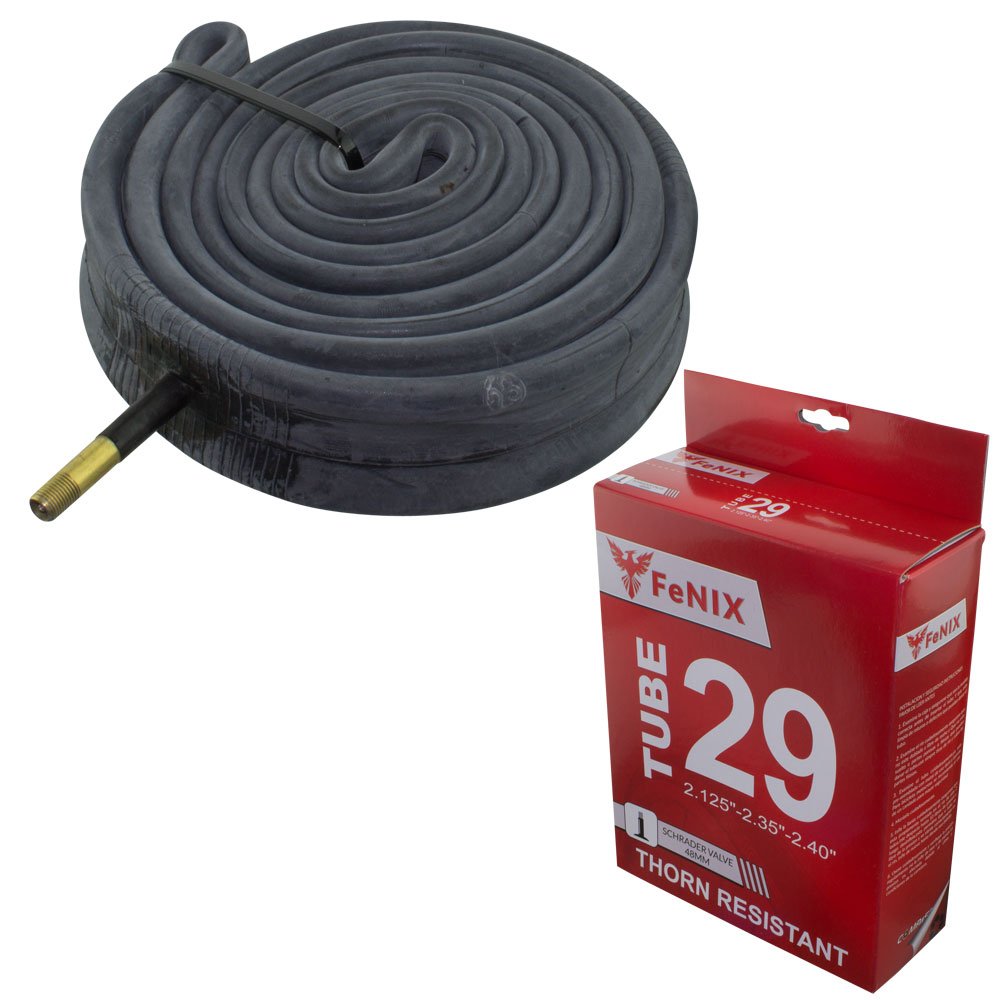
After size, check the valve, the small stem you attach the pump to. Mountain bikes mostly use Presta valves, which are slim and metal, with a tiny threaded tip you unscrew before inflating. Schrader valves are the wider style found on car tires, and they appear on some entry level mountain bikes.
Your rim decides which one you need, because the valve must pass through the hole drilled in the rim, and a Presta valve in a Schrader sized hole will wobble and can tear at the base. Also check valve length: standard stems are about 32 mm, while deep section rims need longer stems of about 48 mm or 60 mm so the pump head can grip.
Thickness, Weight, and Thorn Protection
Tube weight is really a story about thickness. A standard butyl tube weighs about 130 to 200 grams depending on size, and it is the right default for most trail riding. Lightweight tubes shave that figure with thinner walls, which makes them a little more fragile and a little harder to patch.
At the other end, thorn resistant tubes use much thicker rubber, sometimes two or three times the weight, so sharp thorns and glass shards are less likely to reach the air inside. Our guide to the best thorn resistant mountain bike tubes explains where that trade pays off. Every gram saved in a tube is bought with puncture protection, so choose thickness for the trails you actually ride.
Material: Butyl or Latex
Almost every tube you will meet is made of butyl, a synthetic rubber that holds air well and costs little, and butyl tubes lose pressure slowly, so a weekly top up keeps them in range. Latex tubes are the other option: they feel supple and resist pinch flats well, but they leak air faster and usually need pumping before every ride.
Latex also costs more and is less common in mountain bike sizes. For a first purchase, butyl is the sensible default, and you can experiment with latex later if you enjoy fine tuning your setup.
Why Mountain Bike Tubes Work Harder
Mountain biking asks more of a tube than road riding does. Trail tires run at low pressures for grip, often about 25 to 35 psi, and at those pressures a hard impact can squeeze the tube against the rim and cut it, a failure riders call a pinch flat or snake bite. Loose rocks, roots, and thorns add puncture risks that smooth pavement never presents. That is why tube choice here leans toward correct width ranges and, on rough or thorny trails, thicker walls.
Tubes for Specific Riding Needs
Once the basics fit, match the tube to how and where you ride. Two common cases cover most first time buyers.
Best Bike Tubes for Mountain Biking
Trail riding under the broad label of mountain biking mixes climbing, descending, and everything between, so versatility matters more than any single spec. Choose a standard weight butyl tube in the middle of your tire width range, and carry the same tube as your spare so one size covers both wheels. If your riding matches the best all mountain mountain bike category, meaning wide tires, low pressures, and rough descents, pick tubes from the wider ranges and lean toward thicker walls, because that is where pinch flats happen.
Spares for Everyday Trail Riders
Most riders need nothing exotic: two standard tubes, one fitted and one spare, cover a season of ordinary trail use. Buy the spare at the same time so the sizes match, and store it away from sunlight and sharp tools, since rubber degrades in light.
Rookie Mistakes to Avoid
- Buying by diameter alone, because a 29 inch tube with the wrong width range can bunch up or stretch thin inside the tire, and both errors end in a flat.
- Forgetting to find the cause, because the thorn or glass shard that caused the flat will puncture the new tube within minutes if you swap tubes without checking inside the tire.
- Pinching the tube during installation, because a tube trapped under the tire bead gets cut before the wheel ever turns.
- Overinflating on the trail, because pumping past the pressure range on the sidewall makes the ride harsh and can blow the tire off the rim.
- Riding with no spare, because a tube is small and light, and the one ride you leave it at home is usually the ride you need it.
Getting Started: Installing Your First Tube
Changing a tube is a skill every rider learns once and uses for years. Practice it at home first, then work through these steps in order.
- Let the remaining air out, then push one side of the tire bead off the rim with tire levers.
- Pull the old tube out and inflate it slightly to find the hole, then match the hole position against the tire to locate the cause.
- Run a cloth carefully inside the tire and remove any thorn, glass, or wire you find.
- Pump a small amount of air into the new tube so it holds its shape, then place the valve through the rim hole and tuck the tube inside the tire.
- Push the bead back onto the rim with your thumbs, keeping the tube clear of the bead so it is not pinched.
- Inflate to the pressure range on the tire sidewall and check that the bead line sits evenly around the rim.
Bike Tubes: Your Questions Answered
What features matter most in bike tubes for mountain bikes?
Correct size matters most, followed by the right valve type for your rim. After those two, thickness is the real choice: standard walls for ordinary trails, thicker walls where thorns are common. One point riders miss is the rim strip, the tape covering the spoke holes inside the rim. If that strip is cracked or shifted, even a perfect tube will flat from the inside, so inspect it at every tube change and replace it when it looks worn.
How much should I spend on mountain bike tubes?
Expect about $6 to $12 for a standard butyl tube, about $10 to $18 for a lightweight one, and about $12 to $20 for a thorn resistant tube. Buying in pairs or small multipacks usually lowers the cost per tube. Spending more buys thickness or lower weight, not a different fit, so there is little reason to pay premium prices until you know which tradeoff suits your trails.
Can I patch a mountain bike tube, or should I replace it?
You can patch most punctures, and a good patch is nearly as strong as the original rubber. Patches work best on the round part of the tube, away from seams. A hole right at the base of the valve stem cannot be patched reliably, because that area flexes every time you attach a pump, so replace the tube in that case. Many riders patch at home and carry a brand new tube as the trailside spare.
Can I use a Presta tube in a rim drilled for Schrader valves?
You can, but only with a small rubber grommet or adapter sleeve that fills the larger hole. Without one, the slim Presta stem moves around, and the edge of the hole slowly saws into the stem base until it leaks. The reverse swap is not possible, since a Schrader stem will not fit through a Presta sized hole. When in doubt, match the valve to the rim and keep your spare the same type.
Is there one best tube for every kind of mountain biking?
No, and that is good news, because it means a cheap standard tube is right for most riders. The search for the best bike tube for mountain bike use really splits by trail: smooth and flowing trails reward a light standard tube, while rocky or thorny routes reward thicker rubber. Match size and valve to your bike first, then let your local terrain decide the thickness, and you will rarely go wrong.
Final Thoughts
Start with the numbers on your tire sidewall, because size and valve decide whether a tube works at all. Then choose thickness for your terrain: standard for most trails, thicker where thorns rule, lighter only when you accept the tradeoff. The product table above gathers the main options in one place for a quick comparison. Keep a matched spare and learn the six step change once at home, and the best bike tubes for mountain bikes become a cheap consumable you barely think about.