Best Bicycle Tire Pressure Gauge for 2026
Disclosure: We may earn a commission when you buy through links on this page, at no extra cost to you. As an Amazon Associate I earn from qualifying purchases. Learn more
Shopping for a bicycle tire pressure gauge? Compare gauge types, valve fit, accuracy and reading ranges so you can pick the right tool for your rides.
A best bicycle tire pressure gauge is a small tool that takes the guesswork out of pumping up your tires. Tires that are too soft feel sluggish and can pinch flat on a curb or a root, while tires that are too hard bounce over bumps and lose grip. A gauge lets you set the pressure you actually want, ride after ride, instead of squeezing the tire and hoping.
This guide starts with the basics, then explains the features that matter in plain language, so you can choose with confidence. The comparison table below gives a quick overview of the main gauge types, and the sections that follow explain how to match one to your bike, your valves, and your riding style.
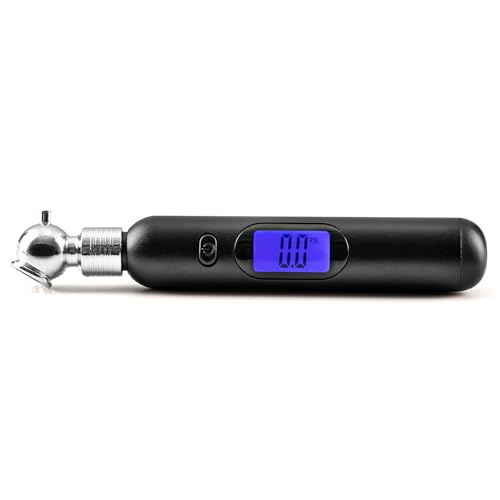
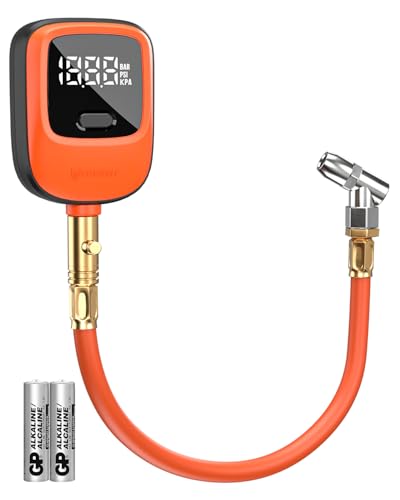
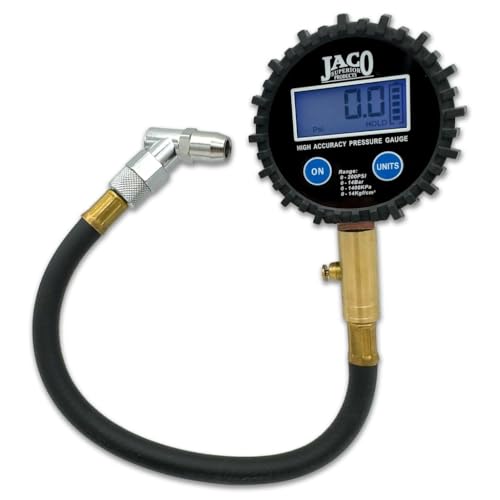
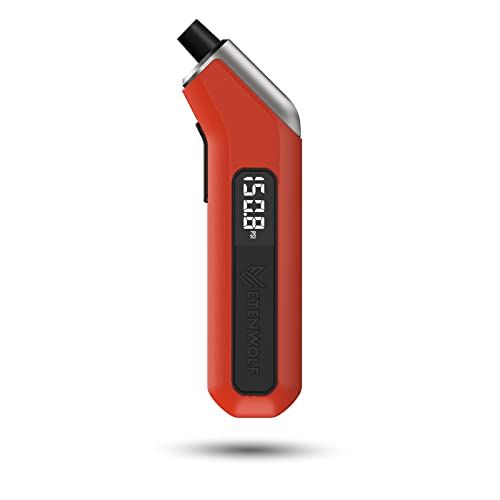
Best Bicycle Tire Pressure Gauge 101: The Basics
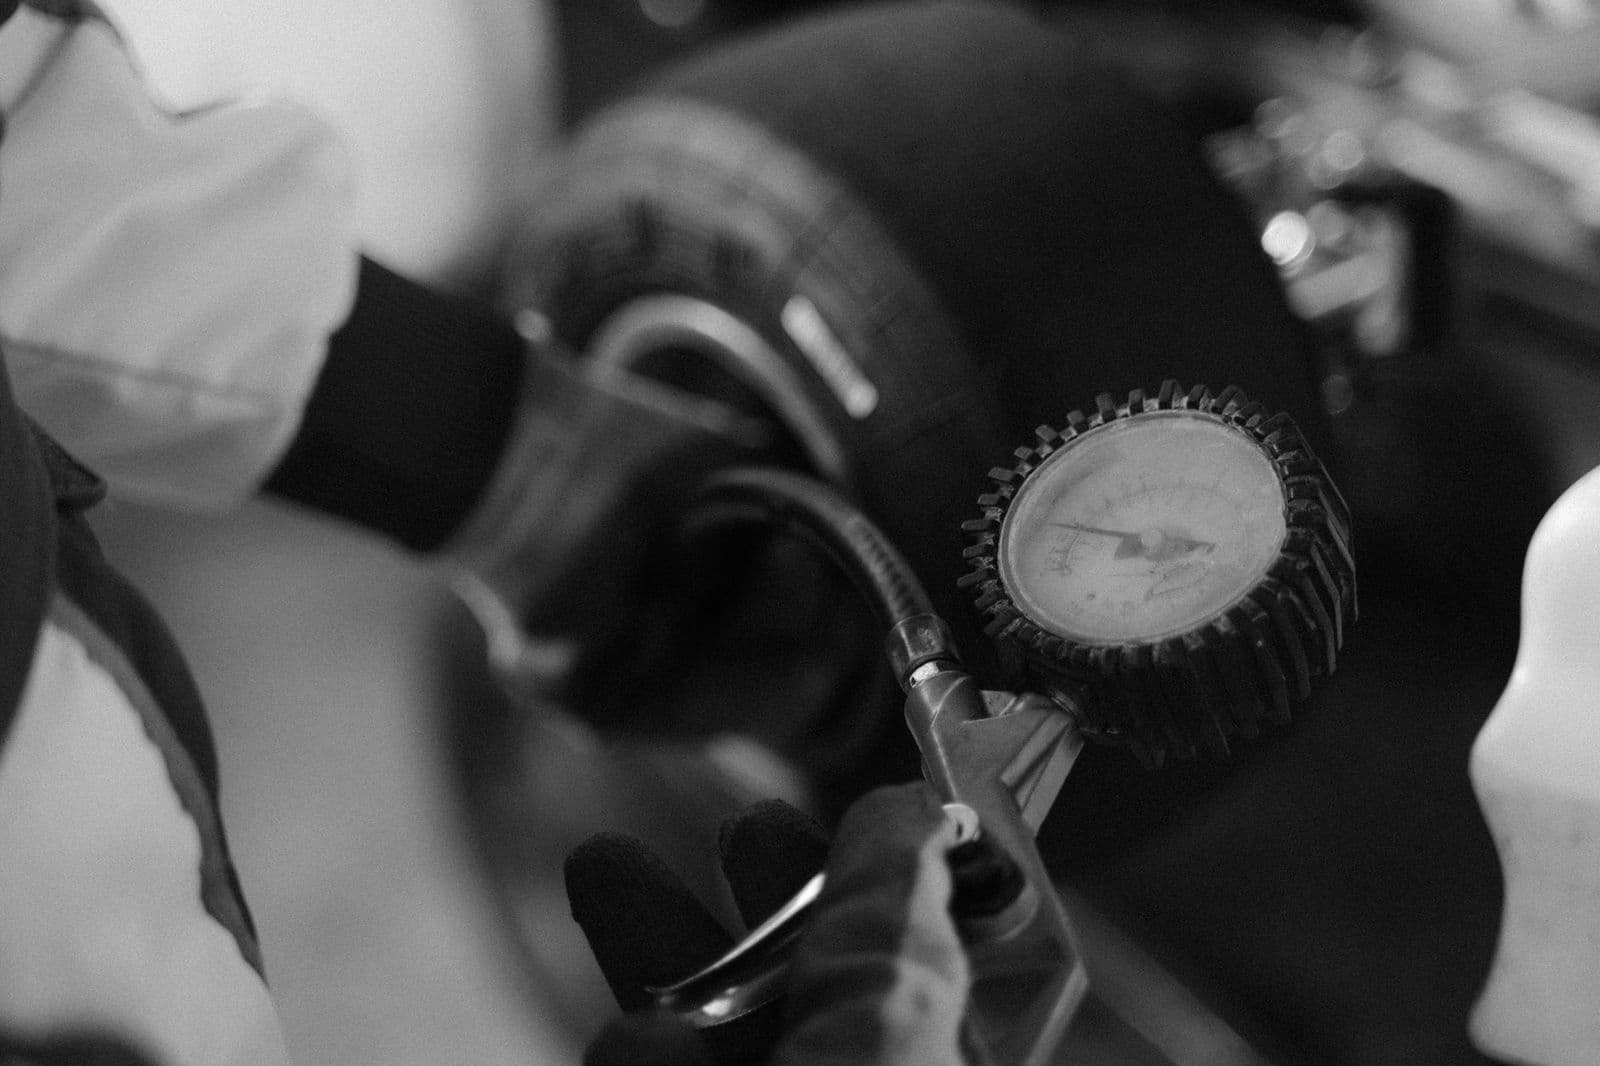
A bicycle tire pressure gauge measures the air pressure inside a tire and shows it in pounds per square inch, usually written as PSI, or in bar. You press the gauge onto the valve, it reads the pressure, and you either add air or let a little out until the number matches your target. Some gauges attach to a pump, while standalone gauges are carried in a pocket or a saddlebag for checks on the road or trail.
Most riders check pressure before every ride, because tires slowly lose air over days and weeks. Softer tires grip better on loose trails, while firmer tires roll faster on smooth pavement.
Key Specs Explained in Plain English
The numbers on a gauge box look technical, but only a handful really change your buying decision. The sections below translate each one into what it means on a real ride.
Gauge Types and Display
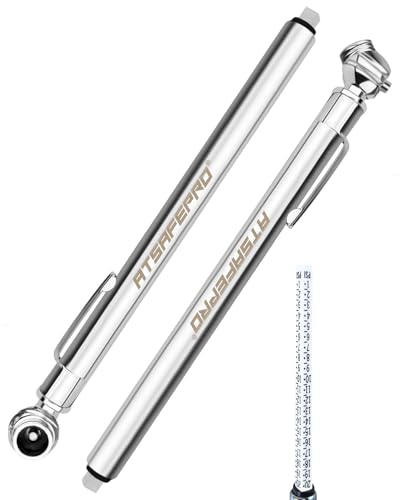
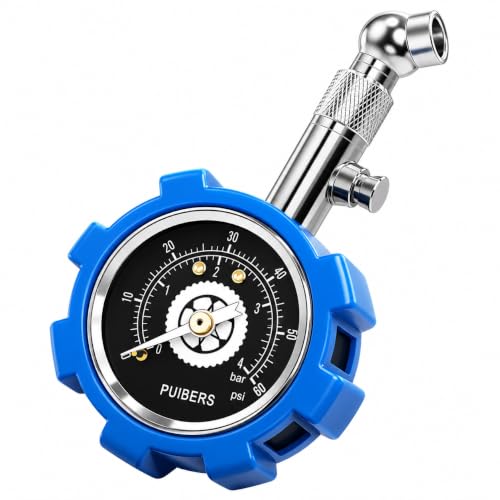
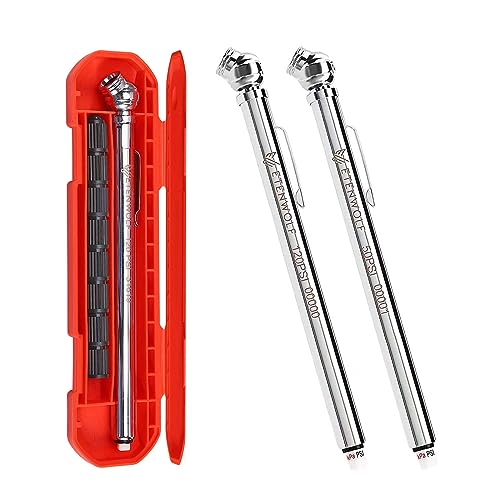
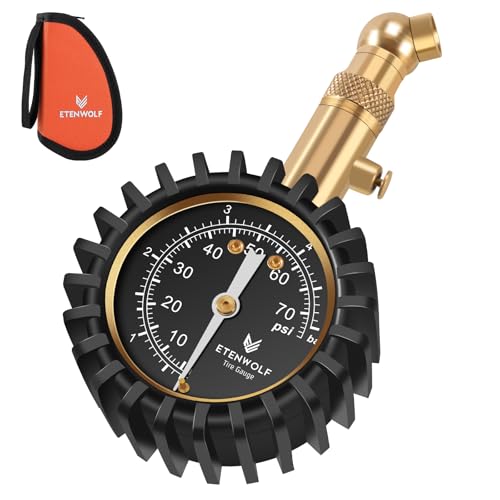
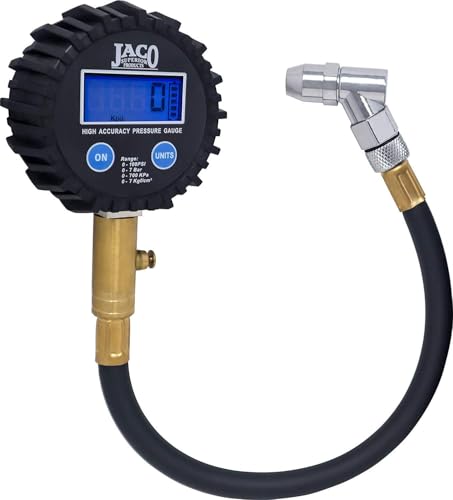
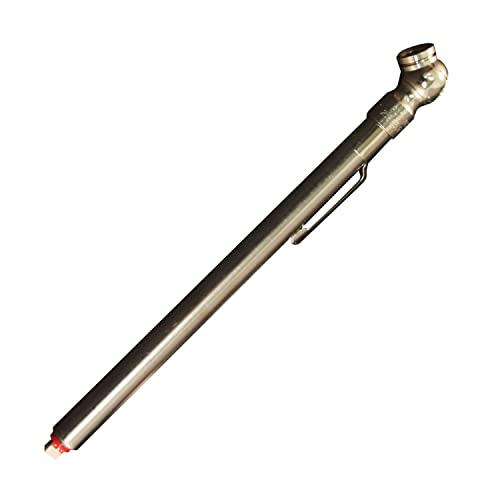
There are three common styles. A digital gauge shows a clear number on a screen, which is easy to read in dim light. An analog dial gauge uses a needle on a round face and needs no battery. A pencil gauge is a slim stick that pops out a marked rod, and it is the lightest and cheapest option, though it can be harder to read precisely.
Choose the display you can read quickly in the conditions where you ride. Digital screens help in a dark garage or at dawn, while a large analog dial suits gloved hands. A gauge you struggle to read will not get used, no matter how accurate it claims to be.
Valve Fit and Compatibility
Bikes use two main valve types. Presta valves are slim and common on road, gravel, and many mountain bikes, while Schrader valves are wider and match car tire valves. Some gauges fit both types with a reversible head, while others fit only one type. Check your valves before you buy.
A good seal matters more than any extra feature. If the head leaks air while you read it, the number will drop and you will chase a moving target. Press the head straight onto the valve and hold it steady for a second or two.
Accuracy and Pressure Range
Accuracy tells you how close the reading is to the true pressure, often stated as within 1 PSI. For most riders, that level is plenty, since a difference of 1 or 2 PSI is hard to feel on the road. What matters more is repeatability: a gauge that gives the same reading for the same tire every time.
Range matters too. Road tires often run at higher pressures than wide mountain bike tires, so pick a gauge whose scale covers your tires with room to spare. Match the range to the bikes you actually ride, and check the maker's stated range before ordering.
Size, Weight, and Portability
A gauge for home use can be larger and easier to grip, while a trail gauge needs to fit a jersey pocket or a saddlebag. Pencil gauges are the smallest, digital gauges are usually pocket sized, and dial gauges with a hose can be bulkier but easier to hold steady.
Weight rarely decides a home tool, but it matters for riders who carry a minimal repair kit. A small digital gauge adds very little to a saddlebag and pairs well with a mini pump.
Build Quality and Power
Look for a solid body, a valve head that fits snugly, and a display or dial that survives being dropped in a toolbox. Metal bodies tend to last longer than thin plastic ones. Check whether the gauge has a bleed button, which lets you release a little air in small steps while the gauge stays on the valve.
Digital gauges need a battery, usually a small coin cell, so check how the battery is replaced and whether the gauge switches itself off to save power. Analog and pencil gauges need no power at all, which is one reason many riders keep one as a backup.
Types of Gauges Compared
| Type | Best for | Watch out for |
|---|---|---|
| Digital | Quick, clear readings in low light | Battery life and screen durability |
| Analog dial | No battery, easy to read at a glance | Size and needle accuracy at low pressure |
| Pencil | Lightest carry option on a budget | Harder to read precise numbers |
For a closer look at gauges built for trail use, see our guide to the best mountain bike tire pressure gauge. If you want a gauge built into your inflation setup, our guide to the best bicycle pumps with gauge covers pumps that read pressure as you pump. Riders who prefer to keep the two tools separate can compare options in our guide to the best bicycle tire pumps.
Rookie Mistakes to Avoid
- Trusting a squeeze test: A tire can feel firm by hand while still being well below your target, especially a wide tire. Use the gauge every time and record the number that feels right.
- Checking only one tire: Front and rear tires often run at different pressures, and both lose air at different rates. Check both before every ride, not just the one that looks low.
- Reading while air escapes: A loose or crooked head leaks air and gives a low reading. Seat the head straight, hold it steady, and read before you remove it.
- Using the wrong valve setting: A dual head set to the wrong valve type will not seal or read correctly. Confirm the setting matches your valve before you press it on.
- Ignoring the maker's range: A gauge used far outside its stated range can read poorly at the pressures you actually ride. Match the range to your tires before you buy.
Getting Started: Setup and First Use
Start by finding your target pressure. Check the tire sidewall for its maximum, then look at a pressure chart for your weight and tire width. Many riders start near the middle of the recommended range and adjust from there based on grip and comfort.
To take a reading, remove the valve cap, press the gauge straight onto the valve, and hold it until the number settles. Add air with a pump if the reading is low, or press the bleed button briefly if it is high, then read again. Keep the valve head clean and dry.
On the trail, a quick check before a long descent can prevent a soft tire from pinch flatting on a rock. Follow local trail rules, ride within your skill level, and carry a pump and a spare tube alongside your gauge.
Frequently Asked Questions
How often should I check my bicycle tire pressure?
Check before every ride, since tires lose air slowly even when they are not being used. A quick check takes only a few seconds and keeps your handling consistent from day to day. Riders who store a bike for weeks should check before the first ride back, because pressure can drop noticeably during storage. If you notice one tire losing air much faster than the other, inspect the valve and tire for a slow leak before your next ride.
What pressure should I run in my bicycle tires?
Your target depends on your weight, tire width, and surface. Wider tires generally run lower pressures than narrow tires, and rough trails call for lower pressures than smooth pavement for extra grip. Start with the range printed on the tire sidewall or given by your bike maker, then adjust in small steps of 2 to 3 PSI. Note what feels best for climbing, cornering, and comfort, and use your gauge to repeat that setting.
Can a bicycle tire pressure gauge fit both Presta and Schrader valves?
Many gauges do, using a dual head or a reversible insert that switches between the two valve shapes. Check the product description for both valve types before you buy, and confirm the switching method is simple enough to use with cold or gloved hands. If you only ride one valve type, a single fit gauge can be simpler and less likely to be set wrong. Adapters also exist, but they add a small part that can be lost on the trail.
Are digital gauges more accurate than dial gauges?
Digital gauges are usually easier to read precisely, since they show an exact number instead of a needle position. Dial gauges can be just as accurate when they are well made, and they need no battery. The practical difference is often readability rather than raw accuracy, so choose the display you trust at a glance. Either type beats guessing by hand, and a gauge that gives repeatable readings matters more than a tiny difference in stated accuracy.
When should I replace a bicycle tire pressure gauge?
Replace a gauge when its readings stop matching a second gauge or a trusted pump reading, or when the valve head no longer seals well. A cracked screen, a bent needle, or a sticky bleed button are also signs that it is time for a new one. Digital gauges may only need a fresh battery, so try that first before replacing the whole tool. Keeping a simple backup gauge at home lets you spot a failing gauge before it misleads you on a ride.
Wrapping Up
The three choices that matter most are valve fit, a pressure range that covers your tires, and a display you can read quickly. Get those right and the rest, such as size and battery type, becomes a matter of personal preference. Match the gauge to the bikes you ride most, and use it consistently so your tire settings become repeatable instead of guesswork.
Choosing the best bicycle tire pressure gauge means starting every ride with the right setup. Check your valve type, compare the gauge types in the table above, and pick the gauge you will actually reach for before every ride.