Best Bicep Exercises with Kettlebells (Explained Simply for 2026)
Disclosure: We may earn a commission when you buy through links on this page, at no extra cost to you. As an Amazon Associate I earn from qualifying purchases. Learn more
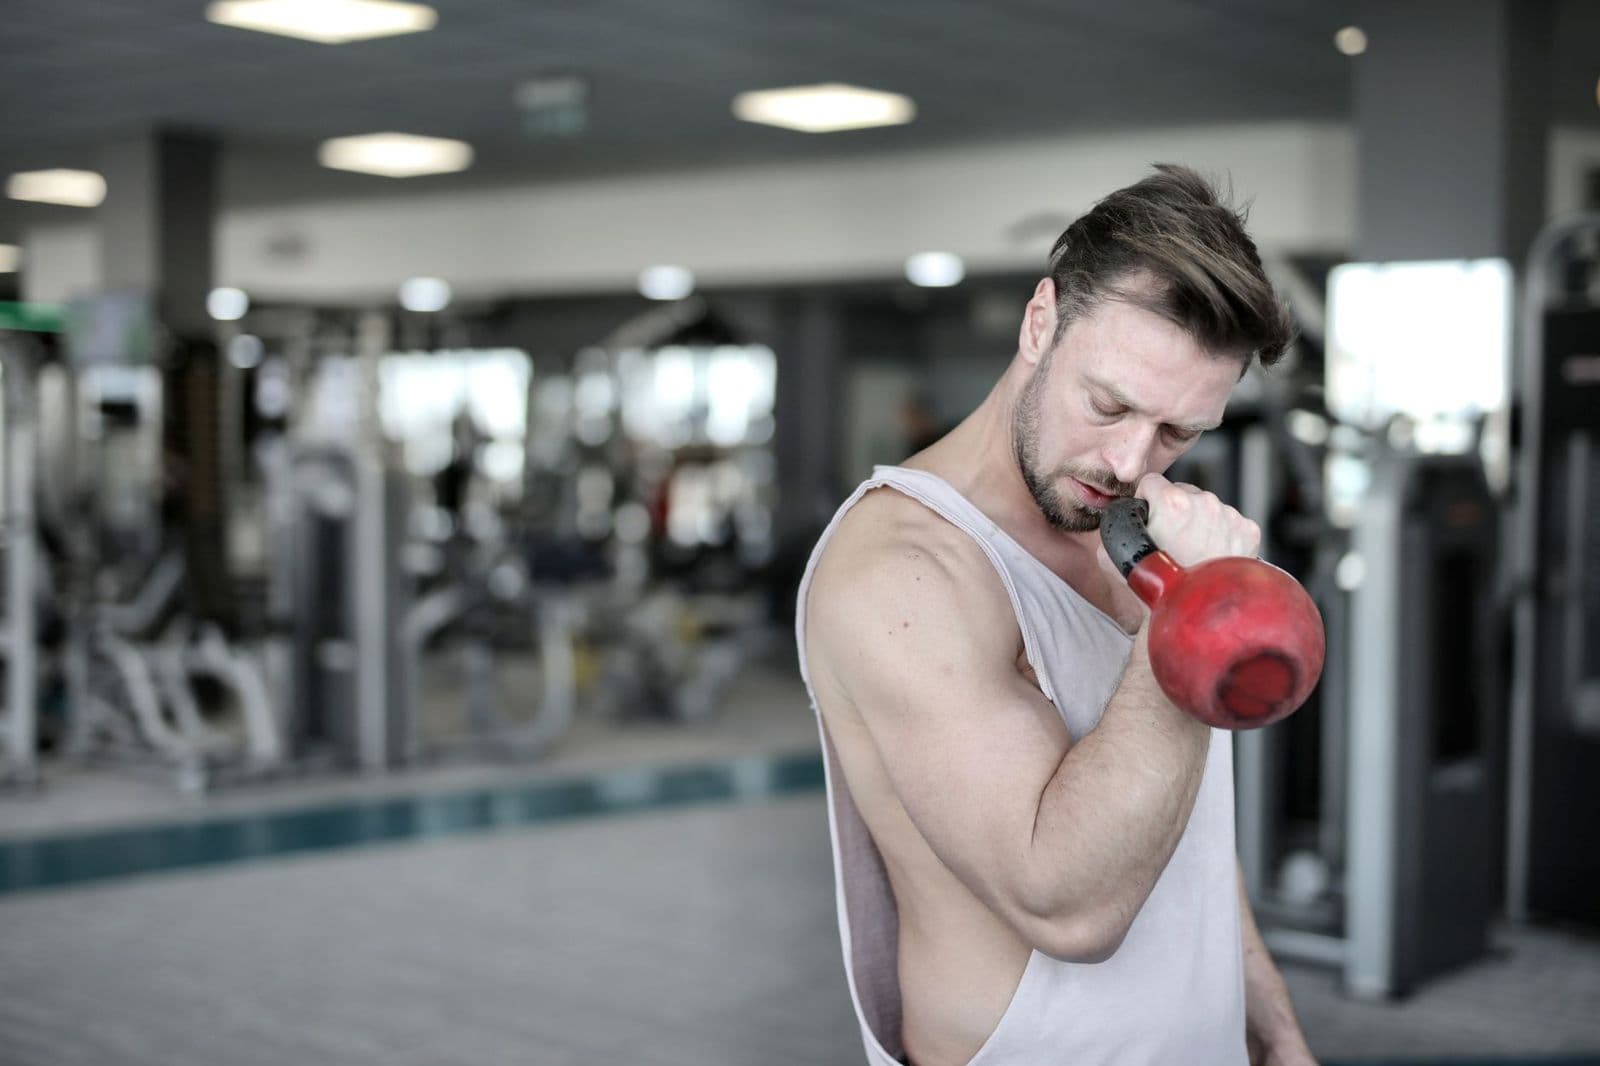
A clear guide to kettlebell bicep exercises, covering curl variations, form, weight choice, mistakes to avoid, and how often to train at home.
Your biceps can grow stronger with one bell and a small patch of floor, but only if the curls you pick suit the way a kettlebell hangs from your hand. The best bicep exercises with kettlebells share one trait: the weight stays under control from the first lift to the last slow lowering. This guide explains the main curl variations in plain steps, and shows how to choose a starting weight.
Kettlebells load your arms differently from dumbbells, because most of the mass sits below the handle, so your grip and forearms work harder to keep each rep steady. That extra demand is useful at home, where one or two bells often cover a whole arm session. You will find a quick answer first, then the full steps and the errors that hold progress back.
Quick Answer
The best bicep exercises with kettlebells for most home lifters are the standing curl, the hammer curl, and the concentration curl, because together they train your arms with your palms up, your palms facing each other, and one strict braced position. Add the towel curl for grip work, and save the bottoms up curl for later. Start lighter than you expect.
- Standing kettlebell curl: your main strength move for both arms.
- Kettlebell hammer curl: a wrist friendly option that builds forearms.
- Kettlebell concentration curl: the strictest option for learning form.
- Towel kettlebell curl: an advanced grip builder using gear you own.
Why Kettlebell Bicep Training Matters
Your biceps bend your elbow and help turn your forearm, so they assist with carrying shopping, lifting children, and pulling bags toward you. Training them with a kettlebell adds a grip challenge plain curls often miss, because the bell tries to roll in your hand as it moves. Stronger arms make daily lifting feel easier, and steady training helps you keep muscle as you age.
Arm work gives the best return inside a fuller plan. Pair these curls with the compound moves in our guide to the best exercises for kettlebells for your main sessions. A plan that also uses our guide to the best glute exercises with kettlebells keeps your lower body progressing too.
Kettlebell Curl Variations, Explained Step by Step
Choose two or three of these moves for one session, and do 3 sets of 8 to 12 controlled reps for each. Rest 60 to 90 seconds between sets, and stop when your form breaks down.
Standing Kettlebell Curl
Stand tall with a bell in each hand, your arms at your sides and your palms facing forward. Keep your elbows pinned close to your ribs, brace your middle, and curl both bells up until your forearms are nearly vertical. Lower them over about 2 to 3 seconds without letting your shoulders roll forward. Record the weight and reps each week. For stronger bracing, see our guide to the best core exercises kettlebells.
Kettlebell Hammer Curl
Hold one or two bells with your palms facing each other, as if you were holding a mug in each hand, and keep that grip for the whole set. Curl the weight up without turning your wrists, then lower it slowly to full arm extension. This grip loads the thick muscle under your biceps and your forearms, and many find it kinder to sore wrists than palms up curling. Use it as your second move, at your standing curl weight or slightly less.
Single Arm Kettlebell Curl
Hold one bell and curl it while your other hand rests on your hip or holds a chair for balance. Working one arm at a time exposes a weaker side that two bell curling can hide, because the stronger arm cannot help. Keep your hips level, match reps on both sides, and start each set with the weaker arm. This version suits lifters who own a single bell, and needs less weight to feel hard.
Seated Kettlebell Concentration Curl
Sit on a sturdy chair or bench with your feet flat, lean forward slightly, and brace the back of your working arm against the inside of your thigh. Let the bell hang straight down, then curl it up without your elbow leaving your leg. The brace removes your back and shoulders, so your biceps do nearly all the work. Use a light bell and slow reps, especially if you struggle to feel your biceps in standing curls.
Towel Kettlebell Curl
Loop a strong towel through the handle of a bell, gather both ends in your hands, and curl by pulling the towel up while your palms face each other. Your grip becomes the weak point, so your forearms and biceps share a hard set with a moderate weight. Check the towel for worn spots first, and train over a mat or grass. Pick this variation when standard curls feel stale and you want grip strength for carrying.
Bottoms Up Kettlebell Curl
Hold a very light bell upside down, with the round body balanced above your hand and your wrist straight. Curl slowly through a short, smooth path, and stop the set the moment the bell starts to tip. Balancing the bell forces your grip, wrist, and shoulder to steady the lift, so even a small weight feels demanding. Treat it as a skill drill, not a strength move. That shoulder demand pairs well with our guide to the best shoulder exercises with kettlebells.
Helpful Products That Make It Easier
You need surprisingly little gear. A fixed weight bell is a single solid piece with no moving parts, so it suits you if you know your working weight, often at about $30 to $90 depending on how heavy it is. An adjustable bell changes load in steps inside one handle, saving floor space and money as you progress, usually at about $100 to $250.
A thick towel gives you the towel curl, a stable chair supports concentration curls, and a simple mat protects your floor if a bell slips. Skip a second heavy bell until your current weight feels easy for 12 clean reps on every set.
Common Mistakes to Avoid
Most stalled progress comes from form errors rather than the wrong exercise choice.
- Swinging your hips to launch the bell robs your biceps of the work and strains your lower back.
- Choosing a bell that is too heavy pushes your elbows forward, so your shoulders take over the lift.
- Letting your wrists bend backward under the load leaves your wrists aching after the session ends.
- Dropping the bell down quickly skips the lowering half of the rep, where much of the training effect sits.
- Curling hard every day without rest leaves your elbows sore and your numbers stuck in place.
When to See a Professional
Stop training and get checked if you feel sharp pain in your elbow, shoulder, or wrist, numbness or tingling down your arm, quick swelling, or weakness that keeps growing. Pain that does not settle within about a week of rest also deserves attention. Talk with your clinician about your personal needs before you train through any of these signs.
Bicep Exercises: Your Questions Answered
What equipment do you need for kettlebell bicep exercises?
One kettlebell is enough to start kettlebell bicep exercises. A single bell covers the one arm curl, the concentration curl, and the towel curl, switching hands between sets. You also need clear floor space about the length of your body, so a dropped bell cannot hit furniture. A mirror helps at the start, because you can spot your elbows drifting forward early.
What training helps alongside kettlebell bicep exercises?
Pulling work for your back and direct triceps work help most alongside kettlebell bicep training. Rows and carries build the larger muscles curls support, while our guide to the best tricep exercises with kettlebells covers the back of your upper arm. One simple pattern opens with rows, moves to curls, and ends with one triceps move.
Are kettlebell bicep exercises safe for everyone?
Kettlebell bicep exercises are safe for most healthy adults who start light and learn the steps in order. They are not a first step after a recent elbow or shoulder injury or surgery, because healing tissue needs a graded plan rather than a general guide. Ask your clinician when curling can restart. Children should train only with adult supervision.
How long do kettlebell bicep exercises take to show results?
Kettlebell bicep exercises usually feel stronger within about 4 to 6 weeks, as your grip and coordination improve first. Visible change in arm size tends to take about 8 to 12 weeks of steady training with enough food and sleep. Take one relaxed and one flexed photo each month in the same light, because daily mirror checks hide slow progress.
Can poor form during kettlebell bicep curls cause injury?
Yes, poor form during kettlebell bicep curls can strain the tendons around your elbow and stress your lower back over time. The risk rises when you swing a heavy bell or add weight before your wrists can stay straight. Film one set from the side each week, because elbow drift is easy to see on video. Pain during a set is a reason to end that exercise for the day.
How often should you do kettlebell bicep exercises?
You should do kettlebell bicep exercises twice a week, with at least one rest day between the two sessions. Your biceps also work during rows, so two direct sessions are plenty for most people. Try one slightly heavier day built on standing curls and one lighter day built on concentration and towel curls.
The Bottom Line
Build your routine on the standing curl, the hammer curl, and the concentration curl, keep your elbows still, and lower every rep under control. Add weight only when 12 clean reps feel manageable, and give your arms rest days to adapt. Chosen this way, the best bicep exercises with kettlebells turn one bell into a complete arm session at home. Pick a starting weight you can lift for 12 clean reps, and begin this week.