Best Astronomy Cameras: Budget, Midrange, and Premium Bands for 2026
Disclosure: We may earn a commission when you buy through links on this page, at no extra cost to you. As an Amazon Associate I earn from qualifying purchases. Learn more

Best astronomy cameras explained by budget band, with the sensor and cooling features that matter and why your mount and sky matter more.
Astronomy cameras span an unusually wide price range, from small planetary cameras that cost less than a decent eyepiece to cooled deep sky models that cost more than many telescopes. Knowing where the money actually goes keeps you from overspending on the camera while starving the rest of the rig. The best astronomy cameras are never bought alone, because the camera is only one part of a system, and the mount and the telescope together make up the larger half of the true cost of imaging.
Your sky matters just as much, since light pollution decides more of the final image than the camera does, and no sensor upgrade can fully undo a bright backyard. The product table lines the main camera classes up side by side, and the budget bands that follow show what each level adds and what it leaves for later. One boundary is worth stating early: an astronomy camera is a specialist instrument that connects to a telescope and a computer, which is why it has almost nothing in common with best door cameras beyond the word camera.


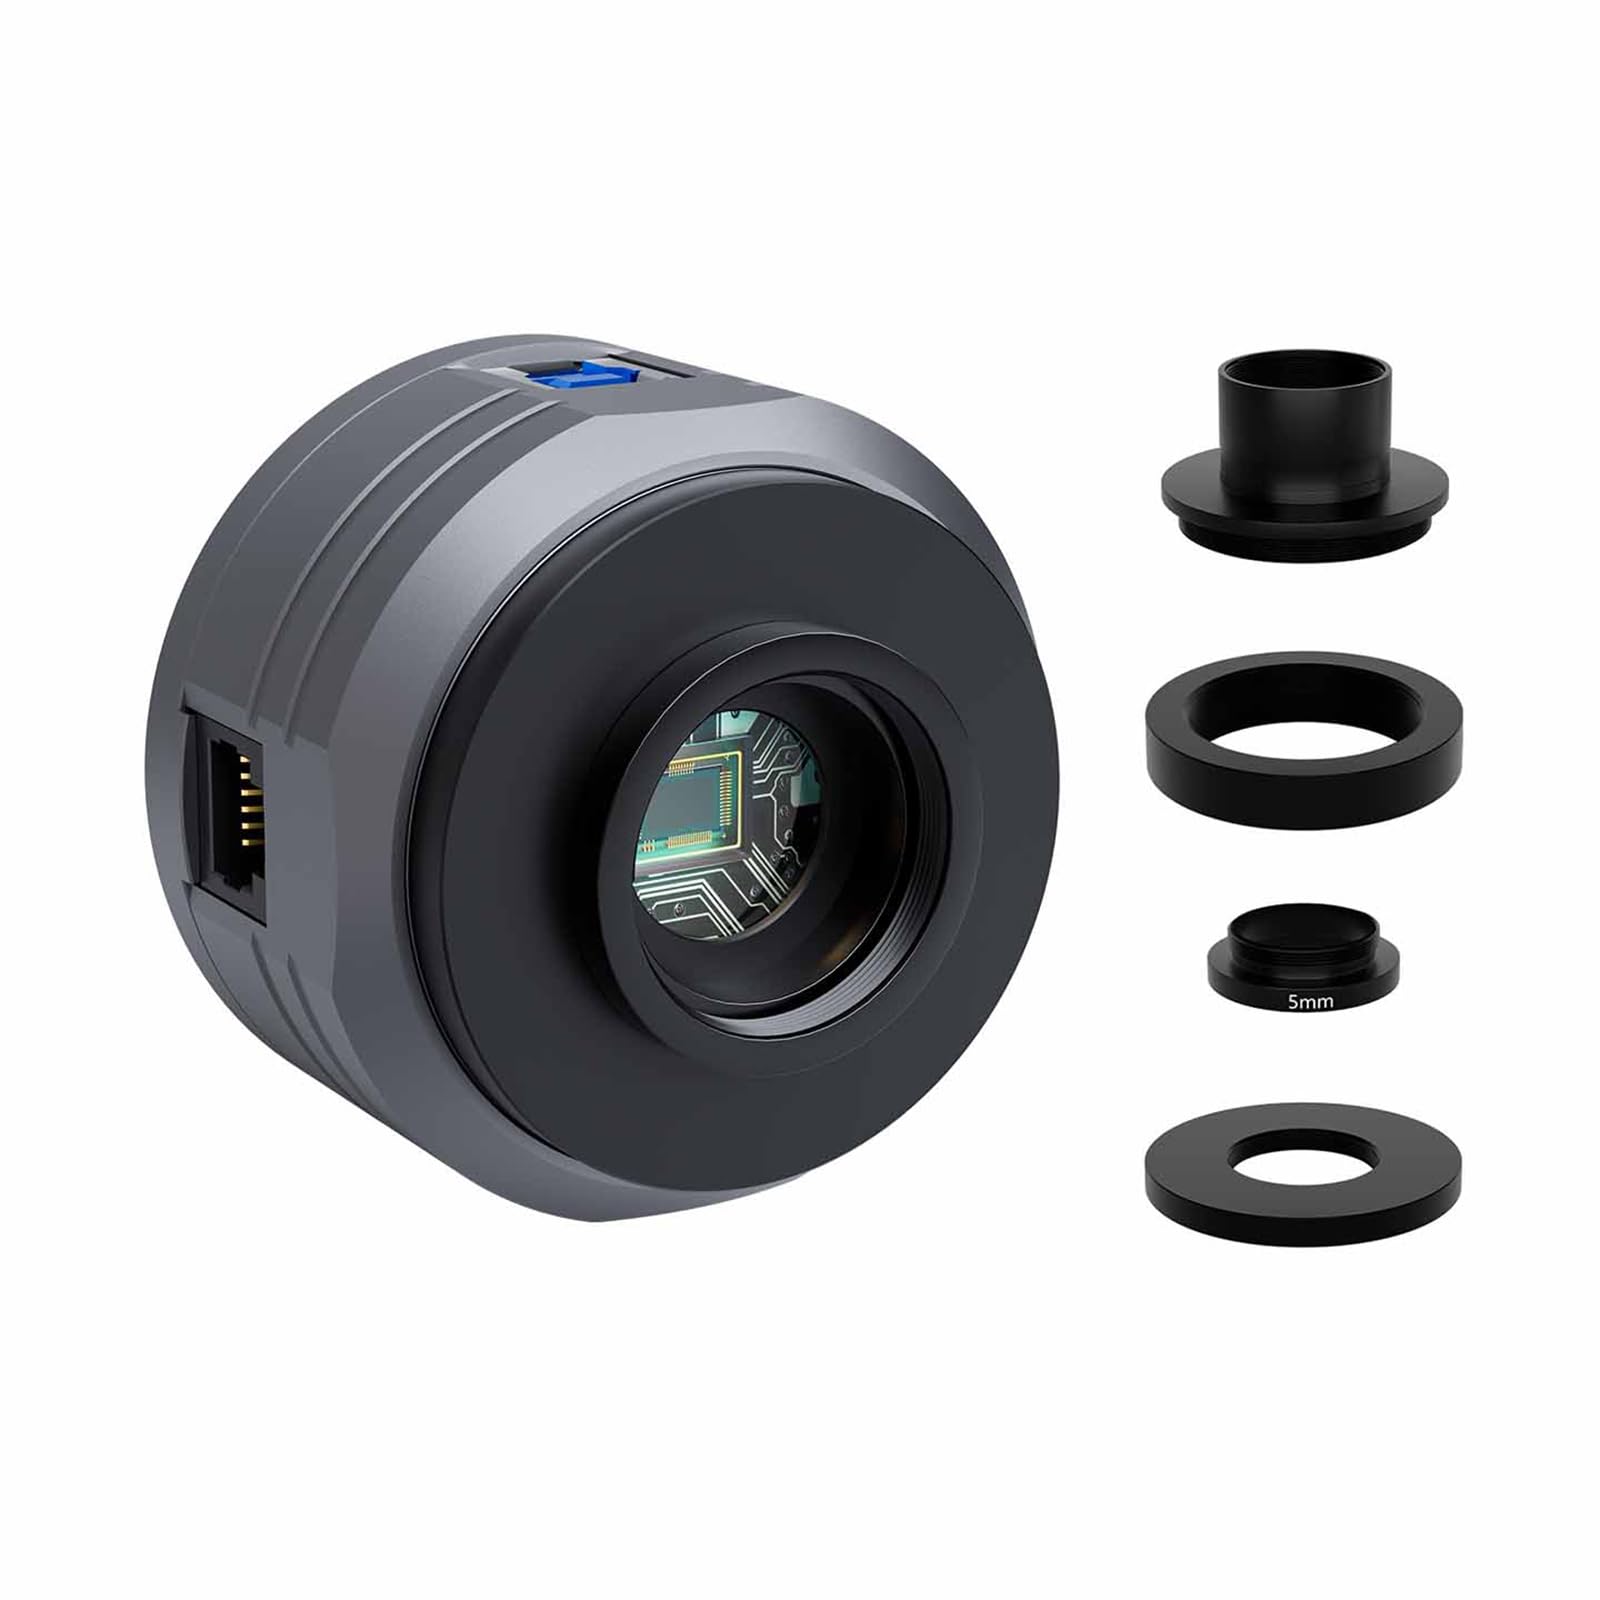


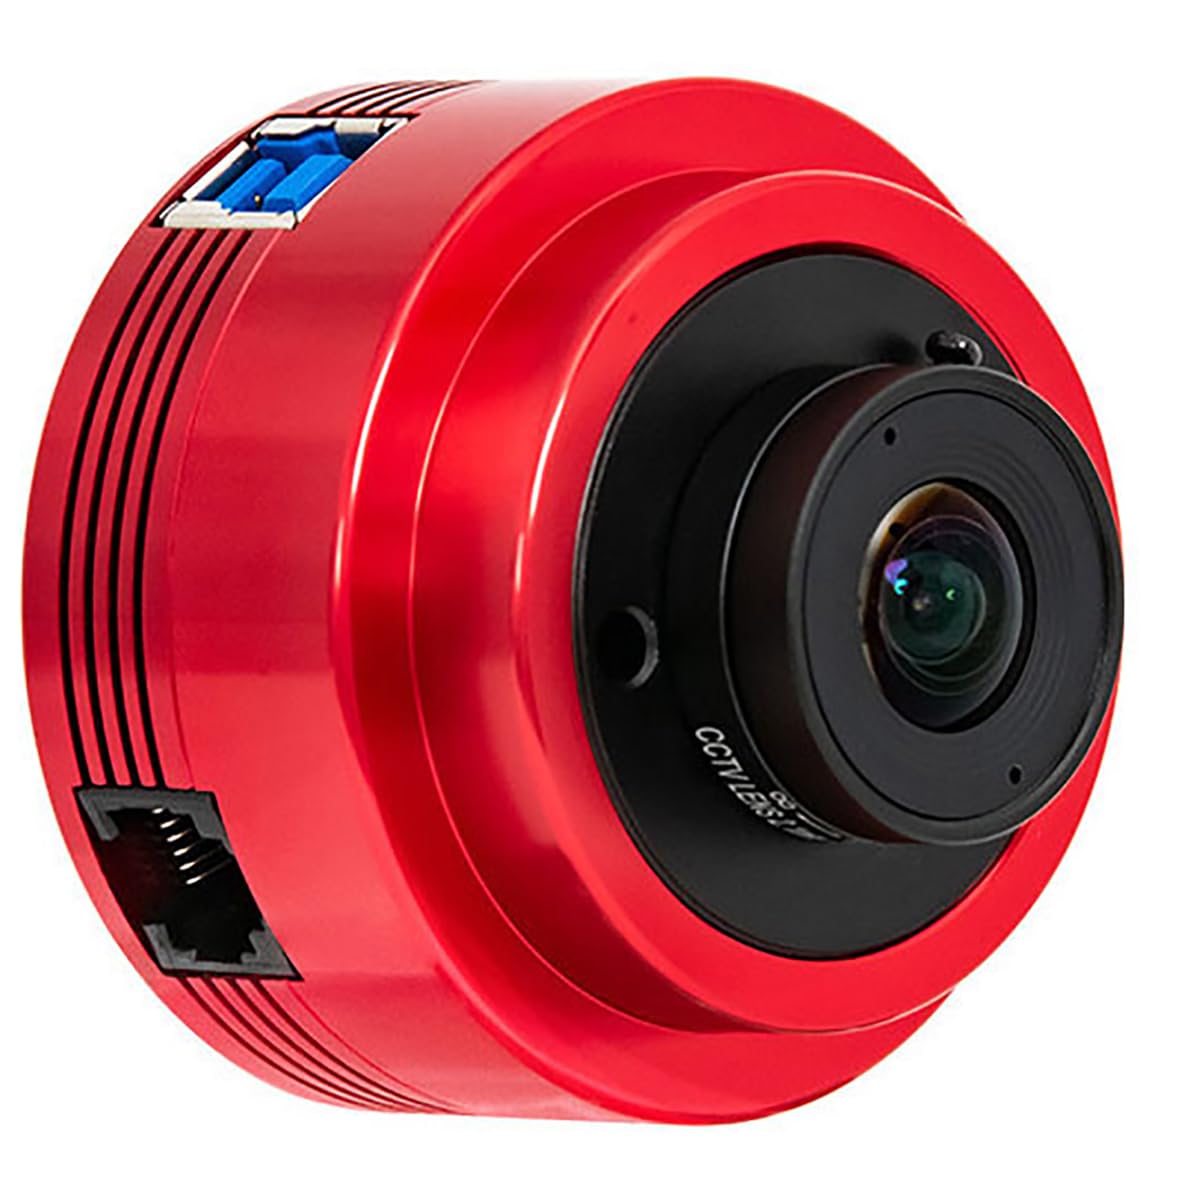
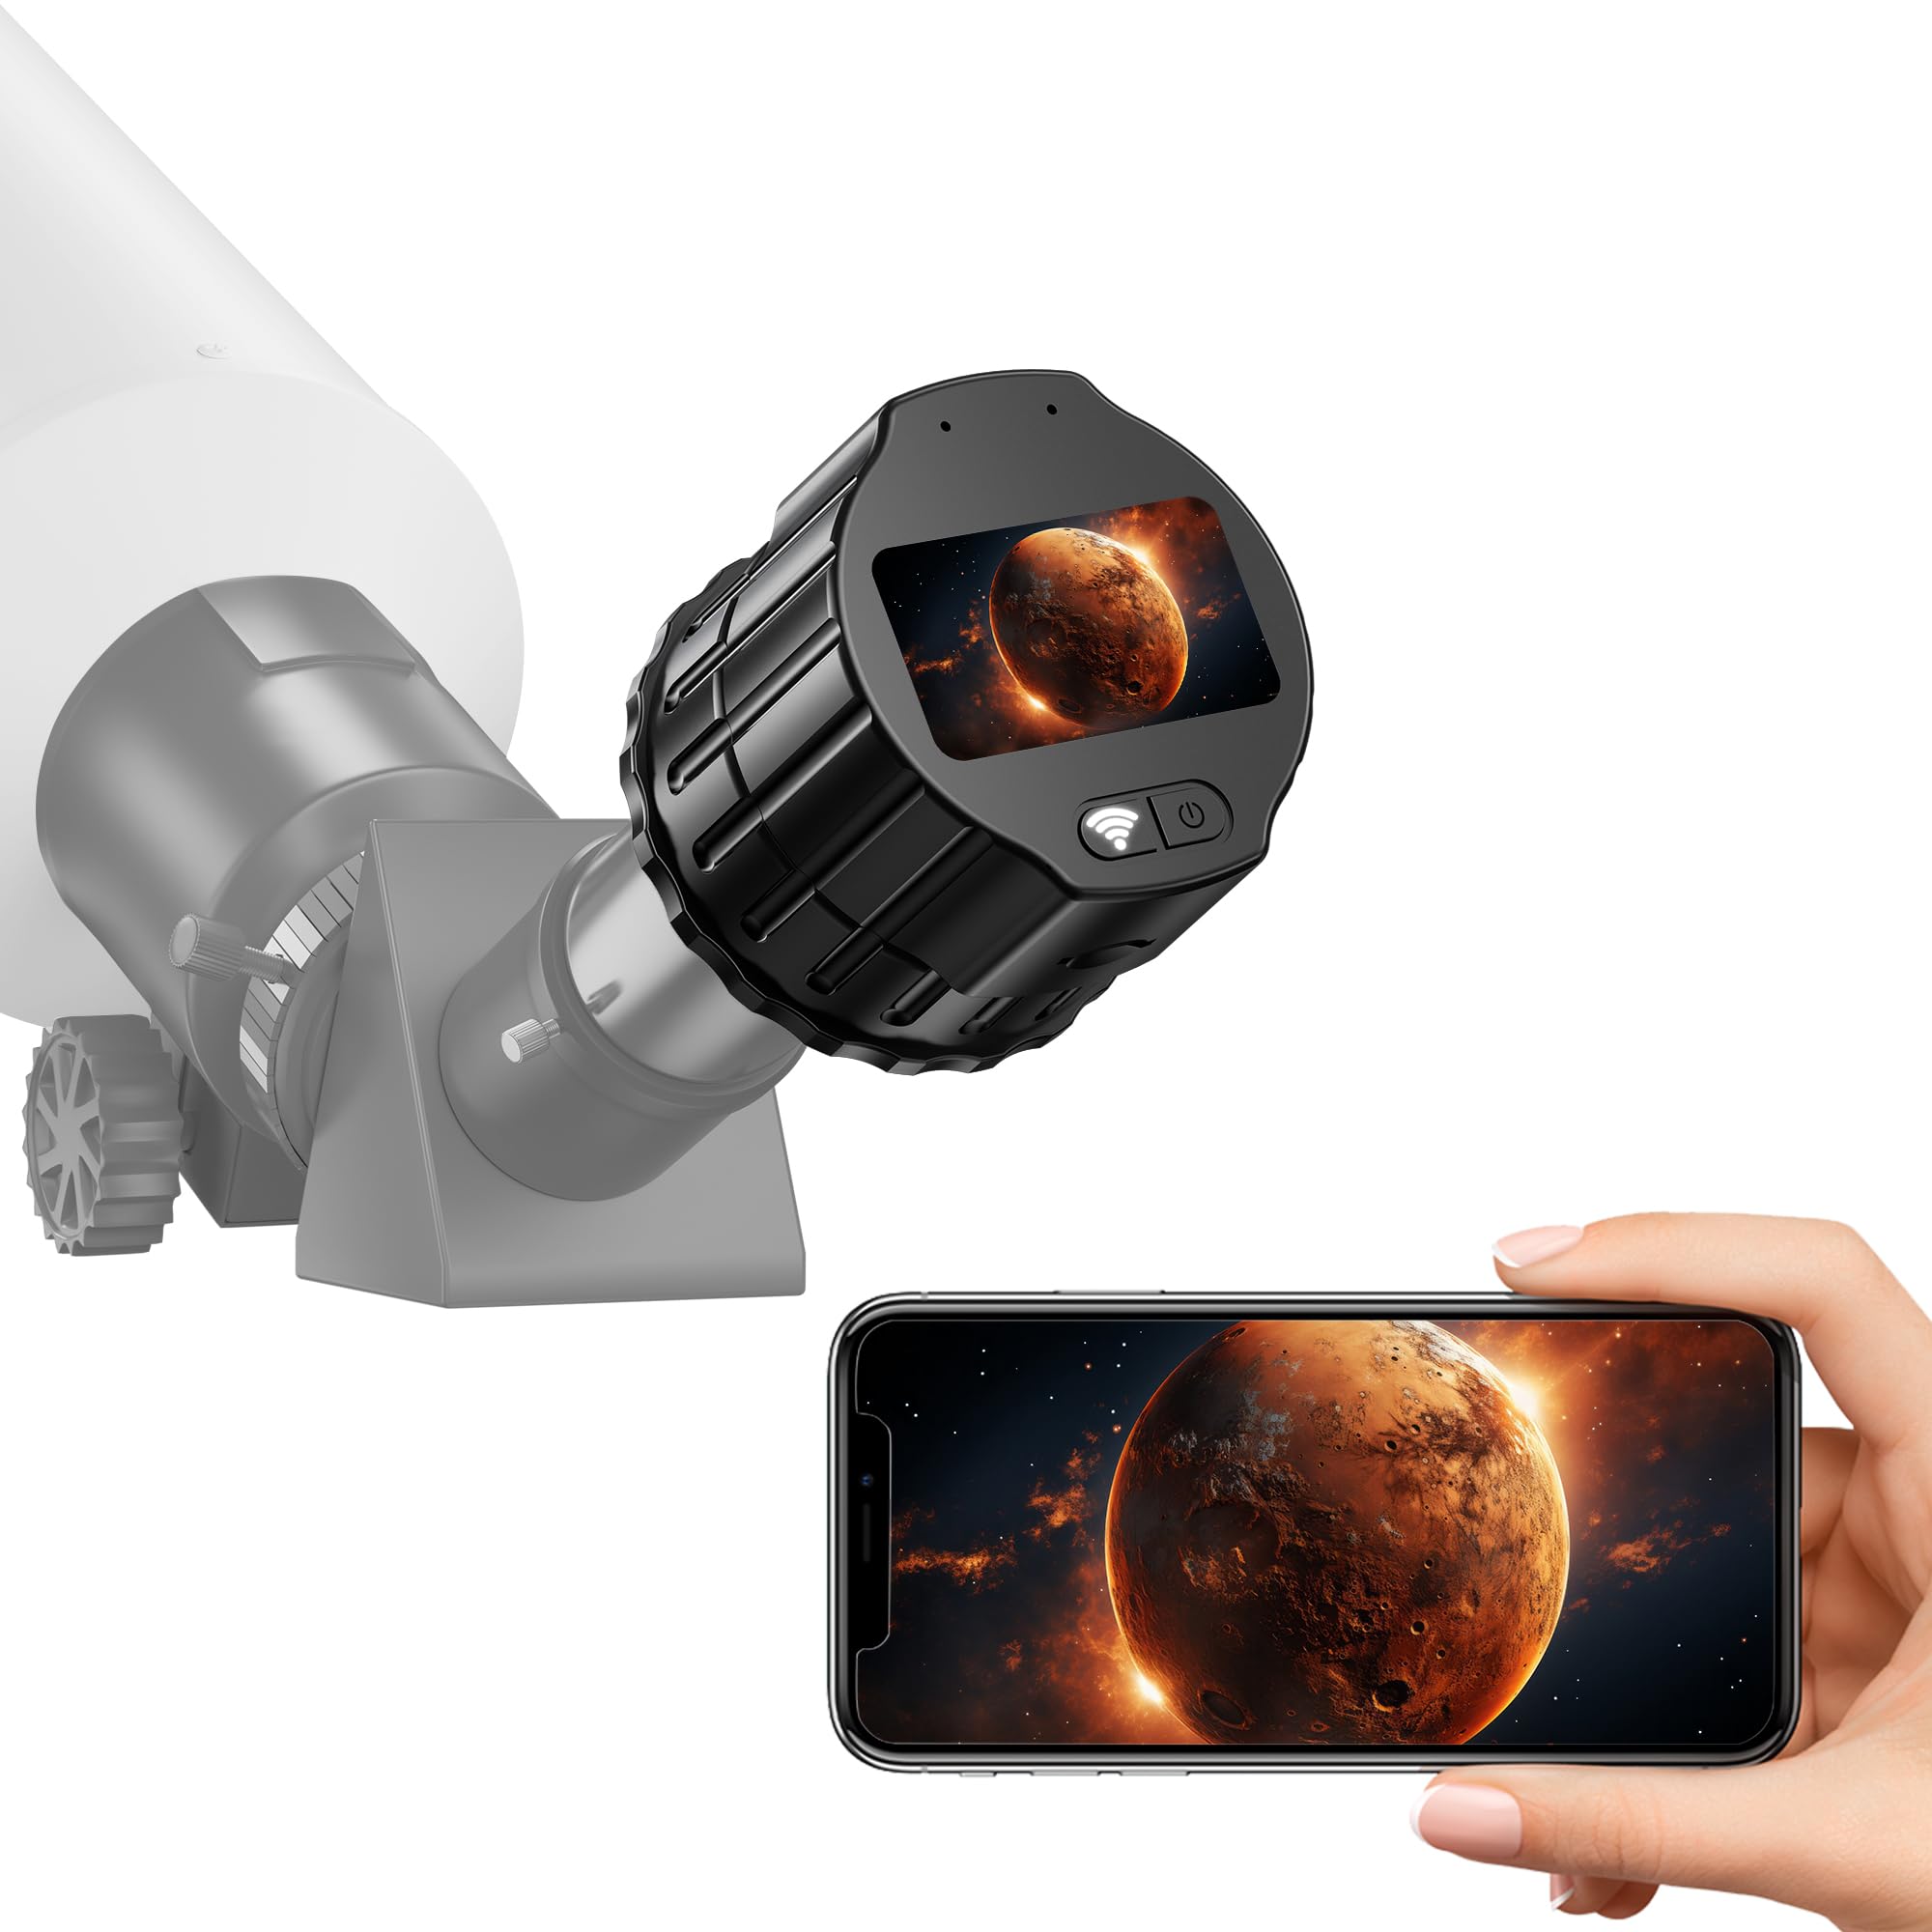
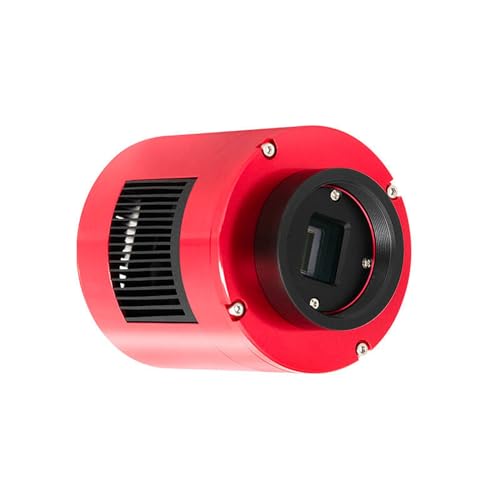
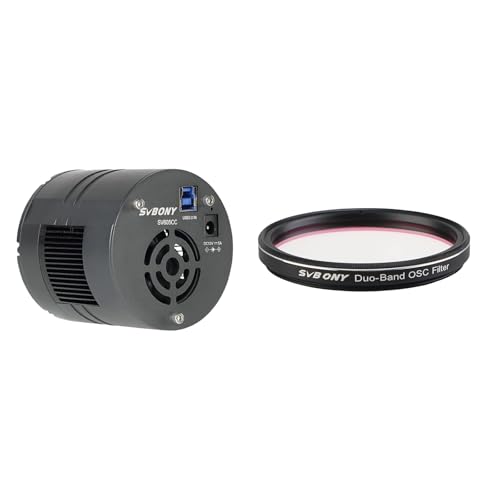
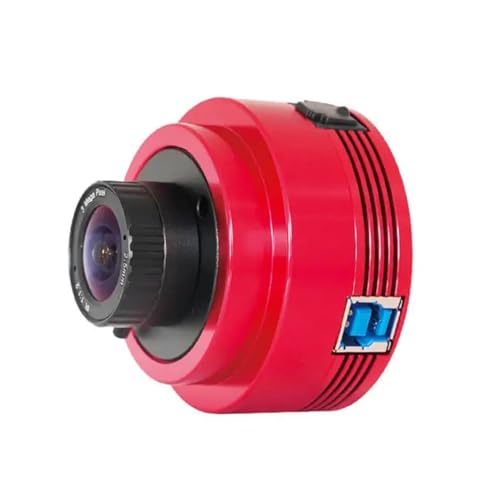
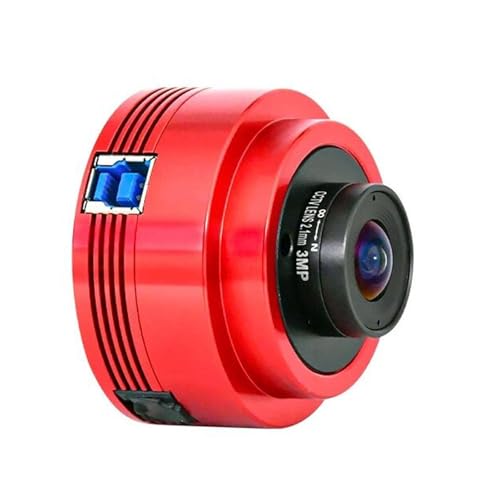
Best Astronomy Cameras at Each Price Tier
The tiers below show what the best astronomy cameras at each level actually add, in plain terms. Read them as capability bands rather than quality grades, because a skilled imager with a budget camera and a dark sky will outshoot a beginner with premium gear under city lights.
Budget Tier: What to Expect
Budget astronomy cameras run about $150 to $400, and most are small, uncooled models with compact sensors built around fast frame rates. They shine on the Moon and planets, where targets are bright and exposures are measured in fractions of a second, and they double as capable guide cameras later. What you give up is sensor size and cooling, so deep sky work means short exposures, visible noise on warm nights, and a narrow field of view. For a first camera, this tier sits on the same starter shelf as best starter cameras in ordinary photography: limited, but honestly matched to a beginner and cheap to learn on.
Midrange Tier: Where Most Beginners Land
Midrange models run about $400 to $1,000, and this is where cooled sensors, larger formats, and lower read noise start to appear. Cooling is the headline gain, because a sensor held well below the night air temperature produces far cleaner long exposures, which is what deep sky imaging is built on. Many imagers who begin by browsing lists of best quality cameras end up in this band once they compare sensor behaviour instead of headline megapixels. The trade off is commitment: these cameras want a laptop at the telescope, a power supply, and a mount that tracks well enough to justify them.
This band also holds its value well, because cooled entry level cameras are exactly what most beginners look for when buying used. That makes the midrange a forgiving place to learn: if your interests change, the camera is easy to pass on.
Premium Tier: When Spending More Pays Off
Premium astronomy cameras run about $1,000 to $3,000 and beyond, and the money buys large cooled sensors, very low noise electronics, and fast data transfer for huge files. These cameras reward dark skies, long sessions, and a mount and telescope that are already performing well, since the camera will expose every weakness in the rest of the system. Spending here before upgrading a shaky mount is the most common sequencing mistake in the hobby. Choose this tier when your current camera, not your mount or your sky, is the part holding your images back.
Features Worth Paying For (and Ones to Skip)
An astronomy camera is judged by a different checklist from a daylight camera. Unlike best digital cameras or best cameras for photography, it has no screen, no zoom lens, and no scene modes, because the telescope supplies the optics and the computer runs the session. Judge the five factors below instead, and skip headline features that never touch the sensor. Anything that sounds like a daylight photography feature, such as scene modes or in body effects, is a sign you are reading the wrong product page.
Ease of Use for Your Skill Level
Beginners should value simple, well supported software drivers and a sensor that forgives short sessions. A camera that connects cleanly to common capture programs, focuses without fuss, and produces usable files in an hour of clear sky teaches faster than a demanding model with a higher ceiling. Planetary cameras are the gentlest starting point, since bright targets and short exposures hide many beginner mistakes. Ease of use is worth paying a little for; exotic features aimed at advanced narrowband imaging are not, at least not in a first camera.
Sensor Size and Image Quality
Sensor size sets your field of view through a given telescope, and it shapes which targets frame well. Small sensors suit the Moon and planets, while larger sensors capture whole nebulae and galaxy groups in one frame. Megapixels matter far less than newcomers expect, because a big target list is built from field of view and sensitivity, not raw pixel counts. Maker sensitivity figures are measured under controlled conditions, so treat them as a rough ranking between models rather than a promise about your backyard results.
Cooling for Long Exposures
Cooling is the single feature that most separates deep sky cameras from planetary ones. As a sensor works through a long exposure it warms up, and that warmth shows up as noise that competes with faint detail. A cooled camera holds its sensor at a set temperature below the night air, which keeps noise low and, just as important, consistent from frame to frame, so calibration files actually work. Uncooled models are fine for bright targets and short exposures, but no amount of processing fully replaces cooling on a warm night.
Pixel Size and Sampling
Pixel size decides how finely your telescope image is sampled, and it needs to suit the focal length you shoot at. Very small pixels on a long focal length telescope spread the light too thin and amplify tracking errors, while very large pixels on a short telescope can soften fine detail. A common working range pairs pixel sizes of about 2 to 4 micrometers with the short to mid focal length scopes most beginners own. This is a matching exercise, not a bigger is better contest, and it is worth checking before price.
Size, Weight, and Power Needs
A camera hangs off the back of the telescope, so its weight and shape affect balance and can strain a light focuser. Cooled models also draw real power, often needing their own supply rather than living off a laptop port, and they add cables that must not drag during tracking. Dew is a practical concern too, since a cold sensor window in humid air can fog without a built in heater. None of these points appears in headline specs, yet all of them decide whether a session feels smooth or fought.
Picking the Right Astronomy Camera for Different Uses
Target choice should steer the purchase more than budget does, because the Moon, the planets, and deep sky objects ask for almost opposite strengths from a sensor. A camera that is perfect for one target can be a genuine obstacle for another. Let the target list you actually have, not the one you admire in other people's images, make the call.
Best Video Astronomy Cameras
The best video astronomy cameras are built for high frame rates, capturing hundreds of short frames per second so software can keep only the sharpest moments when the air steadies. Look for fast data transfer, a small sensor with small pixels, and controls that let you crop the sensor area to raise the frame rate further. This class is the right tool for the Moon and planets and for live viewing sessions where an image builds up on screen in seconds. It is the wrong tool for faint deep sky targets, where frame rate is worthless and cooling is everything.
For the Moon and Planets
Planetary imaging rewards frame rate and pixel scale over sensor size, and even budget cameras produce striking results on bright targets. A small sensor is an advantage here, because the planets are tiny and a wide field only wastes file space. Barlow lenses, which extend focal length, pair naturally with this class and cost far less than a camera upgrade. If your interest is lunar craters and the cloud bands of Jupiter, buy for speed and spend the savings on a steady mount.
For Deep Sky Targets
Deep sky imaging of nebulae and galaxies asks for the opposite build: a cooled sensor, a wide field, and exposures measured in minutes. This is where the midrange and premium bands earn their price, and where your mount becomes the limiting part of the system, since it must track accurately for the whole exposure. Start with bright, large targets that forgive short total exposure times. A deep sky camera bought before the mount can support it is money parked, not money spent well.
Total exposure time matters more than any single frame here. Stacking many clean exposures is how faint detail emerges from noise, which is why patience and a dark sky outperform a costlier sensor rushed through short sessions.
Long Term Costs to Factor In
The camera price is only the entry ticket. Adapters and spacers to set the correct distance between camera and telescope usually add about $20 to $60, and cooled models may need a separate power supply. Software ranges from free capture programs to paid suites, and storage grows quickly, since one good night can produce tens of gigabytes of frames worth archiving.
Filters, from a simple light pollution filter to a full narrowband set, are a later cost that can rival the camera itself. None of this argues against buying; it argues for holding part of the budget back so the camera you choose can actually be used well.
Astronomy Cameras: Your Questions Answered
How much should I spend on my first astronomy camera?
About $200 to $400 buys a capable first planetary camera, and that is the sensible place to start for most beginners. It leaves money for the mount, which decides your results more than the camera does at this stage. Spend more on a first camera only if you are certain deep sky imaging is your goal and your mount already tracks well. A modest camera used under a dark sky will teach you more than an expensive one fighting a wobbly mount.
Is a smartphone enough instead of an astronomy camera?
A smartphone held to the eyepiece is enough for bright Moon shots and a first taste of imaging, and it costs nothing to try. Its limits arrive quickly: exposures are short, the sensor is noisy, and alignment through an adapter is fiddly, so planets stay small and deep sky targets stay out of reach. Think of the phone as a free trial of the hobby. A dedicated camera is the upgrade you buy once the trial convinces you.
What specs matter most for beginners choosing an astronomy camera?
Three specs carry most of the decision: whether the sensor is cooled, how large the sensor is, and whether the camera connects reliably to common capture software. After those, check the distance the camera needs behind the telescope, since some setups need specific spacers to reach focus. Beginners can safely ignore headline megapixels and extreme sensitivity claims. A short spec list, honestly matched to your telescope and targets, beats a long one every time.
Do astronomy cameras work under light polluted skies?
Yes, but expectations need adjusting, because sky brightness washes out faint targets no matter which camera you own. Bright targets such as the Moon and planets are barely affected, which is why city imagers often specialise in them. For deep sky work from a city, shorter exposures, more total imaging time, and light pollution filters all help at the margins. The single biggest upgrade remains a trip to a darker site, and it costs nothing but fuel.
Can an astronomy camera be used for ordinary photography?
Not in any practical sense, because an astronomy camera has no lens mount for camera lenses in normal use, no screen, and no controls on the body itself. It is a sensor in a housing that expects a telescope in front of it and a computer beside it. Files also come out unprocessed, so even a simple shot needs software before it looks like a photograph. Keep a normal camera for daylight life and let the astronomy camera do its one job well.
Wrapping Up
Decide by target first, then by tier: uncooled high frame rate cameras for the Moon and planets, cooled larger sensors for deep sky work, and your mount and sky checked honestly before either. The picks in the table gather the main classes so you can compare cooling, sensor size, and price band side by side. Picked that way, the best astronomy cameras are simply the ones matched to your telescope, your targets, and the sky you actually shoot under. Prices and availability can change, so check the product page before ordering.