
Best Astronomical Binoculars for Deep Sky Nights 2026
Disclosure: We may earn a commission when you buy through links on this page, at no extra cost to you. As an Amazon Associate I earn from qualifying purchases. Learn more

Best astronomical binoculars for deep sky nights: what aperture, power, and tripod support to look for, plus care tips.
Deep sky viewing asks more from binoculars than a quick glance at the Moon. Faint galaxies, nebulae, and open clusters reward larger lenses, a stable mount, and a patient eye. This guide explains best astronomical binoculars in practical terms, so you can judge aperture, comfort, and support before you spend.
Start with your observing routine, then use the product table to narrow the field. The sections that follow cover who benefits from larger optics, the specs that shape faint target views, mounting choices, and budget ranges. Safety comes first throughout, because no view is worth risking your eyesight.


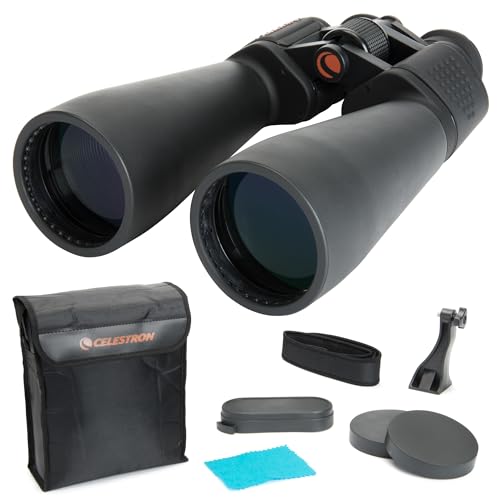
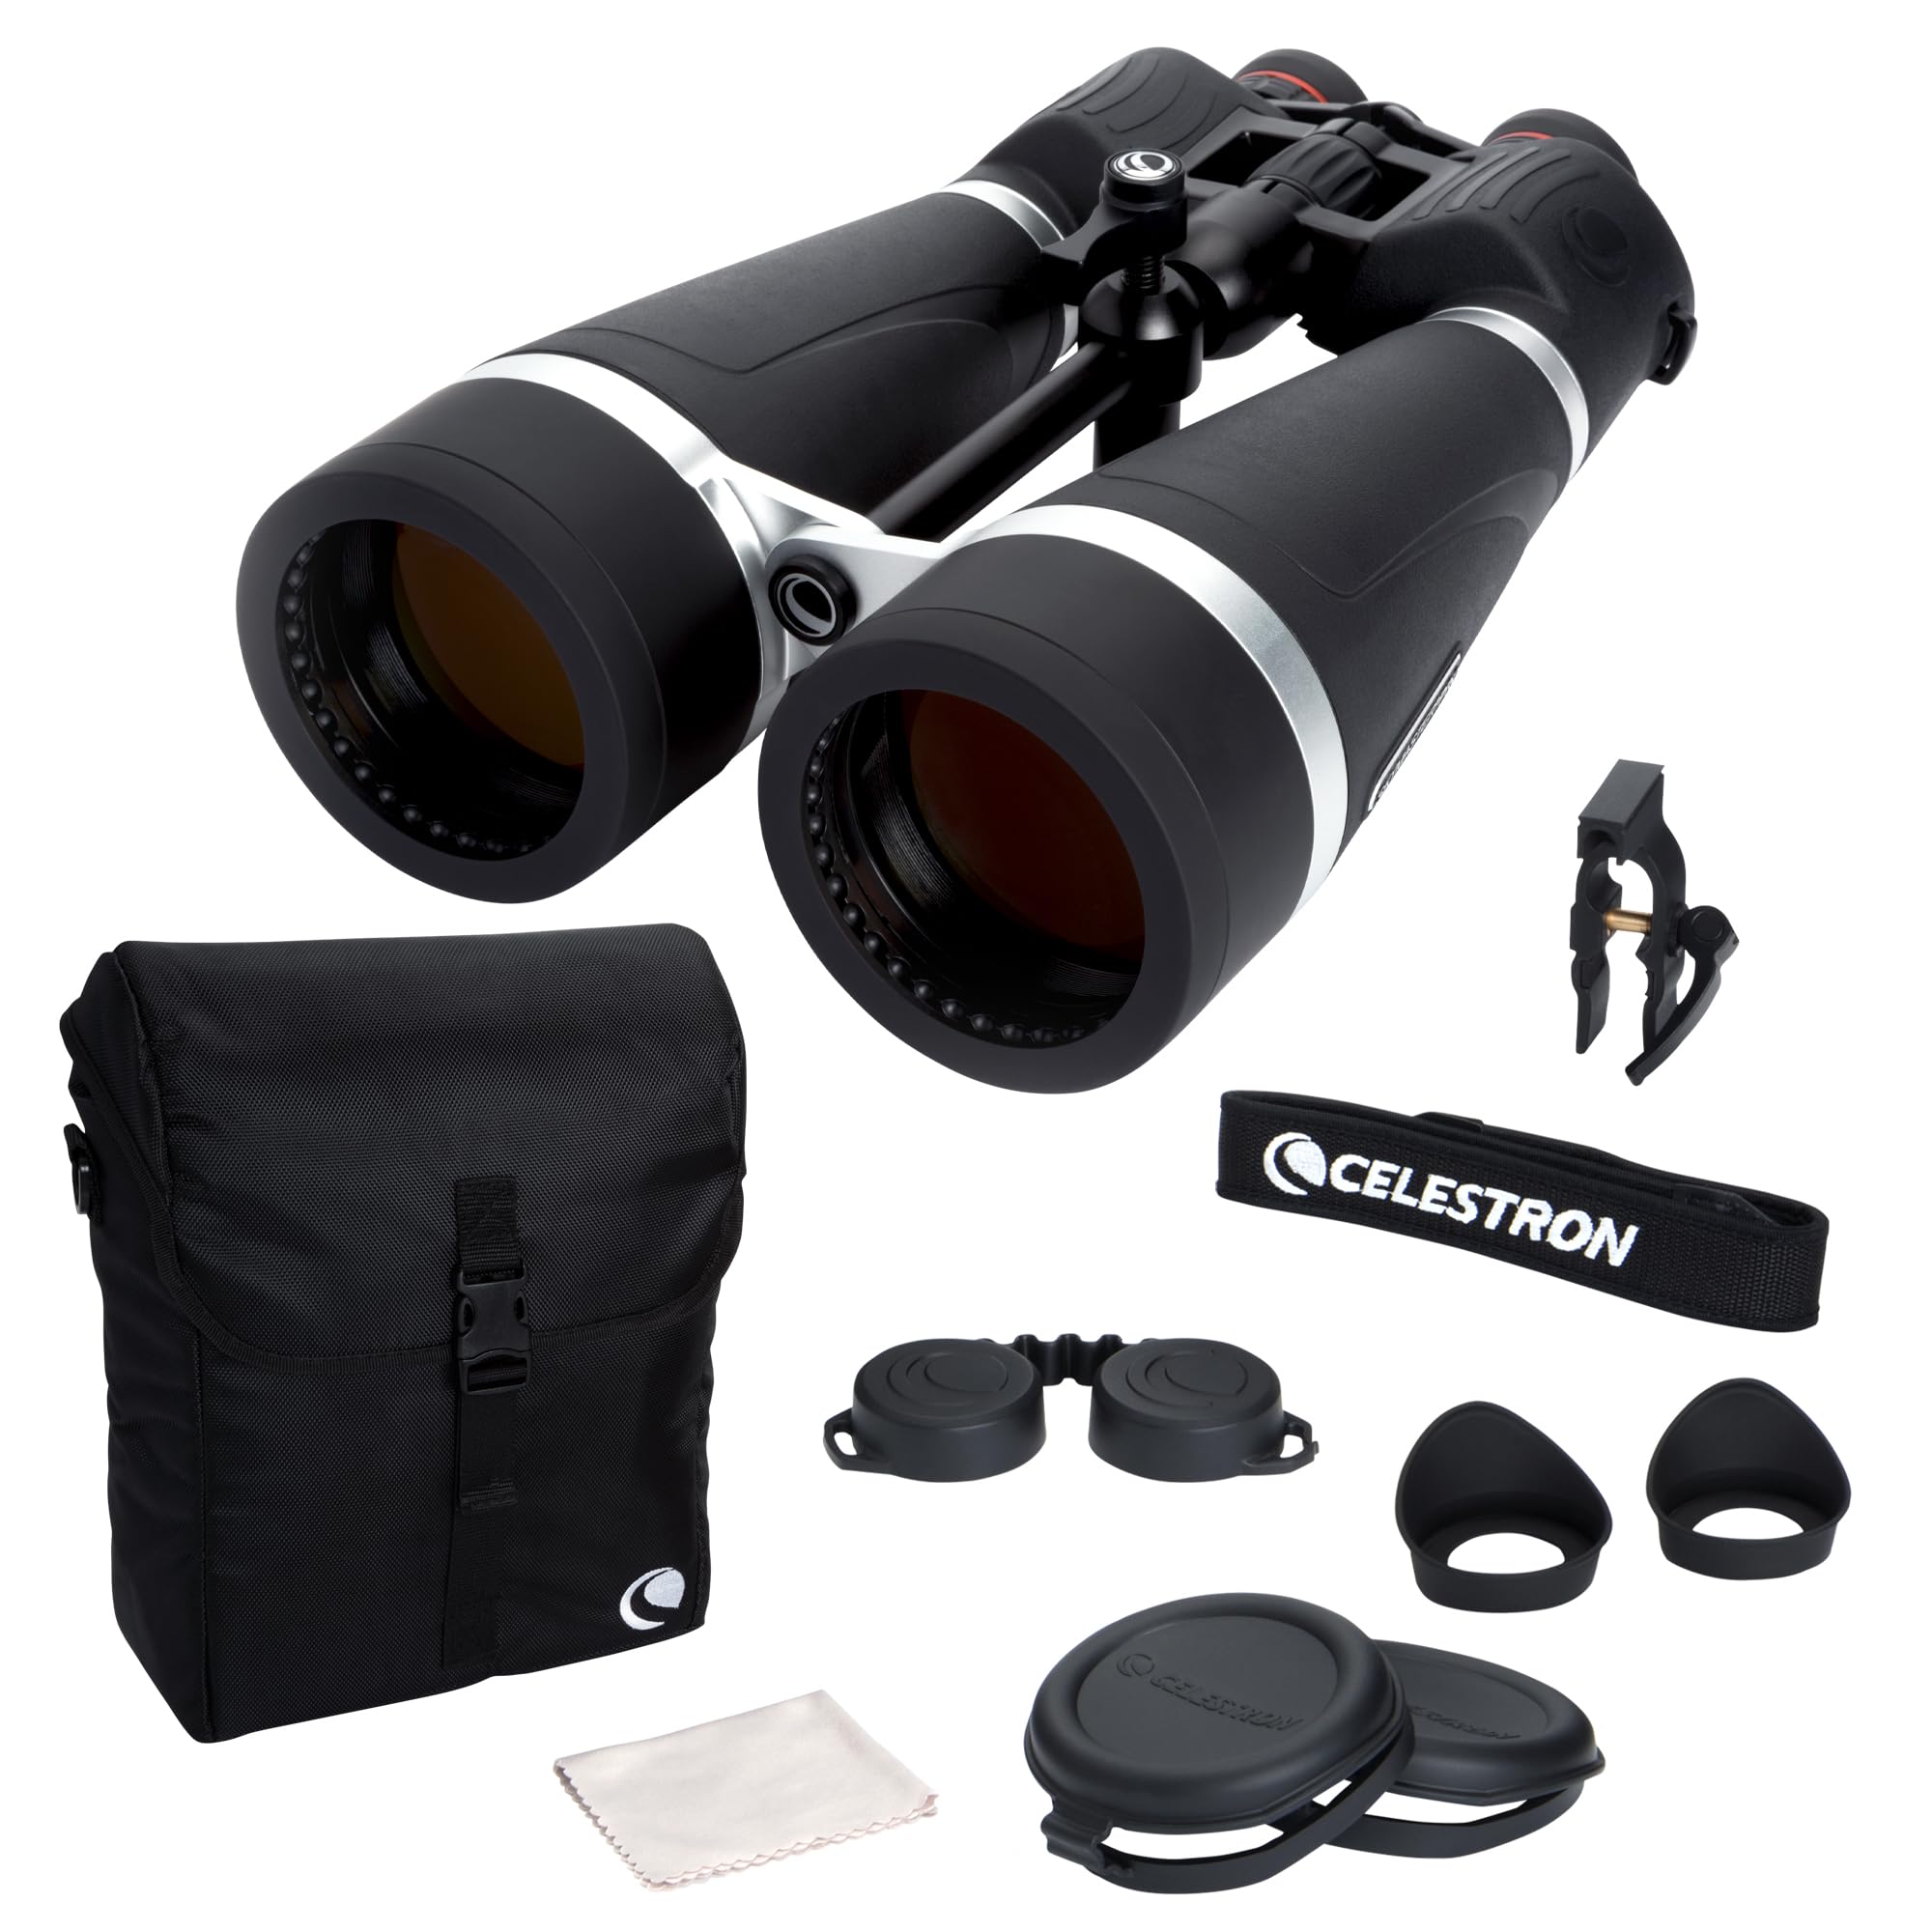
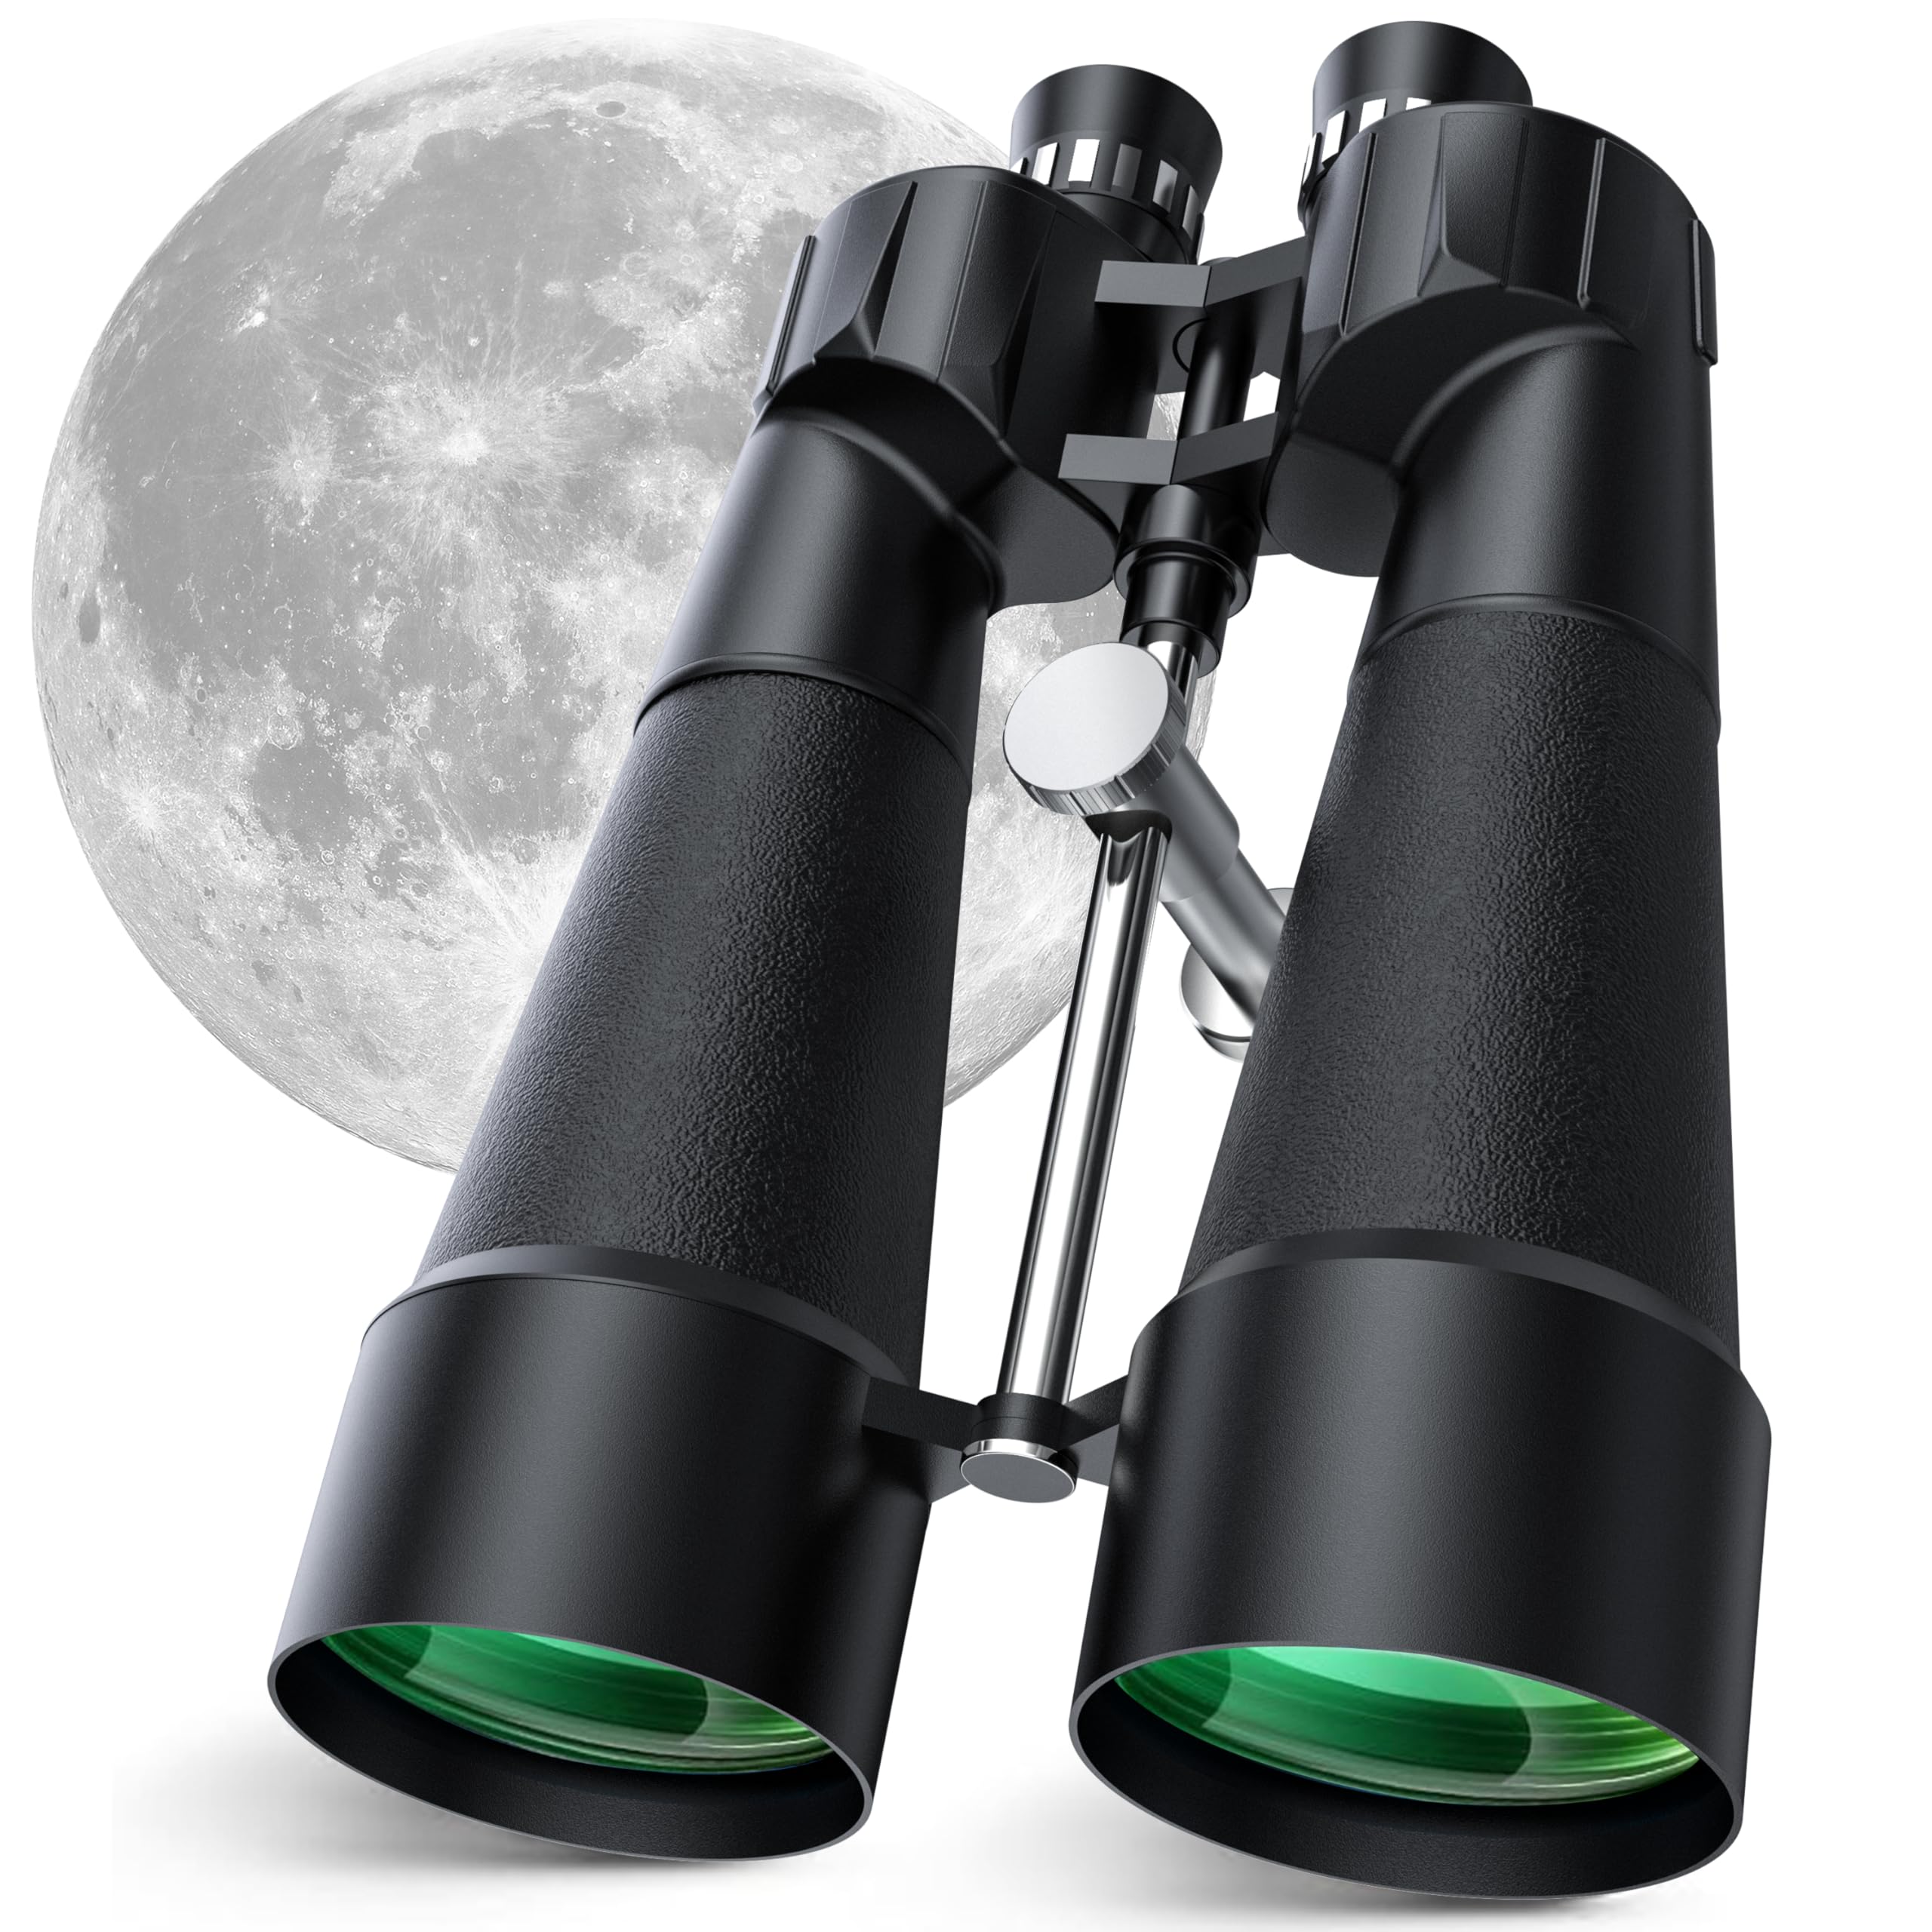
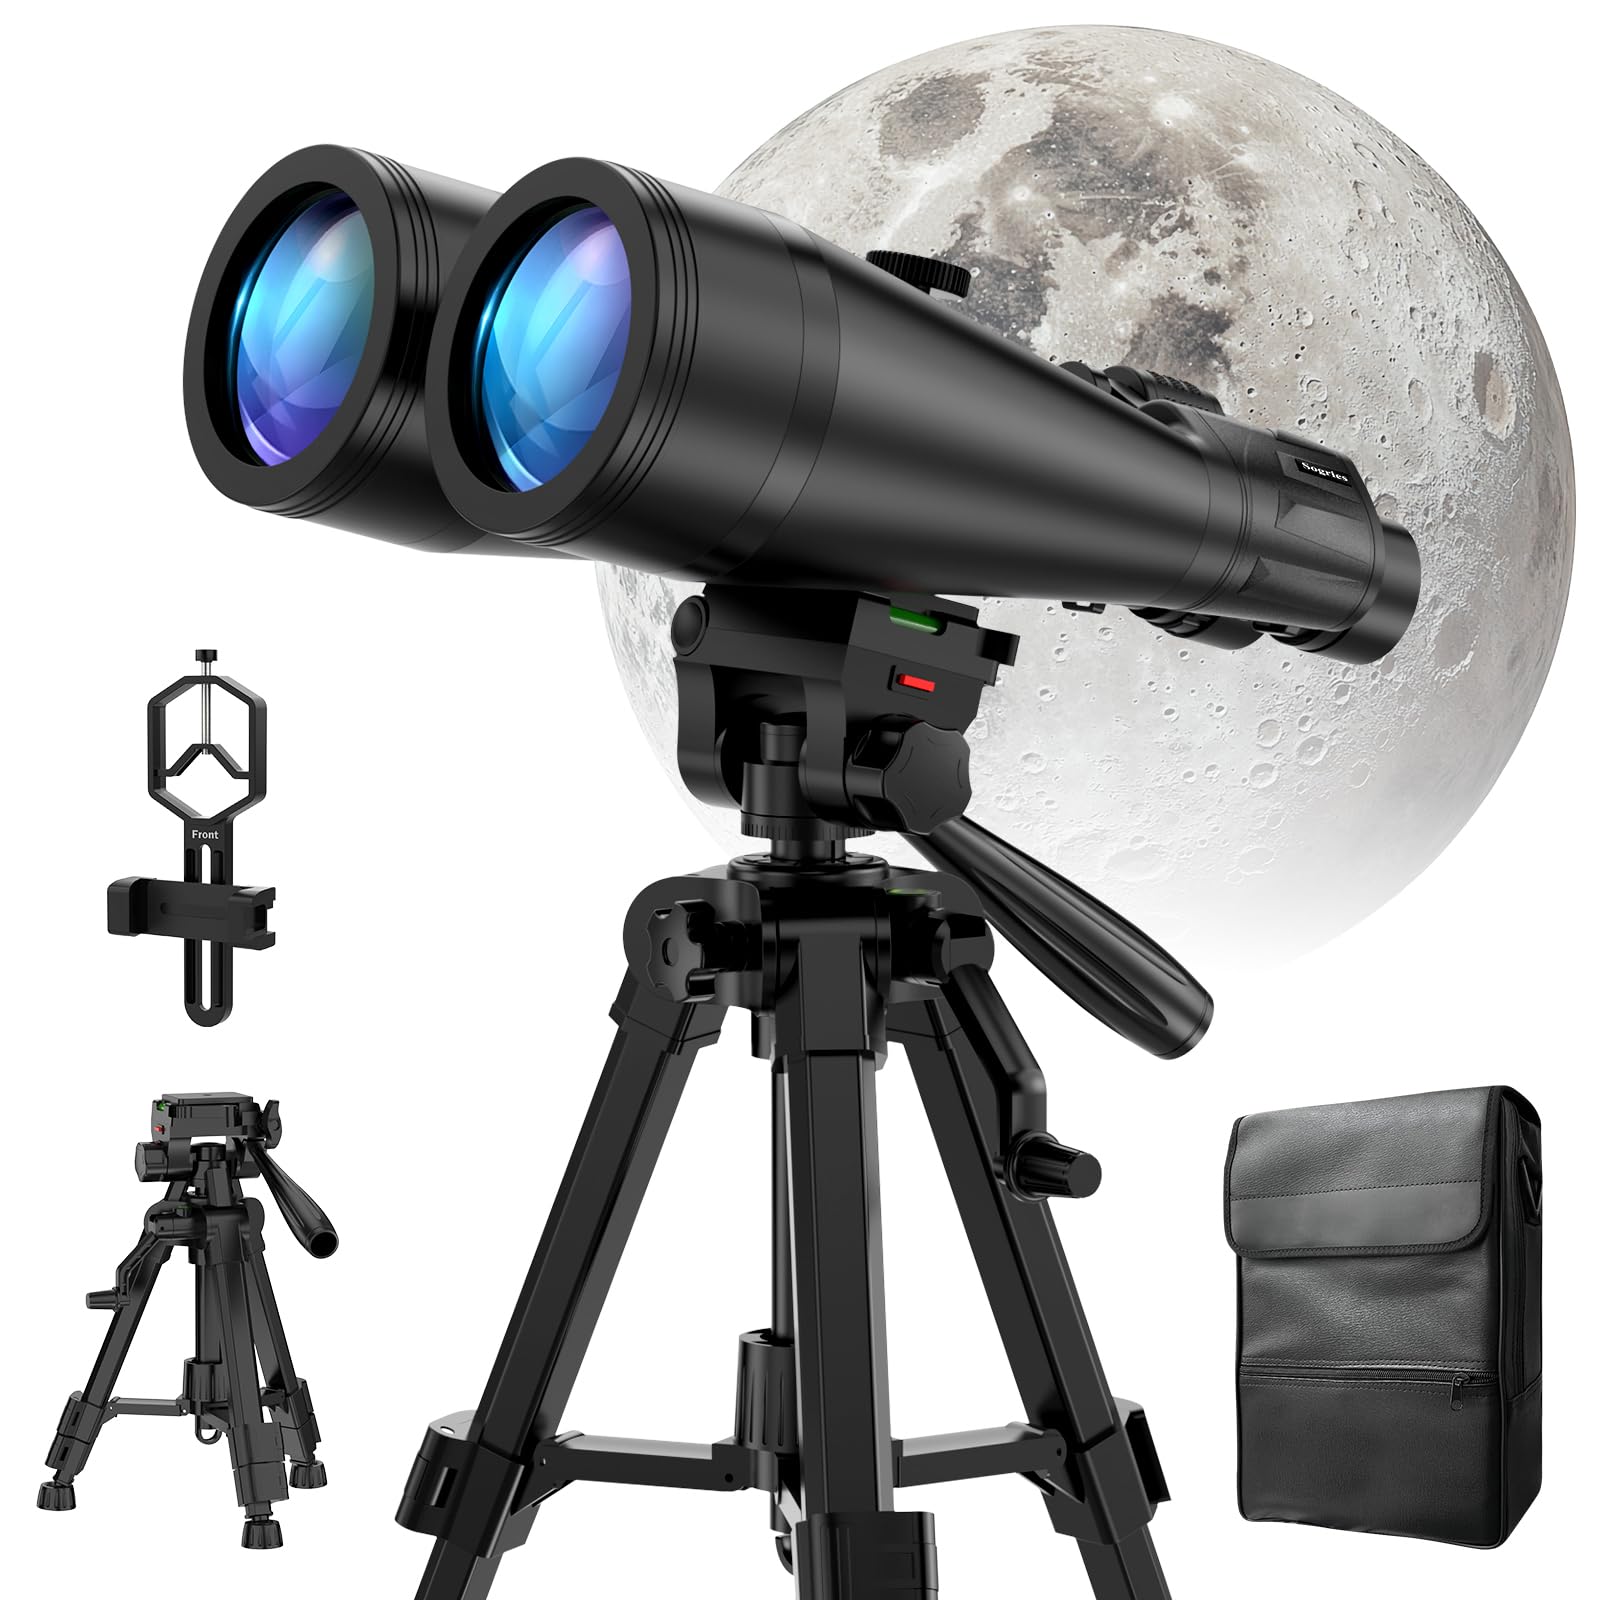


Who These Larger Sky Optics Suit Best
Astronomical binoculars range from portable pairs for casual scanning to large, tripod bound optics for dedicated deep sky work. The right size depends on travel distance, session length, and whether you enjoy setting up support gear.
Stargazers Learning the Milky Way
If you are learning the Milky Way band and its bright clusters, a portable pair with a wide view gives the most satisfying start. You can sweep slowly along the band, pause on bright patches, and learn star patterns without complex setup. This profile favors enjoyment and frequent use over maximum reach. Readers who travel light may also compare best rated compact binoculars.
Observers Chasing Faint Clusters and Nebulae
Faint target observers need more light gathering and a steadier platform than casual scanners. Larger front lenses reveal dim clusters and glowing gas clouds that smaller optics miss under dark skies. These pairs often weigh enough that a tripod becomes essential, and the extra size pays off if you spend an hour or more per session.
Shared Viewing With Family or Friends
Groups benefit from easy focus, generous eye relief, and a stable mount that lets each person take a turn without aiming again. A pair on a tripod works well here, because viewers of different heights can step up to the eyepieces in turn. Keep sessions short for younger viewers, and supervise children around straps, caps, and tripod legs.
Specs That Define the Best Astronomical Binoculars
Deep sky binoculars need optics criteria that matter at night: light gathering, steadiness, and comfort. The six checks below cover them. Read them as a set, because no single number tells the whole story. For general optics context, see our guide to best rated binoculars.
Aperture and Faint Target Reach
Aperture is the diameter of the front lens, and larger aperture collects more starlight. A 50 mm pair gathers noticeably more light than a 42 mm pair, while 70 mm and larger pairs reach fainter clusters under dark skies. The gain only helps if the pair stays steady, so large aperture pairs belong on a tripod, and town sky glow limits faint targets no matter how large the lens.
Power, Stability, and Image Scale
Power controls image scale, with 10, 12, and 15 power common in larger sky pairs. Higher power enlarges clusters and splits close star pairs, but it narrows the view and magnifies every tremor. For handheld use, most people stay near 8 or 10 power, while tripod users can enjoy 12 or 15 power with patience.
Prism Design and Optical Coatings
Porro prism bodies often give a spacious feel and a wide stance, while roof prism bodies pack into a slimmer shape for travel. Either design can serve deep sky viewing when prisms and coatings are well made. Multi layer coatings cut reflections, improve contrast, and help faint detail stand out. Avoid listings that claim huge brightness gains without technical detail.
Eye Comfort for Long Sessions
Long sessions punish poor eye comfort fast, so check eye relief, eyecup design, and interpupillary adjustment before you buy. Long eye relief helps glasses wearers see the full field, and soft twist up cups let you fine tune the distance. The bridge should adjust smoothly to your eye spacing and hold its setting through the night.
Field Width and Finding Faint Objects
A wide field helps you locate faint objects by star hopping from bright guide stars. Narrow fields show more detail once you find a target, but they make the search harder, especially for beginners. A finder friendly field plus a steady mount saves more time than a small gain in power.
Build, Sealing, and Tripod Readiness
Deep sky sessions expose gear to dew, cold, and long hours outdoors, so build quality matters. Sealed, nitrogen filled bodies resist fog when temperatures drop, and rubber armor improves grip with gloves. Check total weight with adapter included, and confirm that your tripod head can hold that load smoothly.
Budget Ranges for Deep Sky Optics
Budget ranges below describe what each spending level typically buys. Use them to align your budget with your observing goals, then compare current options in the product table above.
Entry Level for Dark Sky Discovery
An entry budget, about $100 to $200, suits observers who want a first taste of clusters and nebulae from dark sites. Expect a 50 mm lens, moderate power, and a body that works handheld for short looks and on a tripod for longer study. This level is ideal if you are unsure how often you will travel to dark skies.
Serious Amateur Level for Regular Deep Sky Work
A serious amateur budget, about $200 to $450, suits observers who visit dark sites often and want clearer faint detail. Look for refined coatings, better edge performance, smoother focus, and a body designed for tripod use. It is a good investment once you know your preferred power and aperture.
Large Aperture Level for Dedicated Observing
A large aperture budget, about $450 to $900, suits dedicated observers who want maximum reach and already own a solid tripod. Expect 70 mm or larger lenses, heavy bodies, and optics tuned for faint target contrast. Spend here only after you have confirmed that you enjoy tripod observing.
Pre Purchase Checklist
Use this checklist as a final screen before ordering. Each item reflects a real deep sky need, and a weak answer points to a better match elsewhere.
- Does the aperture suit your skies, with larger lenses reserved for genuinely dark sites and tripod use?
- Does the power match your mount, with handheld viewing near 8 or 10 power and higher power on a tripod?
- Can you adjust eye spacing and eye relief easily, including while wearing glasses if needed?
- Is the field wide enough to star hop to faint targets without constant searching?
- Does your tripod and adapter support the full weight of the pair with smooth movement?
- Is the body sealed against dew, and does it come with caps, a strap, and a protective case?
- Does the maker warranty cover the kind of long term outdoor use you plan?
Warning Signs in Listings
Deep sky listings sometimes inflate power or brightness while hiding the specs that matter. Treat missing aperture, missing field width, and missing weight as gaps, not as minor omissions. Compare maker pages when listings disagree, and be wary of daytime only sample claims for a night sky tool. A trustworthy listing states aperture, power, field, eye relief, weight, and mounting options plainly.
- Power advertised without aperture, field width, or exit pupil information.
- Brightness promises with no coating, prism, or glass details to support them.
- A heavy large aperture pair sold with no tripod socket or adapter guidance.
- Warranty terms that exclude normal outdoor use or offer no maker contact.
- Sample images or claims that show only daytime scenes for a deep sky product.
Care and Viewing Tips for Long Nights
Care starts before you leave home. Pack a lens cloth and spare caps, and keep the pair in a padded case for travel. At the site, let the optics cool to outdoor temperature so dew and fog settle less on the lenses. Use a chair or tripod to reduce fatigue, and take breaks so your eyes stay dark adapted.
Maker safety guidance is essential for this category. Never look at the Sun through binoculars, and never aim them near the Sun, even briefly. Only use solar filters that are made for your exact pair and fitted exactly as the maker directs, and never rely on sunglasses or improvised filters. Keep small parts away from children, store the pair out of reach when unsupervised, and follow maker guidance if any part loosens or fogs internally.
Frequently Asked Questions
Can binoculars show galaxies and nebulae?
Yes, binoculars can show bright galaxies and nebulae as soft glowing patches under dark skies, though they will not match telescope images. The Andromeda Galaxy, the Orion Nebula, and bright open clusters are good first targets for larger pairs. Dark skies, steady support, and dark adapted eyes matter more than extreme power. Start with bright targets, learn their locations, and move to fainter objects as your skills grow.
Do I need a tripod for astronomical viewing?
A tripod is not required for every pair, but it transforms deep sky viewing with larger or higher power optics. Handheld viewing suits short scans and bright targets, while a tripod lets you study faint patches without shake. Even a basic tripod with a suitable adapter improves comfort and detail for most observers. If you buy a 70 mm or larger pair, treat a tripod as part of the purchase, not as an optional extra.
What aperture works best for a first deep sky pair?
A 50 mm aperture suits many first deep sky pairs, because it balances light gathering, weight, and cost. It reveals bright clusters and nebulae from dark sites while remaining usable handheld for short periods. Larger apertures reach fainter targets, but they demand tripod support and cost more. Choose 50 mm if you value portability, and move larger only after you know you enjoy tripod sessions.
How do I protect night vision during a session?
Protect night vision by avoiding white phone screens, bright flashlights, and car headlights during a session. Use a dim red light for charts and gear, and give your eyes twenty minutes or more to adapt after leaving bright light. Binocular viewing itself helps, because both eyes stay adapted while you observe. If you must check a bright screen, turn brightness to its lowest setting and look away quickly.
When should I upgrade from a smaller sky pair?
Upgrade when you regularly reach the limits of your current pair under dark skies, not when a listing promises more power. Signs include faint targets that stay invisible despite good conditions, or a desire for tripod based study of specific clusters. Before upgrading, confirm your preferred power and aperture through borrowed or club equipment if possible. A thoughtful upgrade to a larger tripod pair beats a rushed jump to the largest option available.
Closing Thoughts
Deep sky binoculars reward a balanced choice: enough aperture for faint targets, a mount that keeps the view steady, and comfort that lasts through a long night. Compare the product table above against the checklist in this guide, and let your observing habits guide the final call.
In short, the best astronomical binoculars are the pair that fits your skies and your mount. Start with aperture and stability, protect your eyes with strict solar safety, and choose a size you will carry to dark skies often. That combination turns faint patches of light into memorable nights under the stars.


