Best Approach Boots for Every Need: How to Pick the Right One in 2026
Disclosure: We may earn a commission when you buy through links on this page, at no extra cost to you. As an Amazon Associate I earn from qualifying purchases. Learn more

Compare the best approach boots by terrain, grip, fit, and weather protection, with honest notes on sticky rubber, membranes, price bands, and care.
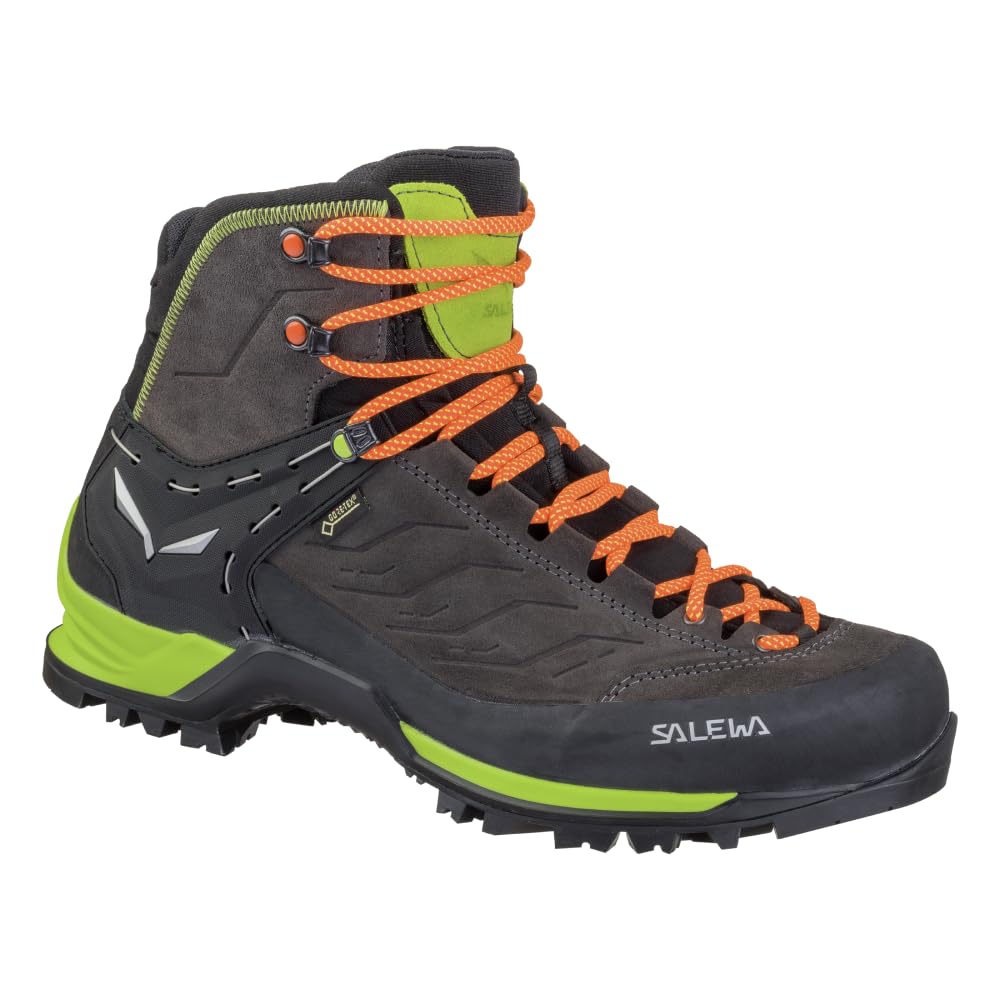
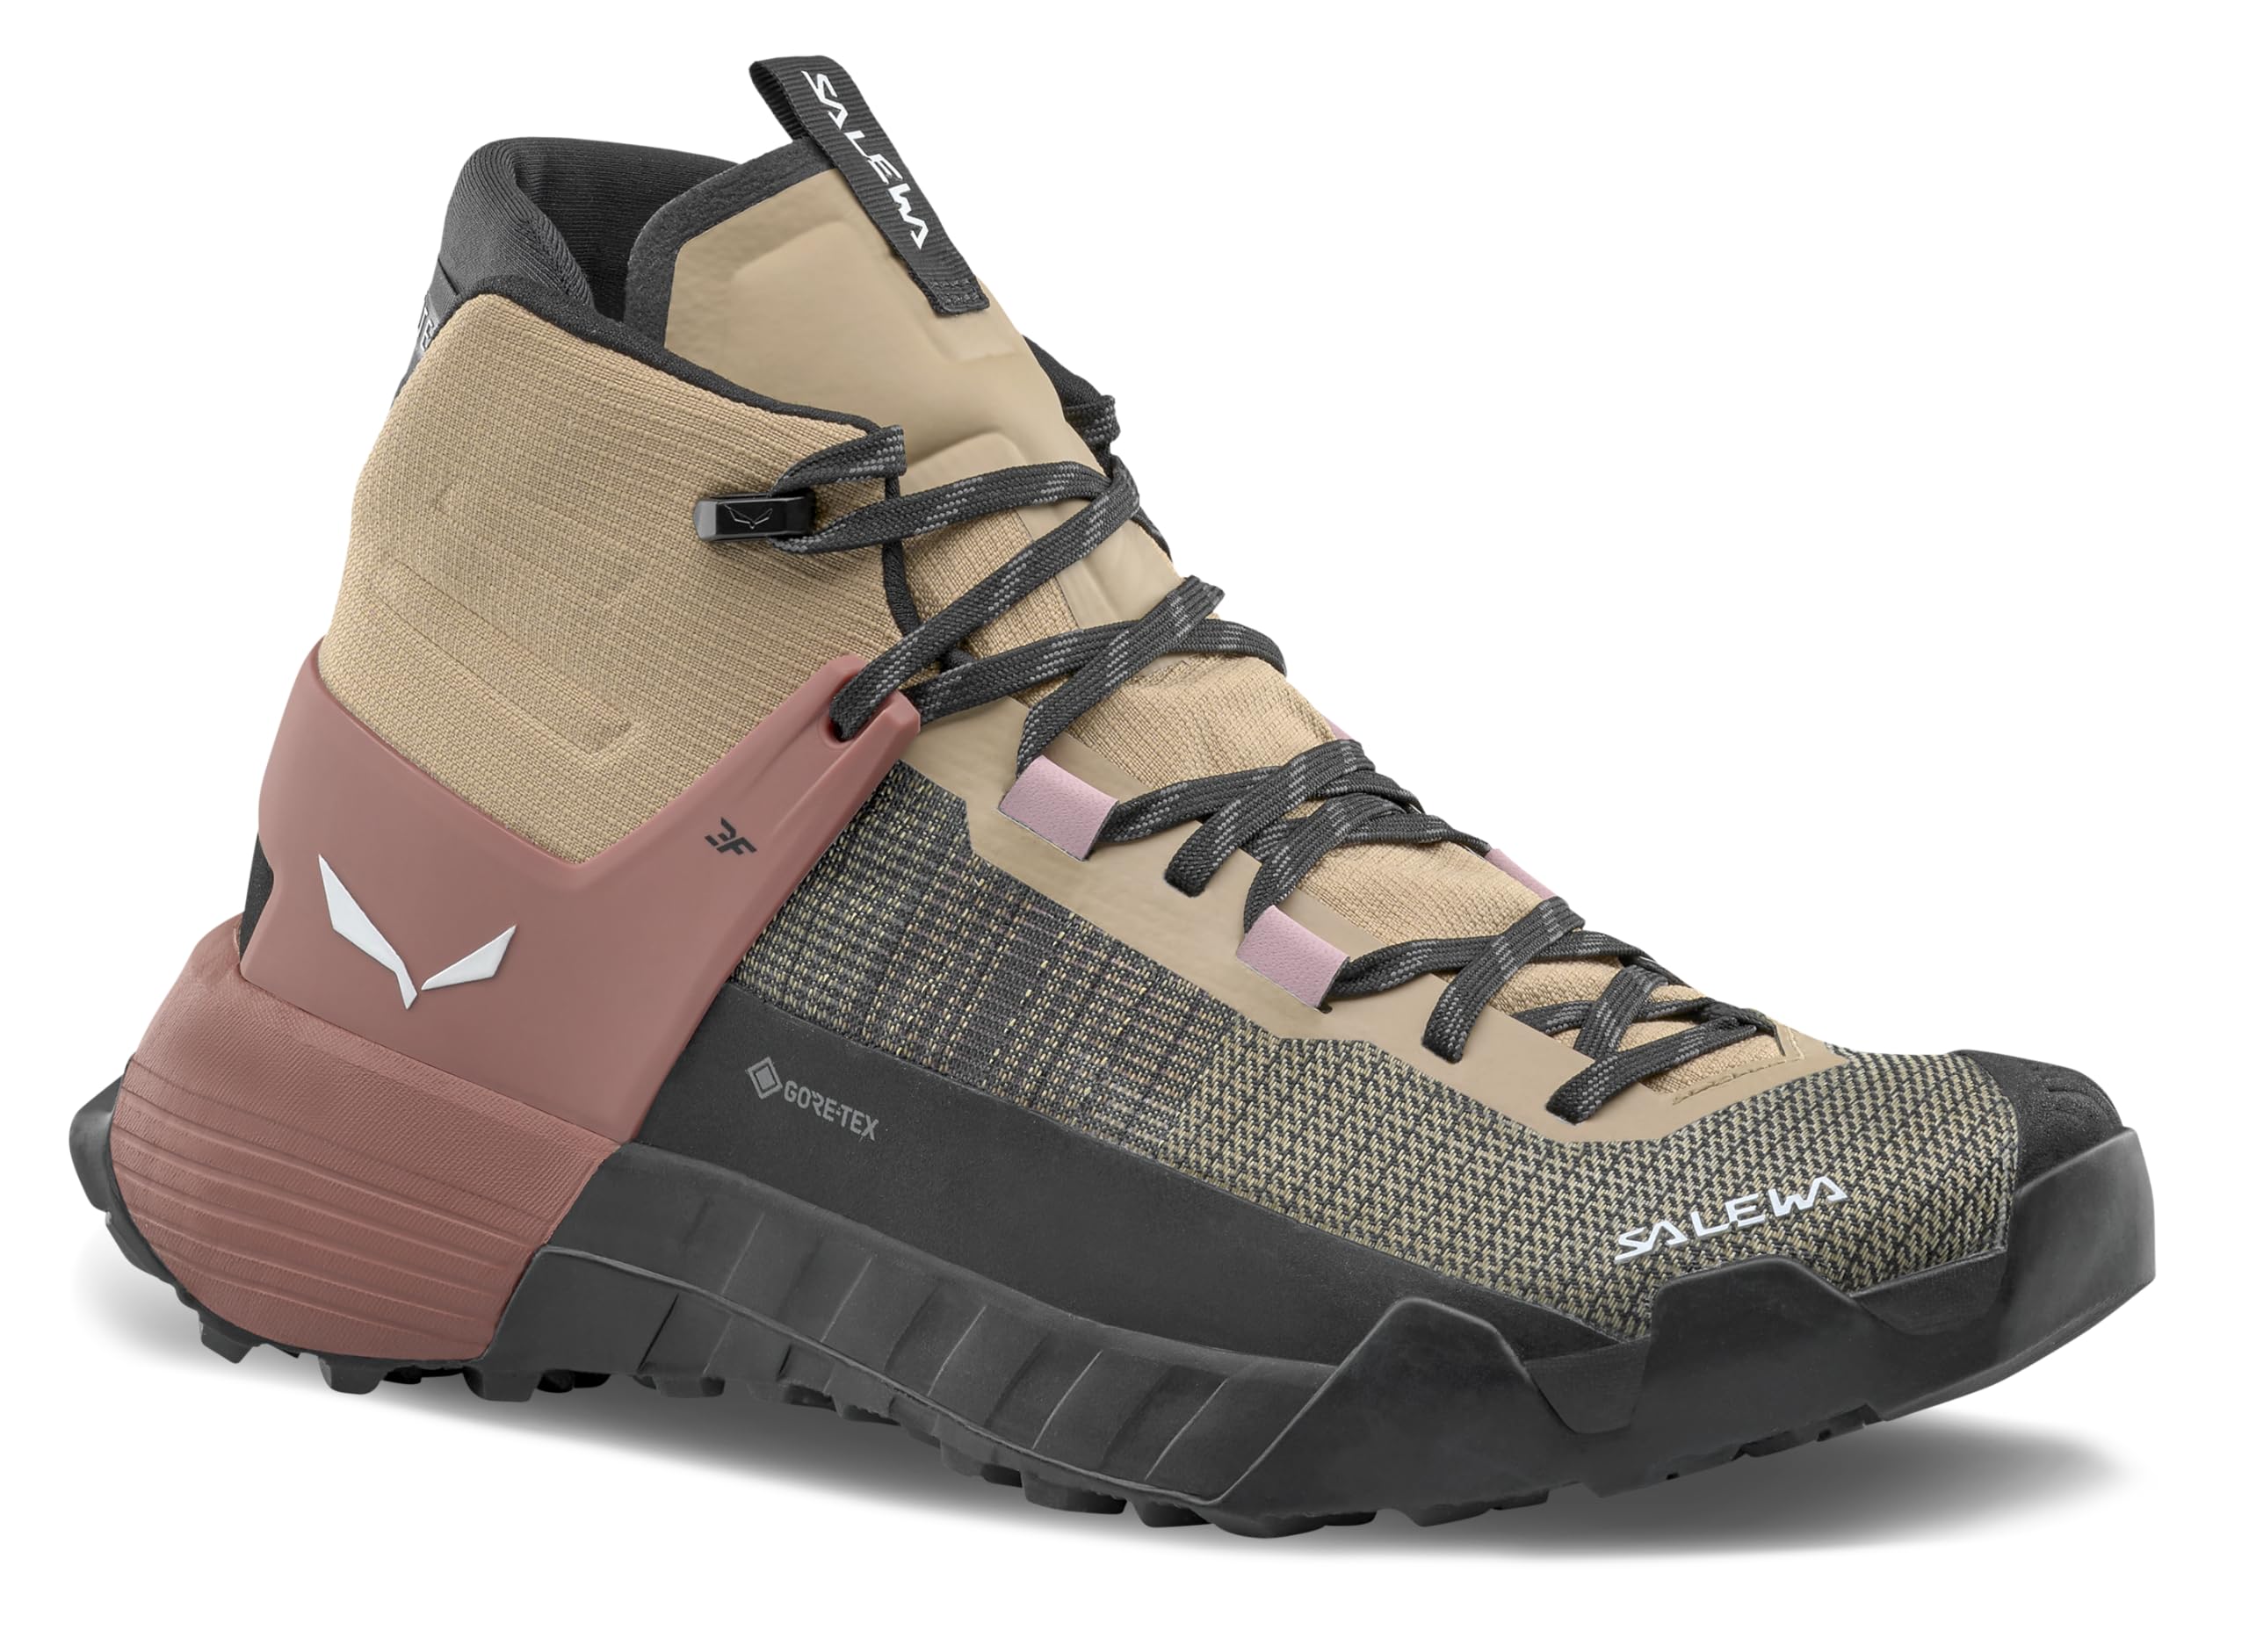
Approach boots are the high cut members of a hybrid family built for the ground between the trailhead and the climb. The family mixes hiking support with climbing rubber, and the shoe form is the common one you will see in most shops and on most feet. The boot cut adds coverage above the ankle, which matters on loose slopes, in cold weather, and on descents under a loaded pack. If you want one pair that walks in, scrambles, and handles easy rock, the best approach boots earn their place by doing all three jobs passably rather than one job perfectly.
There is no single best pair for every climber, because the right answer changes with your terrain, your weather, and how much of your day is walking rather than climbing. The product table lets you compare the main options side by side, and the sections that follow match each type to the need it serves best, so you can spend on the features your routes actually use. The guide also flags where the boot cut is the wrong answer, because honest limits matter as much as strengths when footwear decides how a day ends.




Who Should Buy the Best Approach Boots?
Start with the job, not with the shelf. The same family tree also includes low cut shoe versions cut for different feet, such as best women's approach shoes and best men's approach shoes, but the guidance below stays with the boot cut and the three needs it serves most often. Ankle history belongs in this decision too: climbers who roll ankles on rough descents gain real support from the boot collar, while sure footed walkers may never miss it.
For Bad Weather and Tough Conditions
If your walk ins cross snow patches, wet slabs, and muddy descents, put weather protection at the top of the list. A waterproof membrane inside a leather or tightly woven synthetic upper keeps feet dry through hours of damp ground, and the high collar blocks grit and scree that would pour into a shoe. Look for a gusseted tongue, sealed seams, and a rubber rand that wraps the toe and heel. The trade is warmth and slow drying, so this build suits cold and wet ranges far better than hot desert approaches.
Carry the socks the weather demands as well, since a membrane cannot rescue cold feet in thin summer socks. A short gaiter over the collar keeps scree and snow out on broken ground and costs little compared with the boot itself.
For Frequent or Serious Users
Climbers who go out several days a week should shop for construction before comfort features. A resoleable build, a stiff midsole that still flexes at the toe, and thick sticky rubber under the front half of the foot will outlast softer recreational pairs by a wide margin. Expect to pay about $150 to $220, and treat the warranty and resole service as part of what the money buys. Climbers whose days are mostly short pitches rather than long walk ins often drop to the shoe form instead, and our guide to best climbing approach shoes covers that climbing led end of the family.
For Weekend Beginners
If you climb easy routes a few weekends a month, you do not need the stiffest or most technical boot in the range. A flexible midsole, a forgiving fit with room for thicker socks, and rubber that grips dry rock well will cover most beginner terrain at about $100 to $150. Spend the savings on time outside rather than on features aimed at harder grades. A boot that feels fine on the first mile usually stays fine, while a painful pair rarely improves enough to justify keeping it.
Key Features to Compare
Four checks separate the best approach boots from ordinary trail footwear, and each one maps to a need rather than to a marketing label. Work through them in the order below, starting with the ground you actually walk on. The order matters, because a boot that fails the terrain check rarely redeems itself on fit or price. If a feature serves none of these four checks, treat it as decoration and give it no weight in the decision.
Outsole Traction and Terrain
The front half of an approach outsole is usually smooth or lightly patterned sticky rubber, made for smearing and edging on rock, while the heel carries deeper lugs for dirt and descent braking. Sticky rubber is a compound class, not a promise: a soft compound grips dry rock superbly but wears faster and still lets go on wet, polished stone, because wet rock defeats every compound to some degree. Match the pattern to your ground, deep lugs for muddy approaches, flat sticky zones for slabby ones. The lighter shoe versions in best approach shoes for scrambling follow the same rubber logic at a lower cut.
Waterproofing and Membranes
A membrane boot makes sense when your approaches involve snow, cold rain, or long stretches of wet grass, since dry feet stay warmer and blister less on the walk out. The cost is breathability: in warm weather your own sweat builds up inside, and once a membrane boot soaks through, it can take a full day or more to dry. Many climbers in dry ranges skip membranes entirely and choose a boot that drains and dries fast. Decide by your wettest normal month, not by your single wettest memory.
Durability and Expected Lifespan
Sticky rubber is soft by design, so the toe zone wears smooth long before the upper fails, and hard edging shortens that life further. Leather uppers, a full rubber rand, and stitched rather than glued stress points all stretch the usable life of the boot. Many approach boots can be resoled, which replaces the worn rubber and keeps a broken in upper working for another season or two. Treat lifespan in terms of rubber condition rather than calendar time, and budget for a resole if you climb often.
Fit, Sizing, and Toe Box
Fit is where the boot and shoe forms of this family part company in daily use. A climbing led fit is snug, with toes close to the front so the foot does not roll inside the boot on small edges, while a boot bought mainly for hiking distance needs hiking room, with space for toes to spread and swell on long descents. Measure your feet late in the day, wear your climbing socks, and check that the heel stays put on a downhill slope. If most of your day is the walk in rather than the rock, the roomier shoe form covered in best approach shoes for hiking may serve you better than any boot.
Common Mistakes to Avoid When Buying Approach Boots
Most returns in this category trace back to a handful of repeat errors:
- Buying by price alone, so the cheapest pair ends up with hard rubber that skates on the rock you actually climb.
- Ignoring the outsole pattern, then finding a smooth climbing zone useless on muddy walk ins or a deep lug pattern vague on slabs.
- Sizing for the street instead of the slope, which leaves toes banging the front on every descent.
- Choosing a membrane for a hot, dry range, so sweat soaks the boot from the inside on every outing.
- Skipping the warranty and resole terms, which matter far more on a soft rubber boot than on ordinary footwear.
If two or three of these sound familiar, slow down and refit rather than reordering the same boot in a different size. Most of them cost nothing to avoid, and all of them are easier to catch in the shop than on a descent.
Setup and Care Tips
Break a new pair in on short local walks before any long approach, and stop to adjust lacing at the first hot spot rather than pushing through it. After wet outings, loosen the laces, pull the insoles out, and air dry the boots away from direct heat, since radiators and campfires crack leather and weaken glue.
If you go out daily, rotating two pairs lets each one dry fully and stretches the life of both. Brush dried mud off the rubber before storing, because grit left in the climbing zone grinds the compound down between trips. Store the boots loosely laced in a dry spot away from sunlight, since ultraviolet light ages rubber and leather alike. When the toe rubber wears smooth, ask a resoler about new rubber before the midsole underneath starts to wear, since resoling early costs less than replacing the boot.
Frequently Asked Questions
How long is the break in period for approach boots?
Most approach boots feel settled after about three to five short outings, though stiff leather models can take longer. The useful signal is not the calendar but your feet: a hot spot that fades as the upper softens is normal, while numb toes or heel blisters that repeat in the same place mean the fit is wrong. Keep toenails trimmed during break in, because a snug climbing fit leaves little room for a long nail on descents.
Do I need waterproof approach boots in a warm climate?
Usually not, and in warm wet climates a membrane can be the worse choice. A non membrane boot that gets wet in a creek crossing drains through its mesh and dries while you walk, while a soaked membrane boot holds that water for hours. Warm range climbers often prefer fast drying uppers and carry dry socks for the climb itself. Save the membrane for cold conditions, where wet feet lose heat fast enough to end a day early.
How should approach boots fit compared with hiking boots?
Approach boots should fit closer than hiking boots, but the right amount of closeness depends on your day. In the shop, stand on an incline board or a step edge: your heel should stay seated when you weight the front of the foot, and your toes should brush rather than press the front when you stomp gently downhill. Try both feet, since most people have one foot slightly larger, and size for the larger one.
Are expensive approach boots worth it for casual climbers?
For casual climbers, the extra money mostly buys resoleable construction and better rubber, not extra comfort on day one. That trade pays off only if you climb often enough to wear out a cheaper pair within a season or two. A weekend climber on easy rock usually gets more value from a mid priced boot that fits well than from a technical model worn a dozen times a year. Fit first, then durability, then price.
How often should I replace my approach boots?
Replace or resole them when the smooth rubber in the toe zone wears thin enough that edges feel vague, even if the upper still looks sound. Other clear signals are a rand peeling away from the upper, a midsole that stays compressed and no longer springs back, and seams opening at the toe. A boot can look tidy and still be done, because grip is the whole point of this category and worn rubber quietly removes it.
Can approach boots be worn all day?
Yes for a mixed day of walking, scrambling, and standing at a crag, which is exactly the day they are built for. They are a poor choice for pure road walking or a full shift standing on concrete, since the soft rubber wears quickly on pavement and the snug fit tires feet that never leave flat ground. For an all day hike with no rock at all, ordinary hiking footwear is more comfortable and cheaper to replace.
Wrapping Up
Match the boot to the need first: membrane builds for cold and wet ranges, durable resoleable builds for frequent use, and forgiving mid priced builds for weekends. Then check the rubber against your terrain, and settle the fit with your real socks on a downhill slope. The product table above pulls the main options together so you can compare those points side by side. Chosen that way, the best approach boots stop being a compromise and become the pair you reach for whenever the day mixes trail and rock.