
Best Air Sander: A Practical Buying Checklist for 2026
Disclosure: We may earn a commission when you buy through links on this page, at no extra cost to you. As an Amazon Associate I earn from qualifying purchases. Learn more
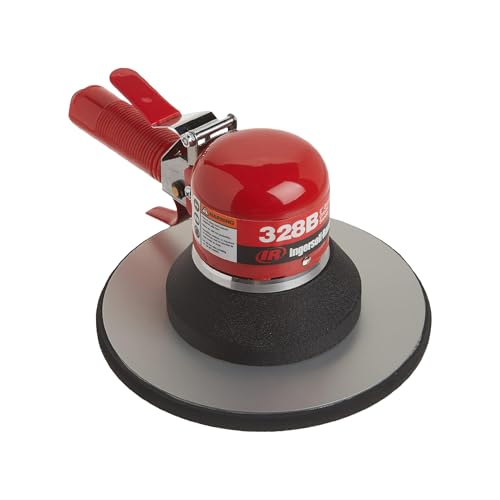
Best air sander checklist: match compressor air supply, pad size, orbit, speed control and comfort to your projects and workshop.
Finding the best air sander starts with a practical question: can your air supply keep up with the tool, and does the pad suit the surface you plan to sand? An air sander runs on compressed air, so compressor size, hose size, and air flow matter just as much as pad shape or speed. This guide turns those factors into a checklist you can use before you buy.
Use the product table to compare the main sander types side by side, then work through the checklist in this guide.
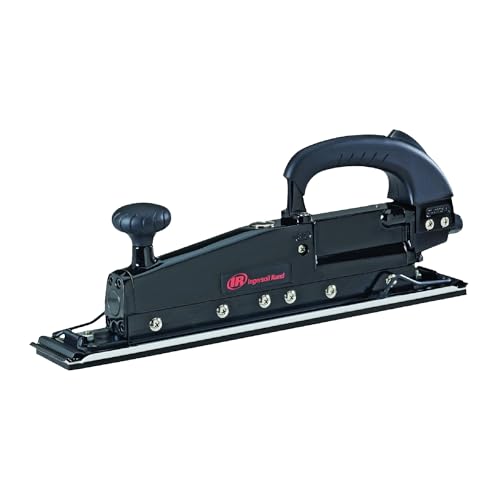
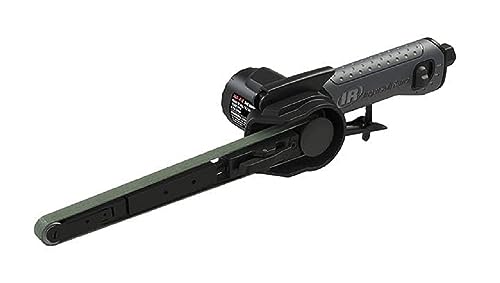

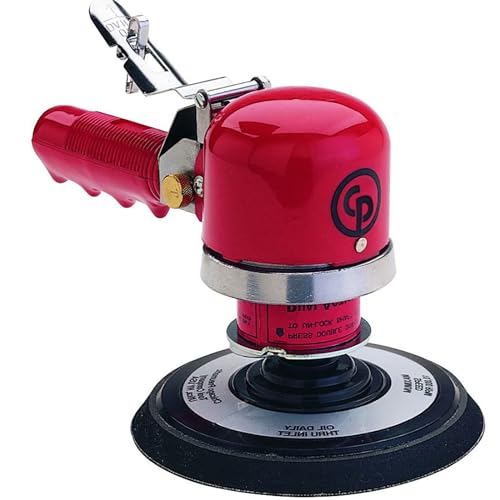
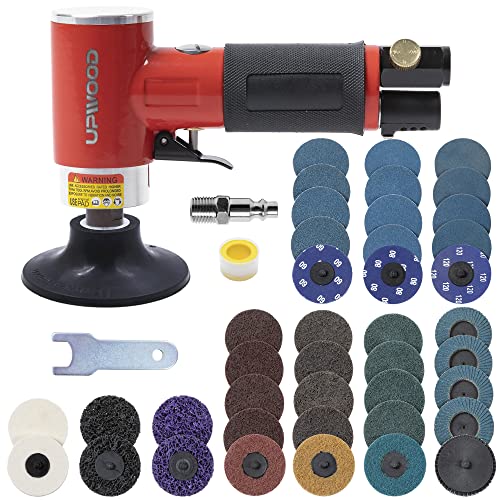


Best Air Sander Buyer Checklist
Use this checklist as a buying guide. Each section explains what to look for, what counts as a good fit, and what should make you pause.
Power Source and Air Supply
An air sander needs a steady supply of compressed air, so check the tool air demand in cubic feet per minute and the pressure range in pounds per square inch before you buy. Your compressor should meet or exceed that demand at the working pressure, or the sander will slow down during use and leave an uneven finish. Also check hose diameter and length, because a narrow or very long hose can reduce air flow.
Safety Features
Look for a comfortable trigger with a lock option where offered, a secure pad attachment, and a design that keeps hands clear of the sanding surface. Follow maker safety guidance, wear eye protection, and use hearing protection for longer sessions, because air tools are loud and produce fine dust. Work in a ventilated area, keep the work area clear, and disconnect the air supply before changing a pad or clearing a jam. Keep the tool away from children.
Durability and Motor Type
Air sanders use a pneumatic motor, so durability depends on housing quality, bearing design, and how well the tool handles dust. A sealed or well shielded design resists dust entry better than an open design, which matters when you sand wood, filler, or paint. Look for metal housing parts in high wear areas and a pad that attaches firmly without wobble.
Capacity and Working Range
Working range for an air sander means pad size, orbit size, and the size of surface you can sand comfortably. A small pad suits detail work, edges, and curved parts, while a larger pad covers flat panels faster but is harder to control in tight spots. Orbit size affects finish: a small orbit leaves a finer finish, while a larger orbit removes material faster but may leave more visible marks.
Power and Performance Specs
The specs that matter most are free speed, air consumption, pad size, orbit size, and weight. Free speed tells you how fast the pad moves with no load, but it does not tell the whole story, because air supply and pressure change real speed. Air consumption tells you whether your compressor can keep up, while pad and orbit size tell you how fast material comes off and how fine the finish will be.
Warranty and Support
Warranty cover for an air tool is often limited to defects in materials and workmanship, so read the maker terms before you buy. Look for clear guidance on oiling, pad replacement, and air supply, plus a support route for parts such as pads, bearings, and seals. A maker that sells spare pads and seals is more useful than a long warranty with no parts support.
Weight, Ergonomics, and Vibration
Weight and vibration matter because sanding is often a long, repetitive job. A lighter tool with a balanced grip reduces arm fatigue, while a well designed handle keeps your wrist in a neutral position. Vibration control, where offered, helps during longer sessions, but it does not replace rest breaks.
Spending Levels for Air Sanders
Think in spending levels rather than single products. Each level suits a different pattern of use, and the best value is the level that matches your compressor and your project load.
Occasional Home Project Level
This level suits small repairs, furniture touch ups, and occasional sanding on weekends. Tools at this level are usually lighter and simpler, with basic speed control and a standard pad size. They work well when your compressor meets the air demand and your sessions are short.
Regular Workshop Level
This level suits frequent home workshop use, larger panels, and longer sanding sessions. Tools in this range tend to have better balance, smoother speed control, and tougher housing that handles dust better. This is a good middle ground when you sand often but do not need industrial grade capacity.
Frequent Heavy Use Level
This level suits daily use, large surfaces, and demanding material removal. Tools here are usually built for longer run times, with stronger housings, better vibration handling, and easier access to spare parts. Choose this level only when your project load and air supply justify it.
Quick Buyer Checklist
Run through these questions before you order.
- Does my compressor meet the air demand at the working pressure?
- Does the pad size suit my most common surface, from detail work to flat panels?
- Does the orbit size match the finish I need, finer for final passes and larger for fast removal?
- Can I control speed easily, and does the trigger feel comfortable for longer sessions?
- Are spare pads and seals available, and is the pad easy to change?
- Does the tool feel balanced in my hand, without excess weight or vibration?
- Have I planned eye protection, hearing protection, ventilation, and dust control?
- Does the maker guidance cover oiling, care, and warranty terms clearly?
Red Flags to Watch For
Pause before buying when you see vague air specs, no stated pressure range, or no clear pad size. A missing compressor requirement is a warning sign, because an underpowered supply ruins finish quality. Also watch for unclear warranty terms, no spare parts route, and claims that sound absolute, such as a tool that never wears out.
Care and Maintenance Tips
Good care keeps an air sander running smoothly and safely. Wear eye and hearing protection, work in a ventilated area, and let the tool do the work rather than forcing it.
Keep abrasive pads sharp and suited to the job, because a worn pad slows work and can burn or gouge the surface. Oil the tool only where the maker directs it, drain moisture from the air line as directed, and disconnect the air supply before changing a pad. Store the tool in a dry place, away from children.
Air Sanders: Your Questions Answered
What specs matter most for home projects?
The specs that matter most for home projects are air demand, pad size, orbit size, speed control, and weight. Air demand decides whether your compressor can keep up, while pad and orbit size decide how fast you work and how fine the finish will be. Speed control helps you slow down for detail work and final passes, and a lighter, balanced tool reduces fatigue. Check all five together, because a strong score on one spec does not fix a mismatch on another.
What size air compressor do I need for an air sander?
You need a compressor that meets or exceeds the sander air demand at the working pressure, with some margin for longer runs. Check the tool air consumption and pressure range, then compare them with the compressor output at that same pressure, not just its peak rating. A larger tank helps during short bursts, but sustained sanding depends on continuous air flow. When in doubt, choose a compressor with higher continuous output than the tool requires.
Is a larger orbit better for an air sander?
A larger orbit is better for fast material removal, but not for a fine final finish. A larger orbit moves the pad further with each rotation, so it cuts faster on rough surfaces and flat panels. A smaller orbit leaves finer marks and suits final passes, detail work, and surfaces that will be painted or stained. Many home users benefit from a small or medium orbit, while a larger orbit suits heavy stock removal.
Can I use one air sander for wood and metal?
You can use one air sander for wood and metal if you change the abrasive to suit each material and clean the pad area between jobs. Wood dust and metal particles behave differently, so use the correct grit and backing for each surface, and avoid mixing dust types in the same work area. Wear eye protection and work in a ventilated area for both materials. For frequent metal work, a dedicated pad set keeps wood dust out of metal finishes.
How do I reduce vibration when sanding?
Reduce vibration by choosing a balanced tool, using the correct pad, letting the tool do the work, and taking regular breaks. Pressing hard increases vibration and slows the pad, while a worn or unbalanced pad adds shake. Keep the tool well maintained, follow maker oiling guidance, and wear gloves that suit the job without reducing grip. If vibration still causes discomfort, stop and rest, check the pad, air supply, and tool condition, and ask your doctor if discomfort continues.
Final Thoughts
Match the sander to your compressor, your pad needs, and your project load, rather than chasing the highest speed alone. Air supply, pad size, orbit, speed control, and comfort together decide finish quality and how long you can work without fatigue. Check the product table above, run through the quick checklist in this guide, and choose the best air sander for your workshop and your safety routine.


