
Best Acrylic Sets Made Simple: A Clear Buying Guide for 2026
Disclosure: We may earn a commission when you buy through links on this page, at no extra cost to you. As an Amazon Associate I earn from qualifying purchases. Learn more

A simple first purchase guide to the best acrylic sets, covering powders, liquids, tools, safety basics, and price tiers so you choose with confidence.
The phrase acrylic set is used loosely, and that confuses first time buyers more than any spec does. Most shoppers using the term mean an acrylic nail set: powder, liquid, tips, and the tools to apply them. A smaller group means paint sets for canvas work, which are a completely different purchase.
This guide focuses on nail sets, explains the shared basics in plain English, and points paint shoppers in the right direction. When you look for the best acrylic sets, start with the comparison table below, then use the sections that follow to judge any kit with confidence.
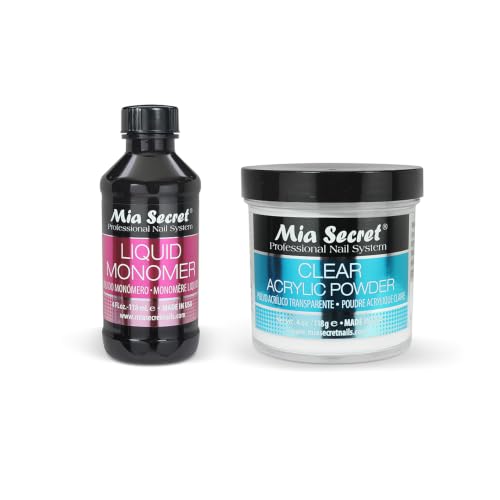


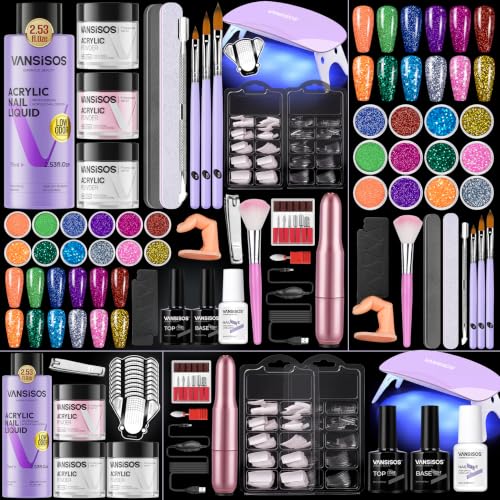
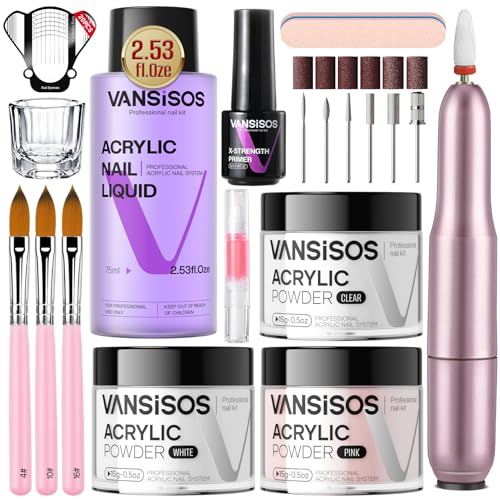

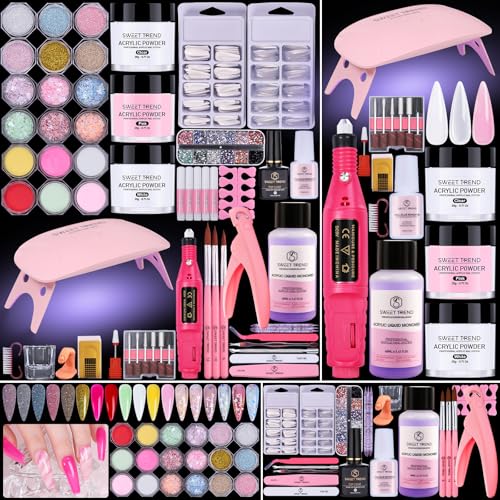
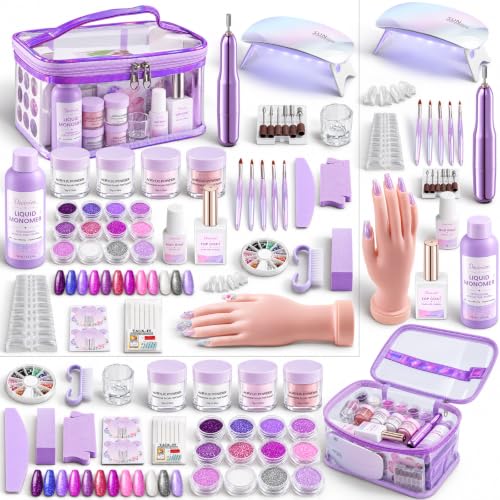

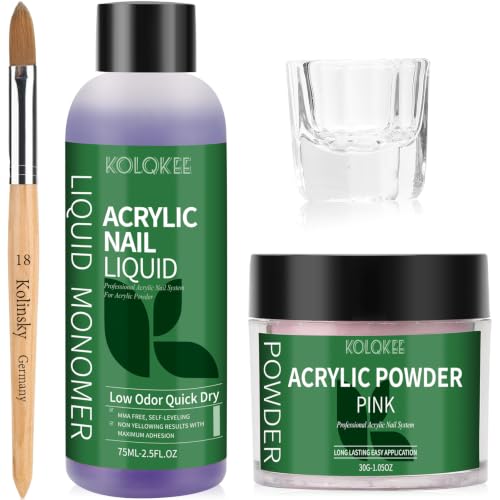
Best Acrylic Sets 101: The Basics
An acrylic nail set builds hard, durable nails by combining a powder polymer with a liquid monomer. You dip a brush in the liquid, pick up a small bead of powder, place it on the natural nail or a tip, and shape it before it hardens in the air. After hardening, you file, buff, and finish. The key terms are simple: prep is cleaning the nail first, the ratio is the balance of liquid to powder, and infills are the maintenance done as nails grow.
If your interest is painting rather than nails, the products share only a name and nothing else. Paint shoppers should look at the best acrylic paint sets and pair them with the best acrylic brush sets instead, because pigments, canvases, and brushes have their own quality rules. Everything below this point is about nail sets, which is where the term acrylic set is used most often by home buyers.
Key Specs Explained in Plain English
Kit listings bury a handful of real decision points under long lists of included items. The six topics below isolate what actually changes your results, your comfort, and your running costs. Read them once and you can judge almost any listing in a few minutes, including the dedicated kits covered in our guide to the best acrylic nail sets.
Intended Use and Who It Is For
Decide whose nails the set is for and how often you will use it. A set for occasional home use needs forgiving working time and clear guidance. A set for frequent use needs durable tools and enough product to avoid running out mid set.
If you hope to work on friends or clients later, choose standard jar sizes so refills are easy to find. Buying for a use case you do not have is the most common way money gets wasted here.
Price vs Value
Expect to pay around $20 to $45 for a sound starter level set, around $30 to $60 for a comfortable midrange set, and around $60 to $120 for a premium set with generous quantities and better tools. Value is not the lowest price; it is the cost per successful set. A cheap kit that lifts in three days costs more in time and replacement product than a midrange kit that lasts two to three weeks on the nail.
Key Performance Specs
Three specs decide performance: powder fineness, liquid setting speed, and brush quality. Fine powder forms smooth beads that need less filing. Medium speed liquid suits most home users, hardening in roughly half a minute to a minute per bead depending on room temperature.
A brush that springs back to a point gives you control at the cuticle line. If a listing hides these basics behind glitter counts and packaging claims, treat that as a warning sign.
Warranty and Customer Support
Formal warranties are rare in this category, so judge support by the return window and the quality of published guidance. Good sellers replace leaking bottles, answer ratio questions, and post troubleshooting help for lifting and cloudy finishes. Keep receipts and packaging until you have completed at least one full set and one removal. Problems such as a brush losing hairs or powder that will not set usually appear early, while your options are still open.
Size, Weight, and Fit for Your Space
Kit size affects storage more than performance. A dozen large jars need a drawer or a case with upright space, and monomer bottles must stand upright to avoid leaks. Compact kits suit small apartments and shared bathrooms, while larger kits suit a dedicated nail desk.
Weight matters if you plan to carry the kit to a friend home: full premium kits can be surprisingly heavy. Measure your storage spot before ordering the biggest bundle.
Ease of Use and Setup
A friendly kit opens easily, labels every jar, and orders its instructions in the sequence you will actually work. Setup should be a clean surface, bright light, ventilation, and your tools laid out before the first bottle opens. Monomer has a strong odor, so an open window or small fan is part of ease of use, not an optional extra. If a kit requires hunting through unlabeled bags for basic items, your sessions will feel harder than they should.
Rookie Mistakes to Avoid
- Buying the largest kit available before you know whether you enjoy the slow, careful process acrylics require.
- Skipping prep steps, then assuming the powder or liquid is faulty when the nails lift early.
- Letting liquid touch the skin around the nail again and again, which can lead to redness and itching.
- Storing bottles on their sides or near heat, which causes leaks and speeds up evaporation.
- Judging a kit by how many colors it includes instead of by brush quality and setting speed.
One safety note belongs in every first purchase decision. Work with ventilation, keep products away from children, and never apply acrylic over skin that is broken or a nail that hurts. If you develop burning, swelling, strong itching, or a nail that starts to separate, stop using the product, remove it gently, and talk with a doctor or dermatologist about what you are seeing.
Getting Started: Setup and First Use
Read the manual before first use, because liquid speeds and ratios vary between brands. Wash your hands, lay out tips, files, powder, and liquid in working order, and practice forming beads on a spare tip before touching your own nails. Aim for beads that look like smooth pearls: glossy, holding their shape, and not running toward the skin. Clean and inspect your brush and files regularly, and store everything closed and upright when you finish.
A useful know how habit is to work in the same order every session: prep, tips, beads from cuticle to free edge, filing, then finish. A fixed routine prevents the classic beginner error of opening the liquid before the nails are prepped, which wastes product and rushes your work. Keep your first sets short and simple, and length will feel easy to add once your bead control is steady.
Frequently Asked Questions
How do I maintain an acrylic set?
You maintain the nails you build, and you maintain the kit that builds them. On the nail side, keep nails dry, use cuticle oil daily, wear gloves for cleaning, and plan infills at about two to three weeks. On the kit side, seal jars tightly, clean the brush in fresh liquid after each use, and replace worn files. Both halves matter, because a neglected brush can ruin an otherwise well maintained set.
How much should I spend on an acrylic set?
Most first time buyers should spend around $30 to $60, which buys finer powder, a brush that holds a point, and enough product for many sets. Below that range you are mostly buying a learning experience with weaker tools. Above it, you pay for quantity and color range that only frequent users finish. Decide by expected use: monthly use justifies midrange, while weekly use can justify premium.
How long does an acrylic set last?
On the nail, a well applied set lasts about two to three weeks before infills, and the enhancements themselves can be maintained for months through regular infills. The kit lasts far longer: powders keep well when sealed and dry, while an opened liquid bottle gradually loses strength over months. If beads start behaving oddly after long storage, suspect the liquid first, because it ages faster than powder.
What features matter most when buying acrylic sets?
Powder fineness, setting speed, and brush quality matter most, because they control how smooth, strong, and neat your finished nails look. After those, value clear instructions, sensible jar sizes, and a case that keeps bottles upright. Colour variety ranks last for a first purchase, since you can add colors later for a few dollars each. Strong basics with few colors will teach you more than weak basics with forty shades.
Are expensive acrylic sets worth it?
Expensive sets are worth it for frequent users who feel the difference in working time and finish quality at every session. They are not worth it for a curious beginner, whose results are limited by technique rather than materials. A fair check: if you have completed five full sets and still enjoy the process, upgraded materials will reward you. If you are still deciding, midrange quality protects your budget and your enthusiasm.
Our Verdict
For most first time buyers, a midrange kit with fine powder, a medium speed liquid, and a proper brush is the smartest place to start. Confirm that you mean nail sets rather than paint sets, check your storage space, and respect the safety basics from the first session. Compare the options in the product table above, and you will choose among the best acrylic sets with clear eyes and a realistic budget.


