Bathroom Exhaust Fan Installation Cost in 2026: Prices, Factors & DIY vs Pro
Disclosure: We may earn a commission when you buy through links on this page, at no extra cost to you. As an Amazon Associate I earn from qualifying purchases. Learn more

How much is bathroom exhaust fan installation cost? See typical price ranges, what drives the cost up or down, and when DIY makes sense versus hiring a pro.
For most homes, bathroom exhaust fan installation cost lands at about $150 to $400 for a simple swap that reuses the duct and wiring already in place, and about $400 to $900 for a brand new install where no fan existed before. Your own total depends mainly on the fan you choose, how much new duct and electrical work the job needs, and local labor rates.
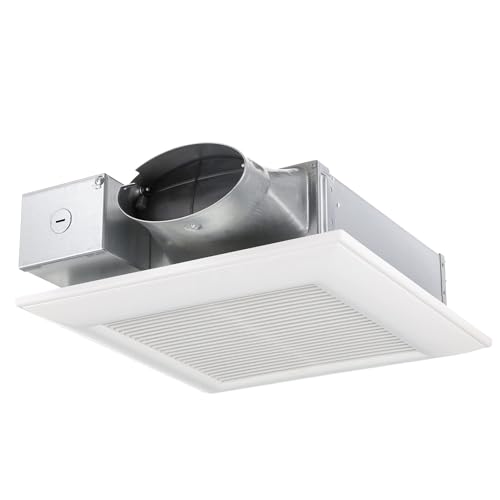
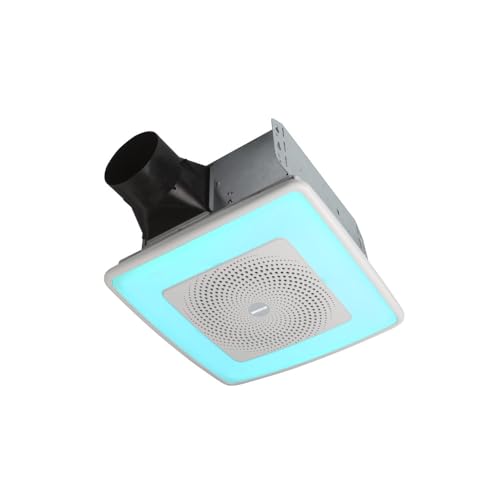
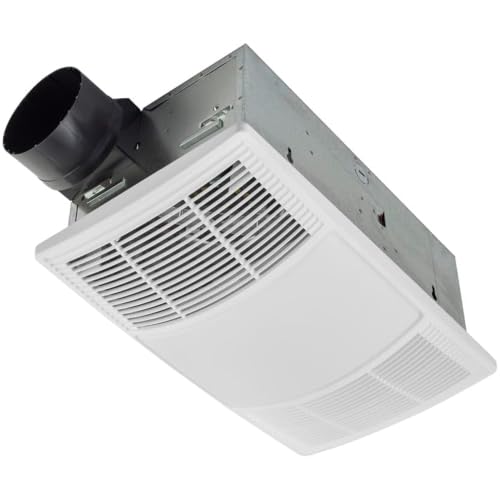
This guide breaks down where that money goes, which details push a quote up or down, and how to judge whether doing the work yourself will truly save you anything. The comparison table below gives you a quick view of typical fan types and price levels, so you can match the cost ranges here to the kind of project you are planning.






Bathroom Exhaust Fan Installation Cost: The Details
Think of your total as two bills combined. The first is the fan itself, and the second is the work needed to mount it, wire it, and vent it safely to the outdoors. A modest fan for a small bathroom often costs about $20 to $150, while quieter models with a light or a humidity sensor can run about $150 to $250. Labor then adds the rest, and labor is where quotes start to differ the most.
Key Factors That Set the Price
The size of your bathroom sets the airflow rating you need, measured in CFM, and larger or quieter fans simply cost more to buy. Noise rating matters too, because a fan rated at a low sone level uses a larger motor and better housing, which raises the price. Duct work is the next factor. A short duct run to a nearby outside wall is cheap in parts and time, while a long run through an attic to a roof cap adds materials and hours. Electrical work adds more if the installer must add a switch, extend a circuit, or bring older wiring up to current code.
What Affects the Answer for Your Bathroom
The single biggest question is whether a fan is already there. A swap that fits the existing opening and duct size can take an hour or two, so labor stays low. Cutting a larger opening, upsizing a duct that is too small, or adding a vent where none exists turns the job into carpentry, roofing, and electrical work combined. Access matters as well. An attic above the ceiling makes the work far faster than a bathroom on a lower floor with finished rooms above it, where every step happens through the ceiling opening itself.
Your location also shapes the final number. Labor rates in large metro areas can be nearly double those in smaller towns, and permit fees vary by city. The condition of the bathroom plays a part too. If the ceiling around the old fan is soft from moisture or the existing duct was vented into the attic instead of outdoors, fixing those problems adds cost, but it also protects your home from mold and moisture damage that would cost far more later.
DIY vs Hiring a Pro: What Each Route Really Costs
Doing the work yourself removes the labor charge, which is often the largest part of a simple project. For a basic swap, your added costs beyond the fan are small items such as duct tape rated for the job, foil tape, wire connectors, screws, and caulk, often about $25 to $75 in total. For a new install, add duct pipe, a roof or wall cap, and possibly a new switch, which can bring materials to about $100 to $300 before you count your time.
Your savings shrink fast if you need to rent or buy tools you do not own, such as a drywall saw, a drill, or a tall ladder for roof work. Time is a real cost as well. A pro who does this work weekly may finish a swap in under two hours, while a careful first attempt can fill most of a Saturday. If you run into a surprise, such as a joist crossing the exact spot you planned for the fan, you also carry the cost of fixing it yourself.
Some parts of the job strongly favor hiring a licensed electrician or contractor. Adding a new circuit, working inside a crowded panel, cutting a roof penetration, or meeting permit and inspection rules are all areas where a mistake can leak, spark, or fail inspection. Many homeowners split the difference. They mount the fan and run the duct themselves, then pay an electrician for the final wiring, which keeps the bill down while the safety critical work stays with a pro.
Tips From Experience
A few choices made before anyone picks up a tool can keep your project on budget without cutting corners that matter.
- Measure the existing housing and duct size before you shop, because a fan that matches both can turn a long job into a short one.
- Ask each contractor for an itemized quote that separates the fan, labor, duct work, and permit fees, so you can compare quotes fairly.
- Get at least three quotes when the job involves new duct work or roof work, since prices for that scope vary the most.
- Schedule the install before you repaint or retile, so any ceiling patching blends into work you already planned.
- Choose the correct airflow for the room instead of the largest fan on the shelf, because oversizing adds purchase cost and noise without adding benefit.
- Keep the duct run as short and straight as the layout allows, since every elbow adds parts, labor, and resistance to airflow.
One more tip saves money for years after the install. Run the fan during every shower and for about 20 to 30 minutes afterward, so moisture leaves the room instead of settling into paint and grout. A fan that is used properly prevents the peeling paint, mildew, and soft drywall repairs that quietly cost more than the fan itself.
Choosing a Fan Type That Keeps Total Cost in Check
Since there is no single best fan for every bathroom, it helps to think in types. A basic fan only model is the lowest cost option and suits a small bathroom that already has good lighting. It moves air, does nothing extra, and is usually the quickest type to wire because it uses the existing switch. If your bathroom feels dim, a fan and light combination costs more to buy, yet it can cost less overall than paying separately to add a new ceiling light later.
Models with a built in heater sit at the top of the price range, and they often need a dedicated electrical circuit, which adds real labor cost. A humidity sensing model costs more than a basic fan but turns itself on and off as moisture rises and clears, which suits a busy family bathroom where people forget to use the switch. A timer switch is a cheaper way to get similar control with a basic fan, and it is worth pricing both routes before you decide.
Noise deserves a place in your decision, because a loud fan tends to go unused, and an unused fan delivers no value at any price. Look for a low sone rating if the bathroom sits near bedrooms. Also confirm the duct size the fan expects. A fan built for a larger duct can be adapted to a smaller one, but airflow drops and noise rises, so matching sizes from the start protects both your comfort and your budget.
FAQ
How to replace a bathroom exhaust fan?
Start by turning off power at the breaker, then remove the grille, unplug the motor, and unhook the housing from the duct and joist. Fitting the new unit is mostly that process in reverse, followed by sealing the duct joint and checking the switch. Access from the attic makes the job far easier than working only from below. Our full walkthrough on how to replace a bathroom exhaust fan covers each step, including what to do when the new housing is a different size.
How to install a bathroom exhaust fan?
A new install begins with choosing a spot between joists near the shower, then cutting the ceiling opening, mounting the housing, and running duct to an outside wall or roof cap. The fan must vent outdoors, never into an attic or wall cavity, because trapped moisture causes damage there. Wiring and any permit steps come next, then patching and checking. The detailed guide on how to install a bathroom exhaust fan explains layout, duct routing, and vent cap choices in depth.
How to clean a bathroom exhaust fan?
With the power off, pull the grille down, wash it in warm soapy water, and vacuum dust from the motor and housing with a soft brush attachment. A fan clogged with lint runs louder and moves less air, so cleaning about twice a year restores much of its performance. Avoid soaking the motor or spraying cleaner into the housing. For a deeper routine, including how to reach the blower wheel, see how to clean a bathroom exhaust fan.
How long does a bathroom exhaust fan last?
Most fans last about 10 years or more, though the motor often shows wear sooner in a steamy bathroom that gets heavy daily use. Rising noise, slow clearing of steam, and a grille that rattles are early signs that the motor is tiring. Replacing just the motor assembly, when one is available for your housing, can extend service for a fraction of a full install cost, which makes it worth checking before you budget for a complete new unit.
Does bathroom exhaust fan installation need a permit?
A like for like swap often needs no permit, while a new install that adds wiring, a switch, or a roof penetration frequently does, and rules differ by city and county. The permit itself is usually a modest fee within your total budget, and the inspection confirms the venting and wiring were done safely. Because requirements change and vary so much by location, check with your local building department before work starts rather than assuming your project is exempt.
Final Thoughts
Your total will make sense once you see it as a fan price plus the work your specific bathroom demands. A simple swap stays modest, a new vent path raises the bill, and good planning keeps surprises out of the quote. Use the product table above to compare fan types against the ranges in this guide, then decide honestly whether your skills, tools, and free time make doing it yourself the cheaper route.
When you are ready to shortlist models, our guide to the best bathroom exhaust fan options explains the sizes, noise levels, and features worth paying for. Whichever route you choose, a correctly sized and properly vented fan protects your bathroom every single day, which makes a fair bathroom exhaust fan installation cost money well spent.