
Best Eyelash Curler: What to Look for Before You Buy
Disclosure: We may earn a commission when you buy through links on this page, at no extra cost to you. As an Amazon Associate I earn from qualifying purchases. Learn more

If your lashes fall flat by lunchtime, or your curler keeps catching the edge of your eyelid instead of your lashes, the tool is probably fighting your eye shape or lash type rather than working with it. Finding the best eyelash curler for you is less about brand names and more about a handful of design details that decide whether you get a smooth, lasting curl or a pinch and a shrug. In this guide, you'll learn what actually makes a curler perform well, how manual, heated, and mini styles differ, how to match one to your eye shape, and how to use it without damaging your lashes.




What Actually Makes an Eyelash Curler Work
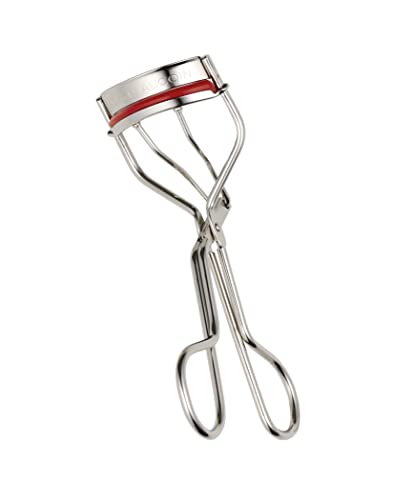
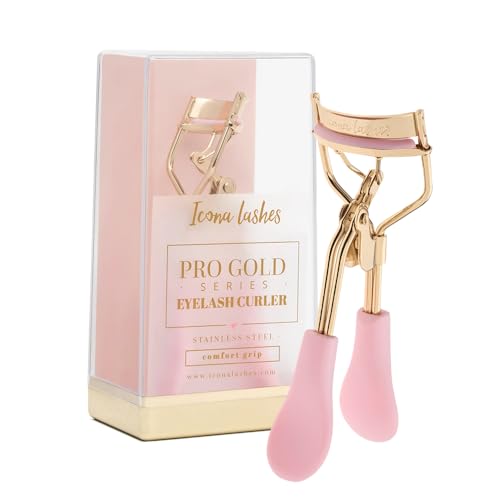
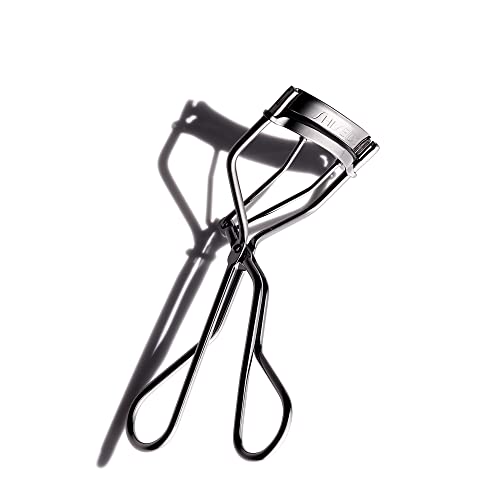
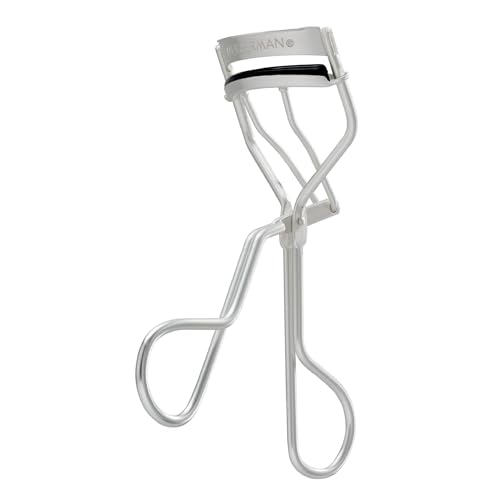
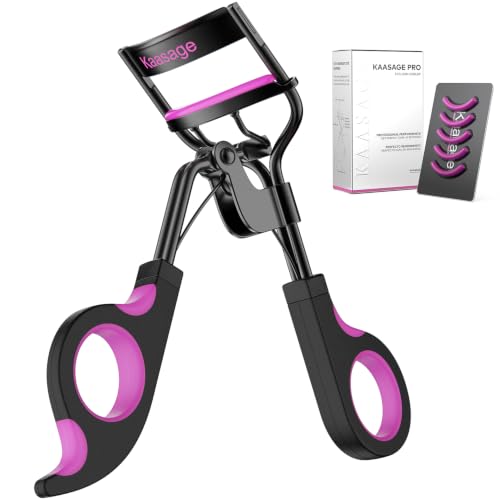
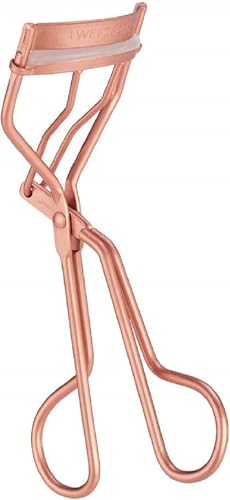
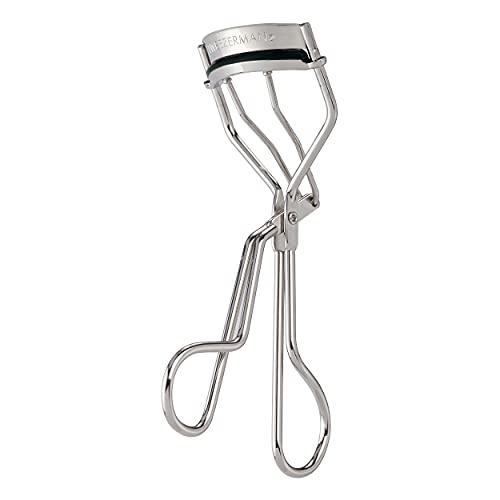
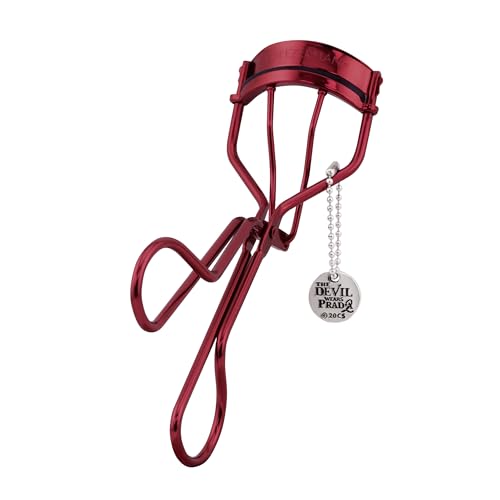
Every eyelash curler is built around the same basic idea: two curved arms that clamp lashes between a rubber pad and a metal or plastic frame. What separates an average tool from the best eyelash curler for your eyes comes down to curvature, depth, material, and pad condition, and each one changes how comfortable and effective the tool feels in your hand.
Curvature and Depth
A curler's curve determines where it grips your lashes. A curve that's too wide for your eye tends to crimp lashes at an odd angle or miss the outer corners entirely, while depth controls how close to the root the curl forms. Less depth generally produces a more natural lift starting near the lash line, rather than a sharp bend higher up on the hair shaft.
Frame Material: Metal vs. Plastic
Metal frames hold their shape and tension far longer than plastic ones, which is why most experienced users favor them once they've tried both. A metal curler also tends to give more consistent, repeatable pressure each time you use it, so the curl looks the same on Tuesday as it did on Monday. Plastic versions are lighter and cheaper but can warp or lose spring tension after repeated use.
The Rubber Pad Matters More Than You Think
The rubber pad is what protects your lashes from the metal edge underneath it, and a worn, hardened, or cracked pad is one of the most common reasons a curler starts pulling or cutting lashes instead of curling them. A fresh, slightly springy pad grips evenly across the whole lash line instead of concentrating pressure in one spot.
Manual, Heated, or Mini: Choosing the Right Type
Beyond size and shape, curlers also split into a few distinct mechanisms, and picking the right one is often what separates a so-so result from the best eyelash curler experience for your particular lashes. The right pick depends on your lash type and how long you need the curl to hold.
Manual Curlers
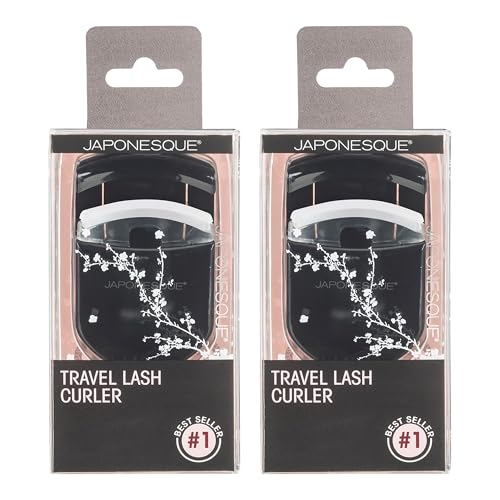
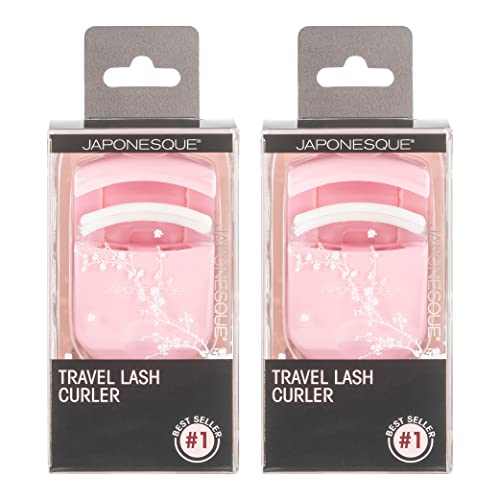
The classic spring-loaded clamp relies entirely on your hand strength and technique. It's simple, portable, and has no batteries or charging to worry about, which makes it the easiest style to travel with or keep in a makeup bag for touch-ups.
Heated Curlers
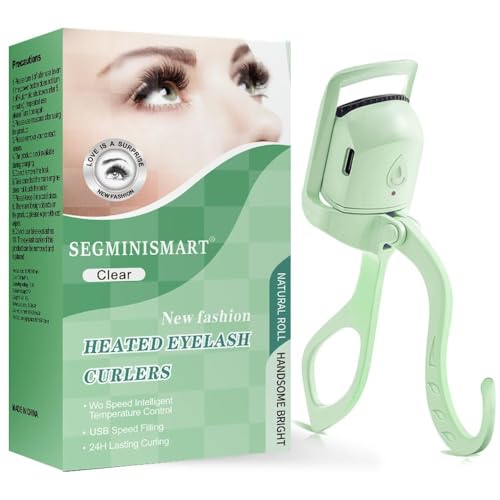
A heated eyelash curler warms the clamp to a low, controlled temperature that softens the keratin in your lashes, helping the curl set and hold longer, especially in humid weather or on naturally straight lashes that fall flat quickly. Because most heated versions don't clamp down hard, they can also feel gentler on fine or thin lashes. The tradeoff is a learning curve and the need to keep the heating element away from delicate skin.
Mini Curlers
Scaled-down versions target smaller sections of the lash line, including the tricky inner and outer corners a full-size curler often misses. They give you more control and tend to reduce pinching, since you're only clamping a few lashes at a time rather than the entire lid.
Matching a Curler to Your Eye Shape
Eye shape has a bigger effect on which curler works well than most people expect, since the wrong curve simply won't sit flush against your lash line no matter how good the tool is. This is often the single biggest reason someone feels let down by a curler that other reviewers call the best eyelash curler on the market, when the real issue is a shape mismatch rather than a flawed product.
Hooded and Deep-Set Eyes
A curler with a smaller curve and shallower depth tends to fit hooded and deep-set eyes better, since it crimps closer to the lash line instead of higher up where there's less room to maneuver. This also lowers the odds of catching skin in the hinge, which is the main complaint people with this eye shape run into.
Small or Close-Set Eyes
An eyelash curler for small eyes with a narrower, medium curve reaches corner lashes that a standard-width tool tends to skip. If you've noticed your outer lashes never seem to curl no matter how hard you press, a narrower frame is usually the fix rather than more pressure.
How to Get a Curl That Lasts Without Pinching
Even the best eyelash curler for your eye shape can pinch or fail to hold a curl if the technique is off. The good news is that most problems trace back to a handful of fixable habits.
The Right Technique
Start with clean, dry lashes; curling over mascara is one of the fastest ways to pull lashes out, since they can stick to the pad and snap. Position the curler as close to the lash line as possible without touching skin, then squeeze gently and hold for one to two seconds. For a more natural arc, repeat the motion once or twice moving slightly toward the tips, rather than clamping once and yanking.
Common Mistakes That Cause Pinching or Breakage
Squeezing harder doesn't create a better curl, it just increases the odds of trapping skin in the hinge. Curling in a single spot instead of working in stages creates an unnatural bend partway up the lash. And a slippery or worn pad can grab lashes unevenly and pull them out at the root instead of releasing them cleanly. If you check your makeup mirror setup and lighting before you start, it's much easier to see exactly where the curler is sitting and avoid these mistakes altogether.
Frequently Asked Questions
What does an eyelash curler actually do?
It bends the lash hair upward and away from the eye, opening up the eye area and making lashes look longer and mascara sit more visibly. That simple mechanical action is really what people are after when they search for the best eyelash curler, more than any specific brand.
Do you curl your eyelashes before or after mascara?
Always before. Curling over dried mascara can stick lashes to the rubber pad and pull them out, and it also flattens any curl mascara would otherwise help hold.
How do I stop my eyelash curler from pinching?
Choose a curve that matches your eye shape, position the curler close to the lash line without touching skin, and squeeze gently rather than forcing it. A fresh rubber pad also reduces catching and slipping.
Are heated eyelash curlers better than manual ones?
Neither is universally better. Heated tools tend to hold a curl longer, especially on straight or humidity-prone lashes, while manual curlers are simpler, more portable, and require no charging.
How long should you hold an eyelash curler?
One to two seconds per position is usually enough. Holding much longer doesn't improve the curl and increases the risk of a crease or breakage.
Can an eyelash curler damage or break your lashes?
Yes, if it's used with mascara on, held too long in one spot, or fitted with a worn pad. Used correctly on clean, dry lashes, it shouldn't cause noticeable damage.
How often should you replace the rubber pad?
As soon as it looks flattened, cracked, or discolored, generally every one to three months with regular use. A worn pad is one of the most common causes of pinching and lash breakage.
Finding the Right Fit for You
The best eyelash curler isn't the one with the flashiest packaging, it's the one whose curve, depth, and mechanism actually match your eye shape and lash type. Start with the criteria that fit your face rather than a generic pick, pay attention to pad condition, and use gentle, staged pressure instead of one hard squeeze. Get those basics right and the curl will hold better with far less effort.